Plan Applique Layer Order Before You Fuse
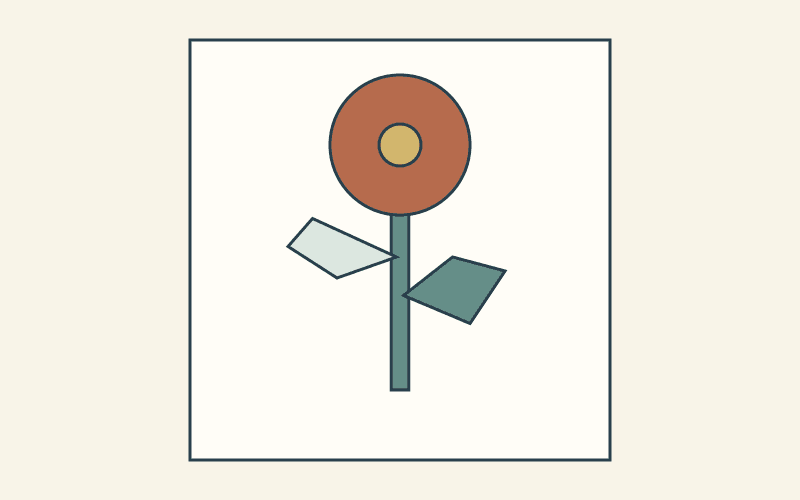
Place each hidden shape before the piece that covers it, working from the back of the picture toward the front. For the flower below, that means the stem before the leaves and flower, followed by the center. Pieces that never cover one another can exchange places.
Start with a paper master in the orientation you want to see on the finished quilt. Give every piece an ID, then mark the few relationships that matter. That small map is easier to follow than a long numbered list that makes every placement look equally important.
Find the edges that disappear
Look at each meeting between two shapes. Does one edge end against another, or does it continue underneath it? Those are different arrangements. A leaf that ends beside a stem needs accurate placement along that boundary. A leaf laid over a stem hides part of the stem beneath it.
For an overlap, write the underlying piece first: stem before leaf. Keep going until every concealed edge has an owner. The American Sewing Guild's framing lesson by Linda Griepentrog likewise starts multiple layers with the lowest piece. Its important extra point is that some designs need edge stitching before later layers go on.
Use a second sheet of paper if the master becomes crowded. Your overlap map can be plain words or arrows. An arrow from stem to leaf means “place stem before leaf,” rather than “point the stem this way.” Write that key once so the arrows have one job.
If the picture began as a photograph, finish the broad shape choices first. Our photo-to-applique lesson covers that earlier decision. Here, the shapes are already chosen; the question is how they sit together.
Work through a five-piece flower
Our drawn study sits on a 12-inch-square field. It has five applique pieces: a stem, two leaves, a round flower and a small center. We drew these diagrams for planning and haven't sewn them; they aren't cutting templates.
The stem is a half-inch-wide rectangle running from 3 to 10 inches below the top. The flower is a 4-inch-diameter circle centered 6 inches from the left and 3 inches from the top. Its 1.2-inch-diameter center sits on top of it.
The left leaf crosses the stem below the flower. The right leaf crosses it farther down. Neither leaf touches the flower or the other leaf. That gives us four relationships:
| Underlying piece | Piece placed over it | Reason |
|---|---|---|
| Stem | Left leaf | The leaf hides part of the stem |
| Stem | Right leaf | The leaf hides a different part |
| Stem | Flower | The flower hides the stem's top |
| Flower | Center | The center sits on the flower |
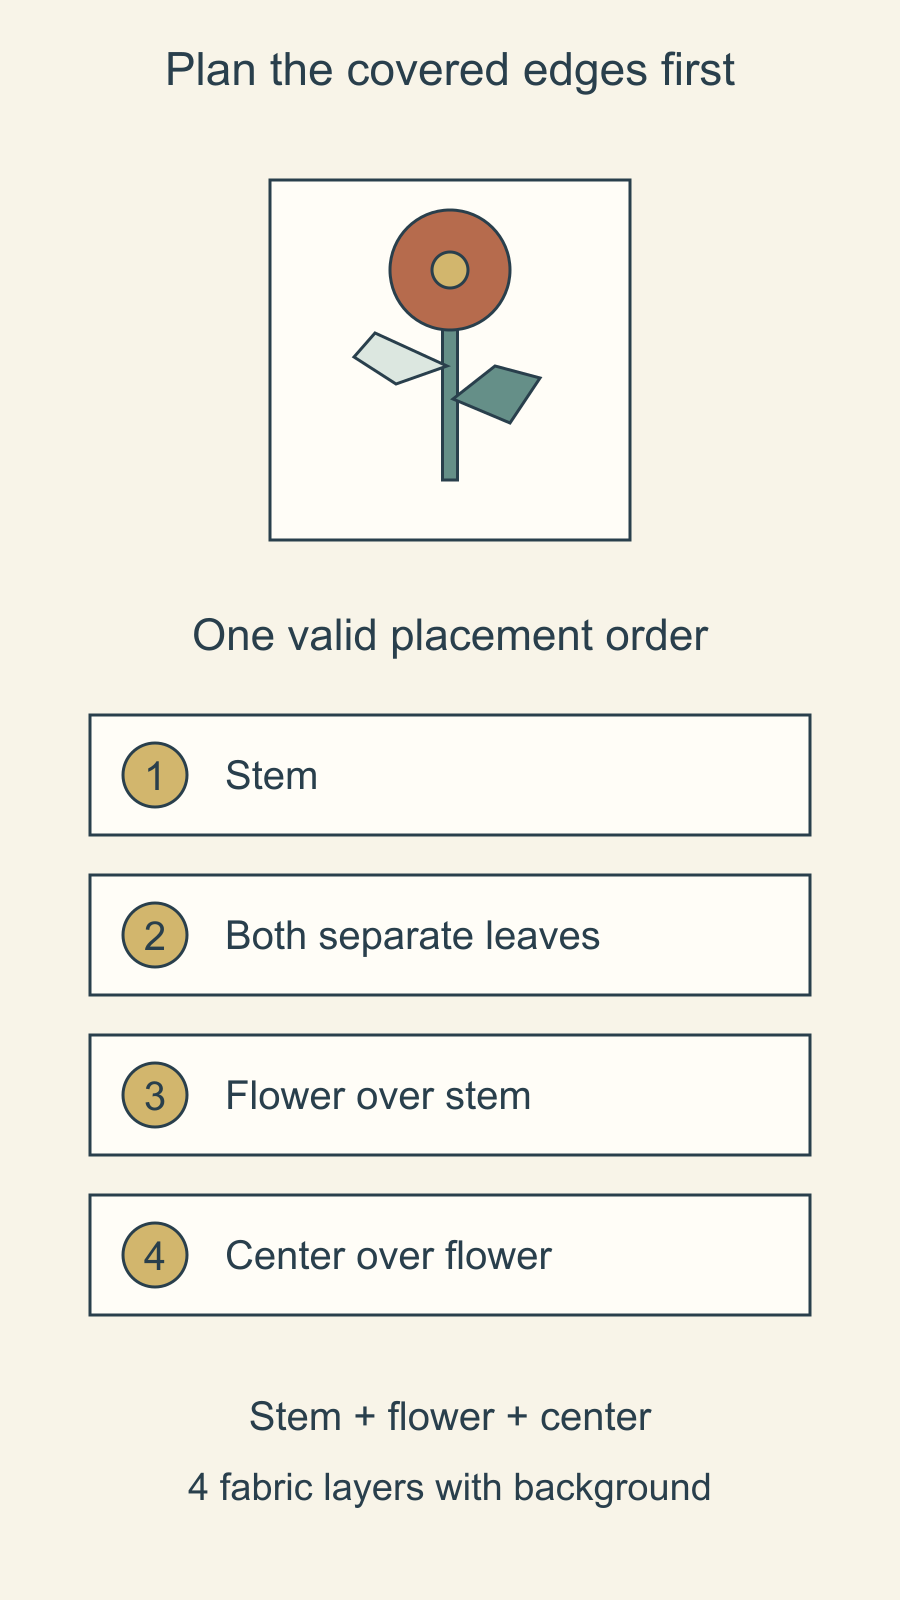
One useful placement order is stem, both leaves, flower, center. The two leaves can exchange order. You could also place the flower before the leaves once the stem is down, because those pieces don't meet. The map explains that freedom instead of making one sequence seem mandatory.
Count what is actually underneath
The visible picture can hide more fabric than you expect. Our stem continues under the flower, and the flower continues under the center. At a point 6 inches from the left and 3.2 inches from the top, all three applique pieces overlap. Counting the background, that is four fabric layers.
Elsewhere, a leaf overlaps the stem, giving two applique layers plus the background. The leaves lie below the flower and have separate horizontal ranges. There is no place in this drawing where a leaf, flower and center all join the stem.
That count helps you identify a representative area for a material trial. It doesn't predict stiffness from the number alone. Fabric weight, adhesive coverage, turning allowances and stitching still matter. A single thick material can behave differently from several light ones.
Before making many pieces, draw a small cross-section list for the busiest point: background, stem, flower, center. Keep that list with the chosen materials. If your method removes hidden fabric, update the count after deciding exactly what remains. Don't quietly assume the paper master has already solved that construction choice.
Separate placement from fusing and stitching
Put two columns beside each piece ID: “place after” and “secure before covering.” The first comes from your overlap map. The second comes from your chosen technique and whether you can still reach the edge. For example, a stem edge may need securing before the flower covers it. Put that task in the second column so the placement stage does not hide unfinished work.
Jennifer Pate's machine applique guidance for Utah State University Extension describes several preparation methods. Its fusible method follows the adhesive maker's timing, while its freezer-paper and faced methods prepare edges differently. Use the method you actually chose rather than borrowing one pressing sequence for every kind of applique.
For example, Therm O Web's current HeatnBond Lite directions call for pretesting the adhesive and sewing the bonded fabric for a permanent bond. They also specify different pressing stages. A placement number on our drawing doesn't replace those directions or establish settings for another adhesive.
Our raw-edge and turned-edge comparison helps separate the visible outline from an edge allowance. Settle that boundary before preparing pieces. An overlap plan should describe the finished view even when the method needs extra fabric around it.
Check the map before committing the background
Lay paper shapes over the master and add them in your proposed stages. After each stage, ask which edges remain visible and which disappear next. Check the stem's visible length between the flower and leaves, not just whether every piece exists.
If two notes demand opposite orders, stop at that crossing. “A before B” and “B before A” cannot both describe a simple whole-piece stack. You may need to split one piece, change the overlap, or follow a specific interwoven construction method. Adding more numbers won't resolve it.
Keep the finished-view master separate from any reversed transfer sheet. Our mirroring guide explains when transferring from the wrong side changes direction. The piece IDs should match across both sheets even when the image reverses.
Your next step is to prepare one representative overlap using the actual fabric and chosen method. Keep the master, dependency notes and securing sequence beside it. When that small section works as intended, continue with the remaining pieces in the same checked order.
Plan your next quilt
Lay out blocks and try colors in QuiltLab's grid editor before you cut.
Free forever, no card needed.
Get quilting tips by email
QuiltLab updates, tips and quilting inspiration. Unsubscribe anytime.
Related posts
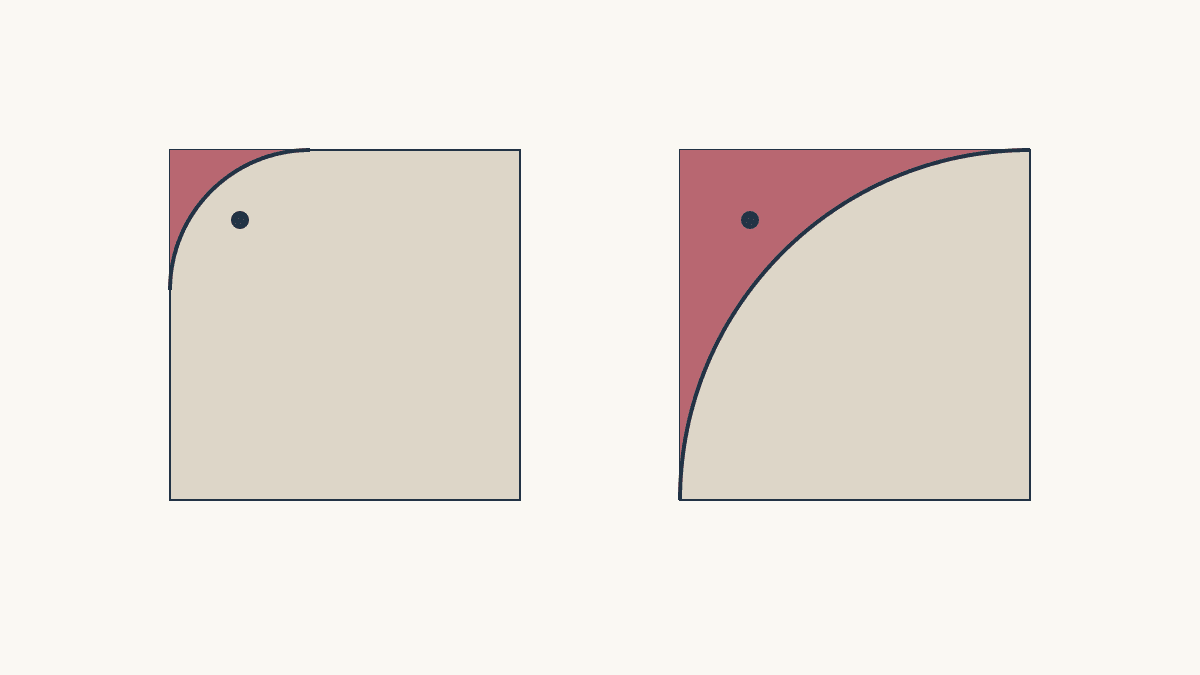
Rounded Quilt Corners: Will Your Motif Survive?
Compare two corner radii against nearby motifs before trimming, then plan a consistent curve and suitable binding method.
Lightweight Quilt Batting: Check Care First
Write the coverlet’s care requirements, check the exact batting limits, and test the finished combination before calling it lightweight.
Quilting Negative Space: Extend, Fill or Echo
Compare three quilting approaches on one fixed quilt layout, then count the lines and check the open areas.