When to Mirror Applique Templates
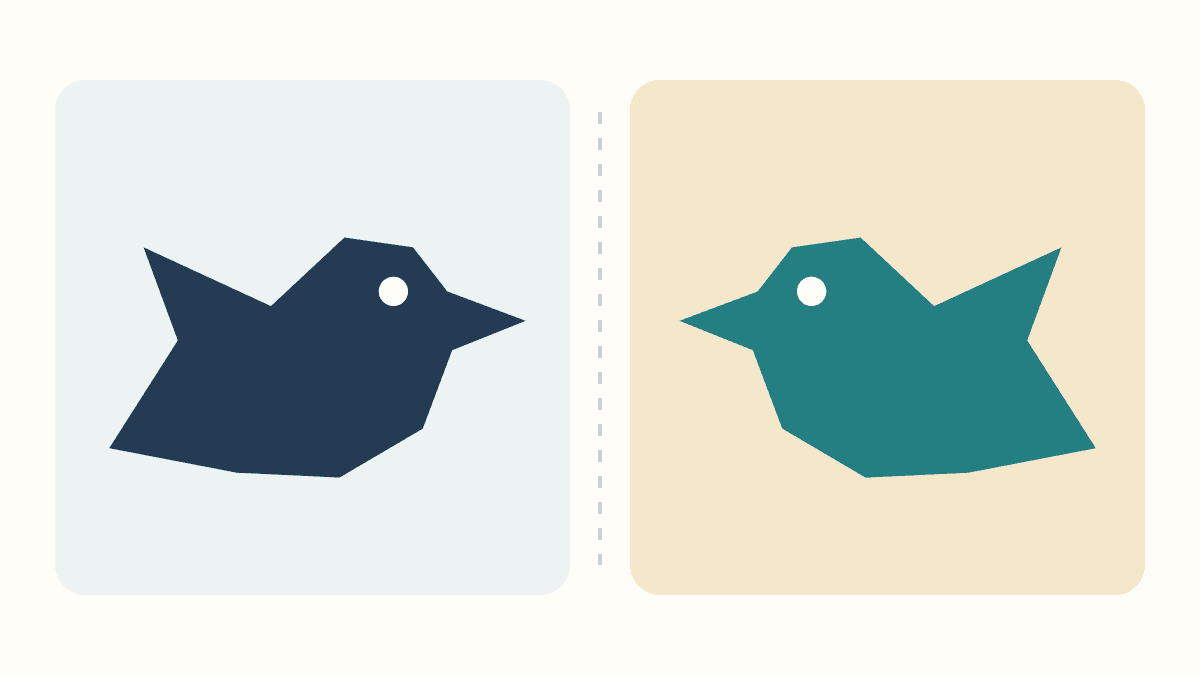
Mirror an applique template when your transfer goes on the fabric's wrong side and your starting drawing shows the intended finished front. Keep the original direction when tracing directly onto the fabric's right side. If the pattern already supplies a reversed transfer sheet for your method, use that sheet without reversing it again.
The useful question is which surface receives the shape. Two methods can start with the same bird and need different paper copies. Keep a front-view master beside you, identify the transfer surface, then check one asymmetric shape before preparing the whole design.
Keep a master in the finished direction
Choose a feature that makes the direction obvious: a bird's beak, a bent stem or an uneven tail. A circle won't tell you whether a transfer has reversed. Neither will a heart with two identical halves.
For our example, the bird's beak points right and its notched tail sits left. The white eye is a reference mark in the drawing. We drew these direction studies and haven't sewn them; use your pattern and chosen transfer method for cutting, allowances and construction.
Mark front master and top on a copy that will stay unchanged. Make separate working copies for the surfaces you actually use. That gives you something reliable to compare with a transfer sheet, a cut paper shape and the fabric front.
For the shape itself, our raw-edge versus turned-edge guide explains why the cutting boundary changes with the edge method. Here, keep the visible bird contour fixed while following its direction.
Name the side that receives the outline
Paper has a drawing side, and fabric has a right and wrong side. Write those names beside your method instead of labeling every operation simply "trace."
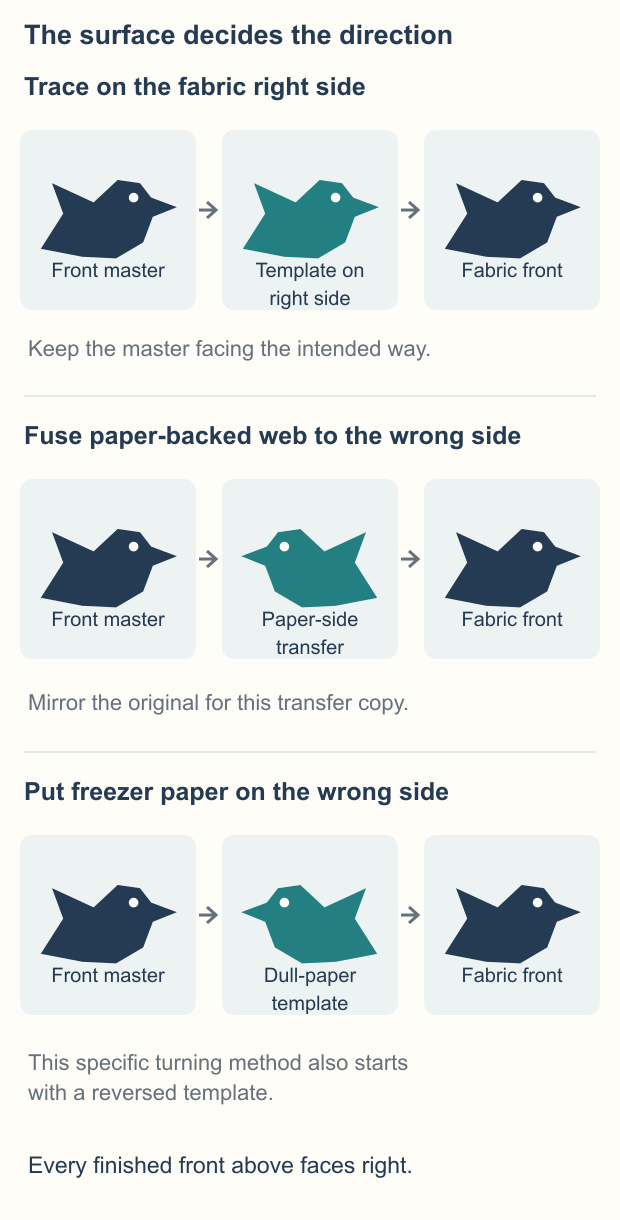
These three paths start from our right-facing front master:
| Transfer path | Working template | Finished fabric front |
|---|---|---|
| Trace the outline on the fabric's right side | Right-facing | Right-facing |
| Draw on paper-backed fusible applied to the fabric's wrong side | Left-facing | Right-facing |
| Use a freezer-paper turning template on the fabric's wrong side | Left-facing | Right-facing |
The last row describes the particular wrong-side freezer-paper method below. A different freezer-paper technique can put the template on a different surface, so the material's name alone doesn't decide the direction.
Trace on the right side without adding a reversal
In Kerry Green's needle-turn instructions at The Sewing Directory, the template sits on the fabric's right side while its outline is drawn. Keep the template facing the same way as your front master for that path.
Our bird therefore faces right on the paper and right on the fabric. You can compare its beak and tail directly with the master. The turning allowance belongs outside the intended finished contour according to the selected method; adding it doesn't change which way the bird faces.
Don't turn the template over just because you are doing applique. First identify the surface on which the outline will be used. That small pause prevents a reversal that the method never required.
Reverse a working copy for wrong-side fusible
Pellon's 888P Wonder-Under Stretch directions have you draw on the paper backing, place the web against the fabric's wrong side, cut the shape and remove the paper. They explicitly call for reversed images to preserve their final direction.
For our original front-view bird, prepare a left-facing working copy. Trace that direction onto the paper side of the fusible. With the web against the fabric's wrong side, the shape looks left-facing from the paper side. Turn the cut shape over to see the fabric's right side and the bird faces right again.
Follow the directions for the exact adhesive you use, including compatibility, pressing and how its edges must be secured. A direction diagram doesn't determine another product's heat or timing.
Green's freezer-paper turning method has the same direction requirement for a different reason. The reversed template's waxy side goes against the fabric's wrong side, and the allowance turns around it. Viewed from the fabric front, our bird returns to the intended right-facing direction. Removing that template doesn't add another reversal.
Check whether the pattern already reversed it
Look for separate placement drawings, regular templates and reversed transfer sheets. They can show different directions while belonging to the same correct pattern. Compare the sheet you will trace with the finished arrangement, then read its intended method.
Wendi Gratz's ABC123 instructions provide a clear example: regular-orientation pages serve needle turn and other tracing, while reversed pages serve fusible adhesive. The instructions separately identify the SVG's orientation. A file format or a page's appearance doesn't replace those directions.
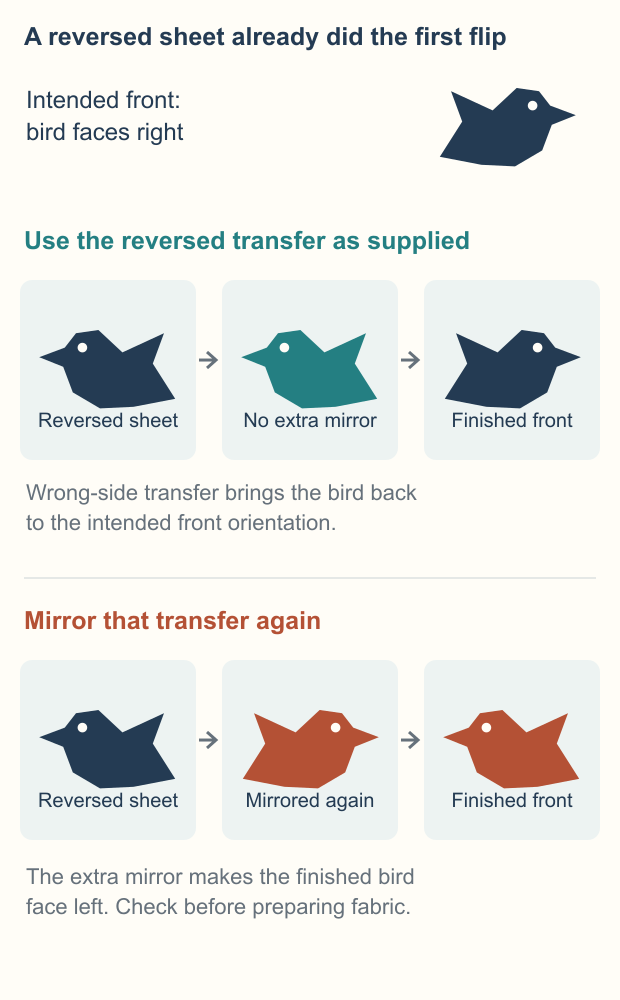
Imagine our pattern includes a left-facing bird labeled reversed transfer for fusible. Its matching finished-layout picture shows the bird facing right. The first reversal is already present. Use that left-facing sheet for the specified wrong-side transfer.
If you mirror the provided sheet again, the paper copy faces right. Transferring from that copy to the wrong side makes the finished bird face left. The extra preparation step caused the error.
Follow the flips instead of guessing
Two horizontal reflections restore the original direction. In our fusible path, preparing a reversed copy supplies one; changing from the paper/back view to the fabric/front view supplies the other. An extra reflection changes the result again.
You can check this on the bird. Its beak and eye both move to the opposite side in the reversed drawing. A second reflection returns both to their first positions. Turning the paper halfway around makes the bird upside down instead; rotation isn't the correction you want.
Keep the top mark visible while making a reversed working copy. You might use a horizontal-mirror command in your drawing software or trace the reverse of the master through a light source. Compare the result with the unchanged master before putting it on transfer material.
Check one shape from the fabric front
Place a paper mockup in the finished arrangement and inspect its beak and tail. Then check the working copy against the surface named in your method. If those disagree with the pattern's labels, resolve that mismatch before fusing or cutting fabric.
With directional cloth, inspect the printed marks too. A correctly oriented bird outline can still contain a stripe or flower facing a way you dislike. Our directional-print guide explains marking the top of fabric pieces.
If the source is a photograph, the photo-to-applique guide covers turning its regions into a fabric plan. Once you have that plan, keep one front master, label the transfer copy and prepare one shape. Check it from the fabric's right side before repeating the process for the rest.
Plan your next quilt
Lay out blocks and try colors in QuiltLab's grid editor before you cut.
Free forever, no card needed.
Get quilting tips by email
QuiltLab updates, tips and quilting inspiration. Unsubscribe anytime.
Related posts
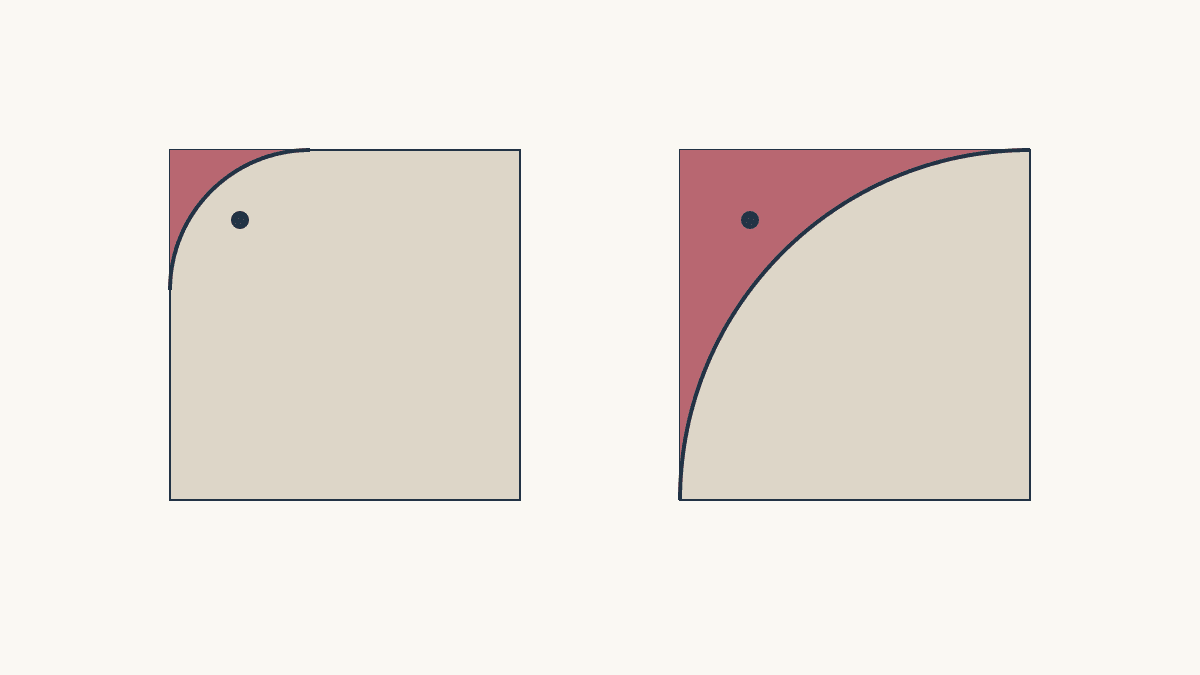
Rounded Quilt Corners: Will Your Motif Survive?
Compare two corner radii against nearby motifs before trimming, then plan a consistent curve and suitable binding method.
Lightweight Quilt Batting: Check Care First
Write the coverlet’s care requirements, check the exact batting limits, and test the finished combination before calling it lightweight.
Quilting Negative Space: Extend, Fill or Echo
Compare three quilting approaches on one fixed quilt layout, then count the lines and check the open areas.