Plan English Paper Piecing Diamond Stars That Fit

For six-point English paper piecing diamond stars, choose 60-degree diamonds and bring their narrow corners together at the center. Six of those angles fill a complete turn. Check the side length too: it controls the size of the star, while the angle controls how many points fit around its center.
Lay out one complete star in actual papers before preparing a batch of fabric. Mark which way the prints should face, measure the star's width and height, and keep a consistent basting plan.
Check the angle as well as the side length
These six-point-star notes from Sue Daley explain why a diamond's name alone is not enough. Diamonds come with different angles; a six-point star uses six 60-degree diamonds, and their size is measured along a side.
A 60-degree diamond has two narrow 60-degree corners and two wide 120-degree corners. For this star, the narrow corners meet in the middle.
The star's angle check is simple:
| Angle at the center | Diamonds | Total angle | Result |
|---|---|---|---|
| 60 degrees | 6 | 360 degrees | Six-point star closes |
| 45 degrees | 6 | 270 degrees | 90-degree gap |
| 45 degrees | 8 | 360 degrees | Different eight-point star |
Six papers with equal side lengths can still leave a gap if they have the wrong angle. Pulling the last seam harder cannot correct that shape choice.
Arrange the papers face up and check each full edge against its neighbor. Keep the package or pattern's angle and side-length information with the set.
Our EPP versus foundation-paper-piecing guide explains the broader method difference. In EPP, these papers establish the finished shape that the fabric folds around.
Measure the star in the direction you will use it
The drawing below uses 60-degree diamonds with 2-inch sides. Each diamond's short diagonal is 2 inches; its long diagonal is about 3.4641 inches.
In the shown arrangement, a point faces up and another faces down. The whole star measures 6 inches wide by about 6.9282 inches high.
Rotate the complete star 30 degrees and those dimensions swap. The star has the same pieces and area, but it fits a different bounding rectangle.
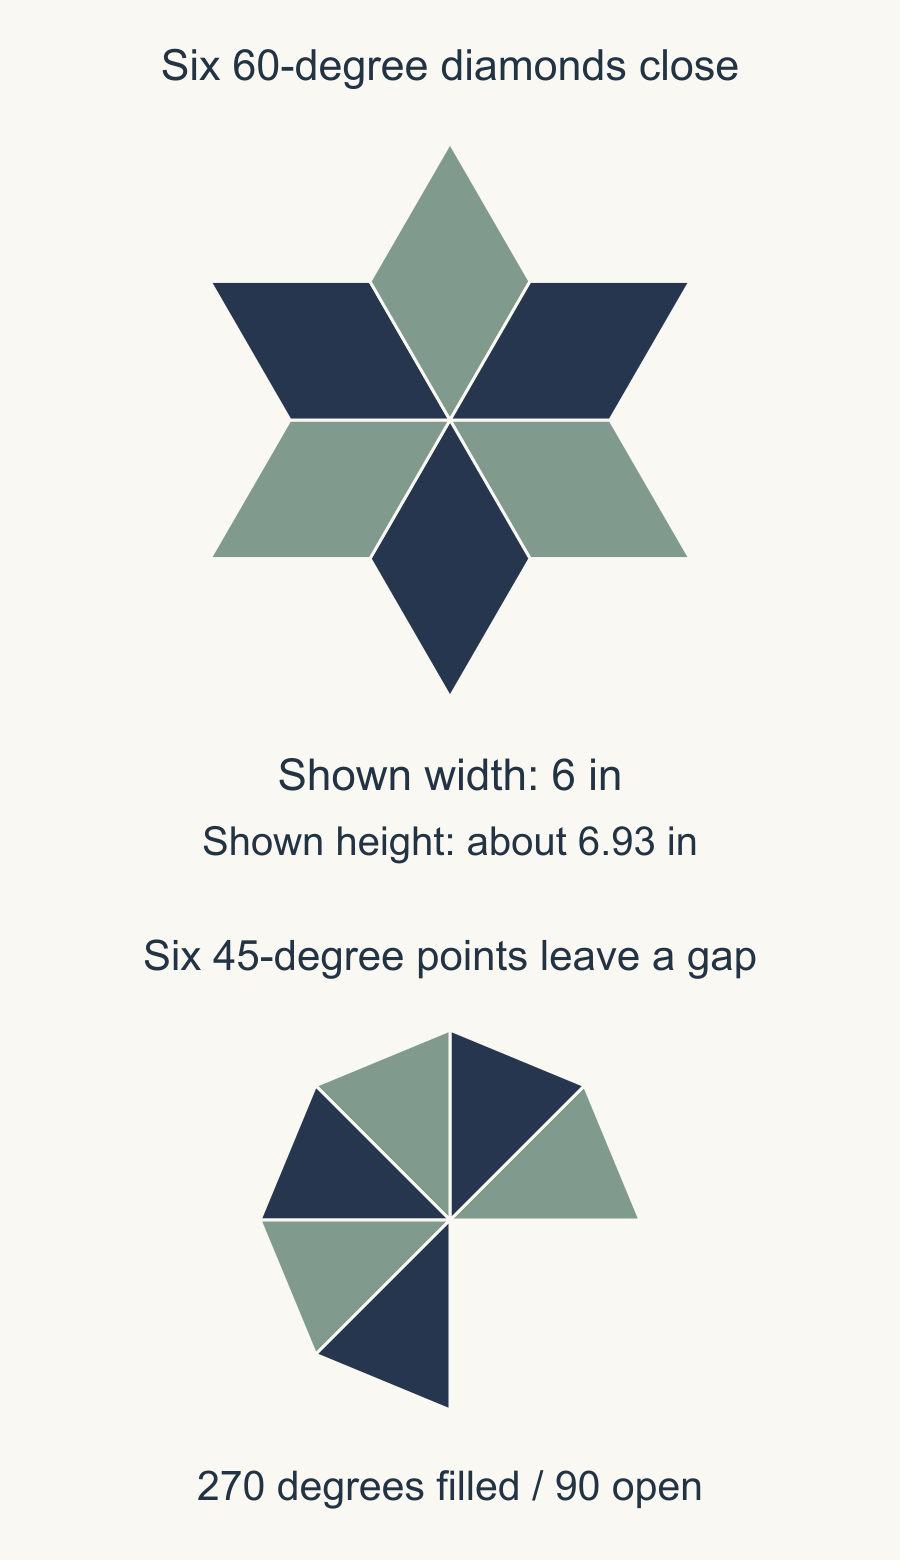
A point-to-point measurement supplies only one dimension. If the star is going on a rectangular background, measure the other direction before deciding that it fits.
Write a top arrow beside the paper arrangement and record its width and height together. If you later turn the star to improve the layout, update both measurements.
These numbers describe the finished paper shapes. Follow your chosen pattern for fabric-cutting allowances, background size and attachment requirements.
Choose how the prints should turn
The papers rotate around the center, but the fabric motif does not have to follow the same rule.
With a directional print, choose between two plans:
- Keep every motif upright. Each bird, word or leaf points toward the same top edge of the quilt.
- Turn the motif with each diamond. The print repeats around the star, pointing outward or inward in a circular arrangement.
Try both with arrows on paper previews. A flower may suit the second plan while words become easier to read in the first.
If you are matching print details at the center, inspect the actual fabric repeats through the chosen finished-shape window. The center corner matters: a motif can sit in the right area of a diamond while pointing toward its other end.
Our fussy-cut hexagon article covers finding enough usable motif repeats. The same practical check applies here: the fabric must contain the placements you need, with room for the chosen cutting allowance.
Keep basting direction and print direction separate
The small fabric tails at a diamond's narrow corners affect how the backs sit together. They do not appear in the flat paper outline.
Jodi Godfrey's diamond-tails lesson at Tales of Cloth explains that basting direction alone does not determine the tails. The starting edge matters too. Her routine starts below the wide corner and moves clockwise, producing tails that point in opposite directions.
That is worth recording on your layout sheet. Two diamonds can have identically oriented prints but different folded tails if you started basting on different edges.
Prepare a few representative pieces with your chosen method. Return them to the front-view arrangement, then inspect the backs where the center will meet. Confirm that the print still faces the way you intended.
Keep any tail trimming within the instructions for that technique. Removing an awkward-looking flag simply to match the clean drawing can take away fabric that belongs in the seam allowance.
Plan two halves around the center
Jodi Godfrey's star-points lesson checks that basted diamonds line up on all sides, rather than judging only the edge about to be sewn. For six diamonds, she makes two groups of three.
When bringing those halves together, her priority is the shared center. She aligns the center points before adjusting the outer ends.
Mark those two three-diamond groups on your paper layout before starting. Keep the arrangement nearby as you join them, especially when a directional print makes two otherwise identical diamonds easy to confuse.
If a join seems to require a different paper length, return to the angle, side length and orientation checks. Then inspect the basting folds. Those checks are more useful than assuming the outer tip alone tells you what went wrong.
Keep one small layout sheet
For one star in this example, your paper inventory is six 60-degree diamonds with 2-inch sides. Two separate stars need twelve papers. A larger pattern may share shapes or add connecting pieces, so count those from its actual layout.
Record four things beside the arrangement: side length, diamond angle, star orientation and print-direction plan. Add the basting start edge and direction after checking your representative pieces.
Then lay out one full star in its actual papers. Close the center, mark the top and measure both directions before cutting the remaining fabric.
Free patterns to try
Printable PDF patterns with cutting charts and diagrams, free to download.
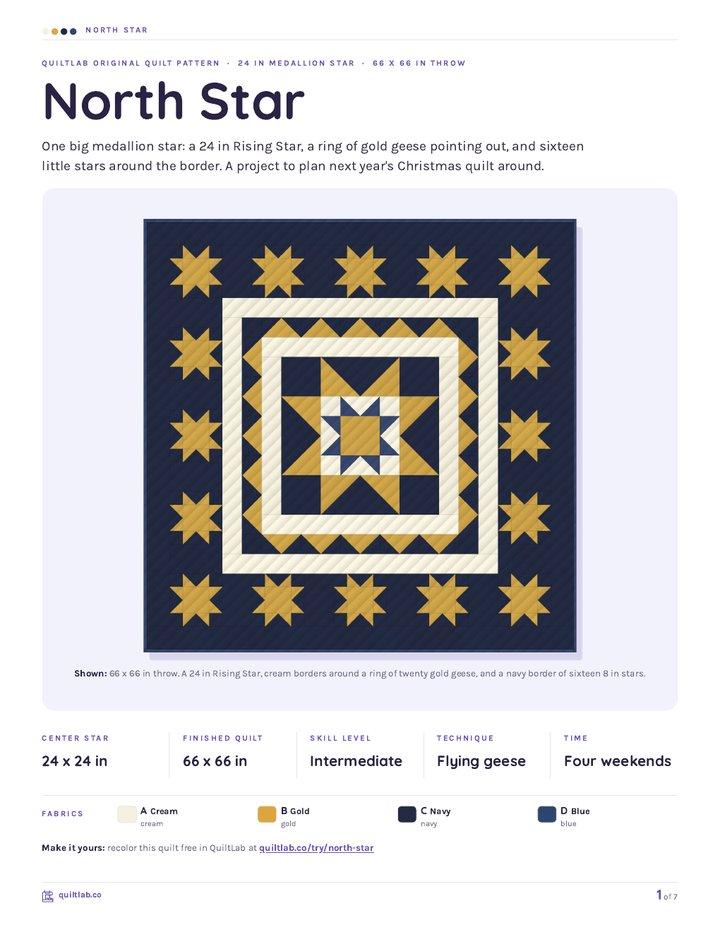
North Star
Quilt patternIntermediate · 24 x 24 in center star, 66 x 66 in quilt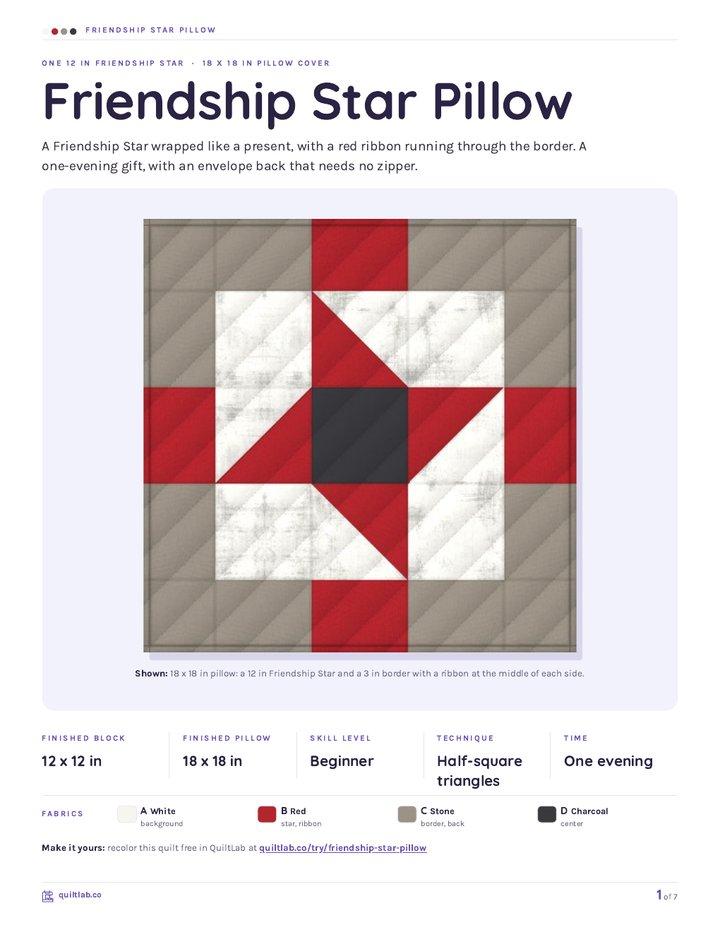
Friendship Star Pillow
Quilt patternBeginner · 18 x 18 in pillow cover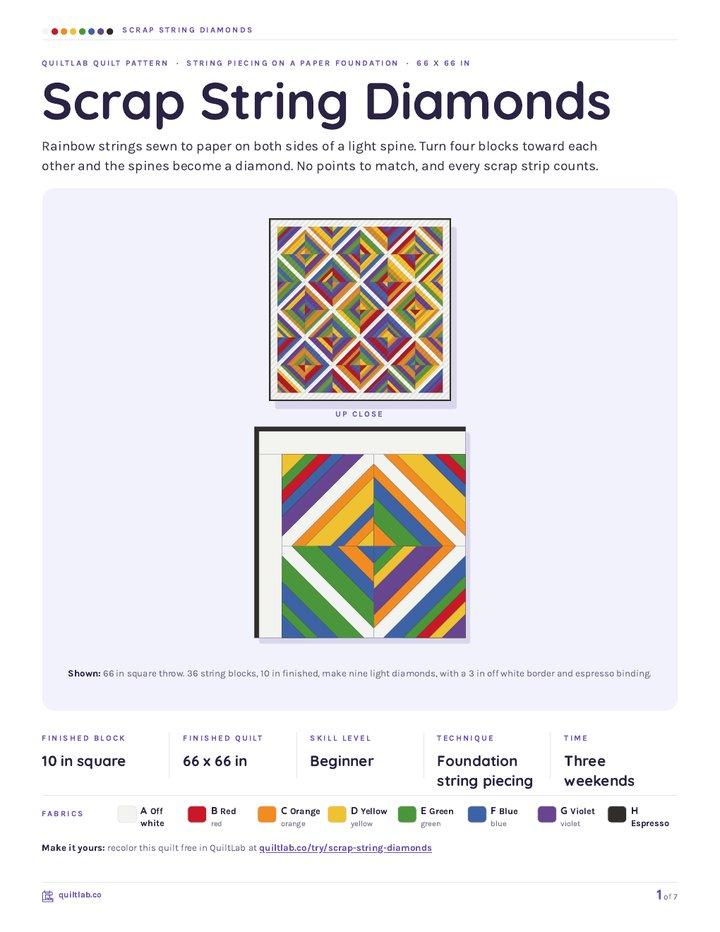
Scrap String Diamonds
Quilt patternBeginner · 66 in square throw
Plan your next quilt
Lay out blocks and try colors in QuiltLab's grid editor before you cut.
Free forever, no card needed.
Get quilting tips by email
QuiltLab updates, tips and quilting inspiration. Unsubscribe anytime.
Related posts

When Is an Improv Quilt Finished?
Stop changing a composition when it answers your current design question. A before-and-after study helps separate necessary fixes from new ideas.

Build an Abstract Quilt Design from Three Shapes
Turn a sketch you own into a clear patchwork plan. Three colored rectangles show how to preserve a composition while extending a few straight seams.

Start a Damaged Quilt Assessment Before Repair
Record what you see, what you were told and what remains unknown before changing a damaged quilt. A simple condition map organizes the questions.