A Quilt Pattern Revision Process You Can Trace
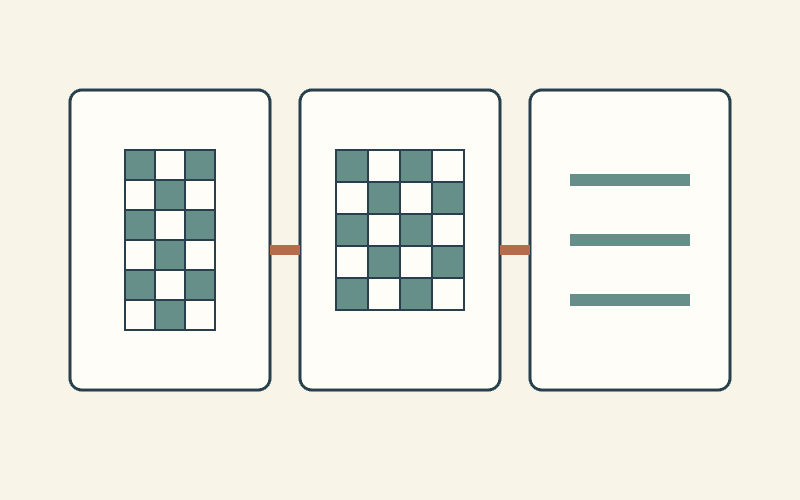
Start with the reported page and step, check the source of the problem, then follow the correction through every affected part of the pattern. Give the revised file a clear identifier and record what still needs checking. A changed sentence alone does not tell you whether the related counts and diagrams agree.
A repeatable quilt pattern revision process keeps three things separate: what someone noticed, what you verified and what you changed. That distinction helps you fix the actual problem without losing the evidence that led to it.
Keep the report before rewriting the instruction
Record the pattern title, file or edition, page, step and the reader's observation. If a photograph or measurement helps explain the issue, keep its reference with the report. Ask for the missing detail before deciding what caused the discrepancy.
A measurement that differs from the instructions might point to an incorrect number, an unclear seam reference or a step the reader could not interpret. Those call for different changes. Preserve the original wording long enough to understand the problem.
Cait Lisle's technical-editing explanation describes checking math, consistency between instructions and diagrams, and readability. Her workflow also distinguishes editorial comments from the author's corrections and allows another review after revisions. Use that distinction in your own record: a suggestion is an item to investigate before it becomes an accepted change.
Give each issue a small, useful record
An issue number can be as simple as R-01. Keep the identifier with the decision, even if the correction eventually appears on several pages.
| Field | What to record |
|---|---|
| Location | File or edition, page and step |
| Observation | What the reader saw or measured |
| Expected result | What the current instruction says |
| Investigation | Source count, calculation or wording checked |
| Decision | Correct, clarify or explain the existing instruction |
| Affected places | Tables, diagrams, instructions and other files |
| Verification | Who checked the change and what remains open |
Keep a wording improvement distinct from a construction problem that stops someone proceeding. That makes it easier to answer an urgent question while giving the full revision the checking it needs.
Work one correction through the document
Consider a fictional draft with a four-column, five-row layout. Every cell contains one unit, with no omitted corners or spacer positions. The layout therefore needs 20 units, but an instruction still says 18.
Suppose a related cut-list row supplies two identical pieces per unit. The stale 18-unit count implies 36 pieces. The corrected 20-unit count requires 40 pieces, a difference of four.
That arithmetic identifies at least two places to examine: the unit-making instruction and the cut-list quantity. It also sends you back to the materials calculation, the assembly diagram and any summary that repeats the old total.
We drew this example to audit a document. It is not a report from a real tester, and the count check does not establish a sew-tested pattern.
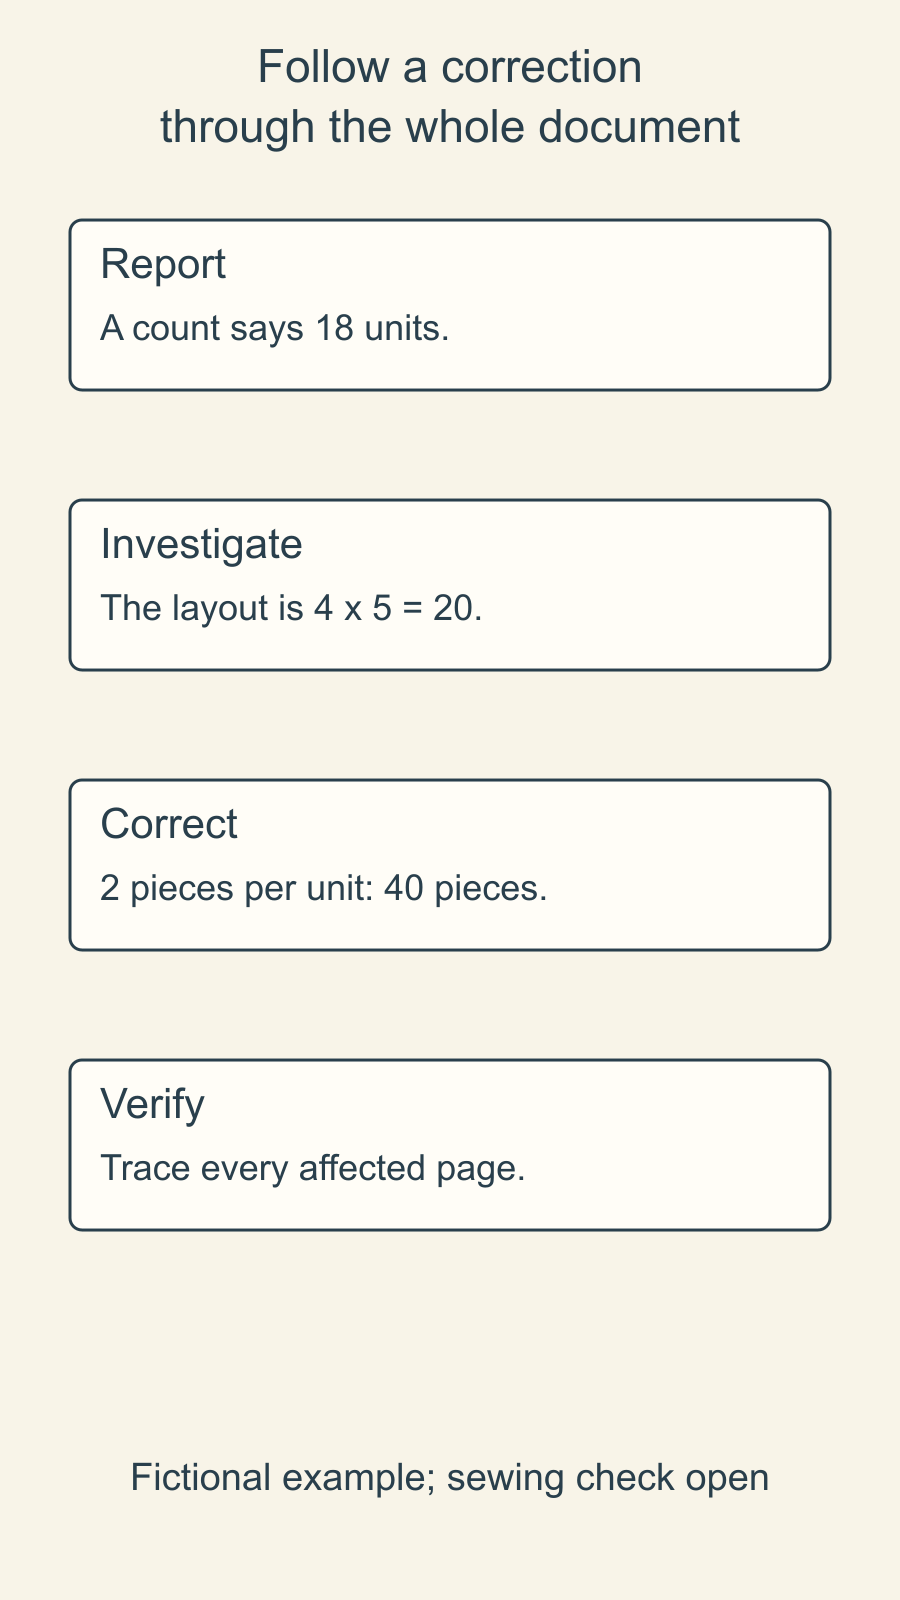
Here is a possible record for the fictional issue:
| Check | Record | State |
|---|---|---|
| Layout count | 4 columns x 5 rows = 20 units | Arithmetic checked |
| Piece count | 20 units x 2 pieces = 40 pieces | Arithmetic checked |
| Materials | Recalculate from the actual cut dimensions and layout | Open |
| Instructions and diagram | Replace or explain each affected reference | Open |
| Sewing verification | Confirm the revised instructions in use | Open |
The open entries matter. Knowing that four more pieces are required does not tell you their yardage without their dimensions, cutting orientation and usable fabric width. Likewise, a correct count does not prove that a construction drawing is understandable.
Search for related values, then read their context
Search the working files for the old count, unit name and any diagram label that may repeat it. Inspect each result before changing it. An unrelated use of 18 might be a strip length or a page number.
Use the affected-places list to check the pattern in both directions. From the corrected instruction, follow the related count into the cut list and materials table. From those tables, return to the assembly diagram and confirm that the same units are being counted.
If multiple sizes share a page, record which sizes the issue affects. A correction to one size should not silently change another size's quantity. Recheck totals after editing a paired-number line.
For a cutting-layout reminder, our fat-quarter layout guide shows why a piece count and a purchase amount are different calculations. The broader pattern-writing guide places revision alongside design, checking and testing.
Name the revised file clearly
Choose a revision label that distinguishes the file from the one people already have. For example, a working draft might move from revision 0.3 to 0.4. Keep that identifier on the document and in the record you send with it.
Write a short change note: where the correction appears, which size or edition it affects and whether an earlier step changes. If someone is already working from the old file, explain the point they need to revisit rather than simply sending an unexplained replacement.
For the fictional R-01 issue, the working note could read: "Revision 0.4: unit count changed from 18 to 20; cut-list quantity changed from 36 to 40. Materials and sewing verification remain open." Keep that revision in progress until its outstanding checks are complete.
Decide how to handle an old printed edition separately from a digital file. Anna Maria Patterns' support page illustrates that distinction: it posts corrections and explains how later printings and shop notifications are handled. Its process is a useful example for planning your own correction route.
Keep the correction easy to find
For a released pattern, provide a stable place where readers can check known corrections and identify the relevant edition. Avoid relying on a disappearing social post or a private message that future readers will never see.
American Patchwork & Quilting's correction register groups records by publication and issue and advises checking corrections before beginning. The useful lesson is the connection between a correction and the exact item a reader owns.
Your own record can remain small. A pattern title, edition or revision, affected page, corrected information and access to the relevant replacement are more useful than a long account of how the mistake happened.
Close only the checks that are complete
After editing, read the affected pages again in their new context. Ask a reviewer to compare the revised wording, counts and diagrams with the recorded decision. Keep any remaining material or sewing check open until it has actually been completed.
Choose one unresolved issue in your working draft now. Write its observation, verified cause and affected-places list before making the change. That gives the next reviewer a clear question to check and gives you a record you can trust when the revision is ready to share.
Free patterns to try
Printable PDF patterns with cutting charts and diagrams, free to download.

Hidden Picture Advent
Quilt patternBeginner · 40 x 28 in wall quilt
24 Little Doors
Quilt patternIntermediate · 41 x 33 1/2 in wall quilt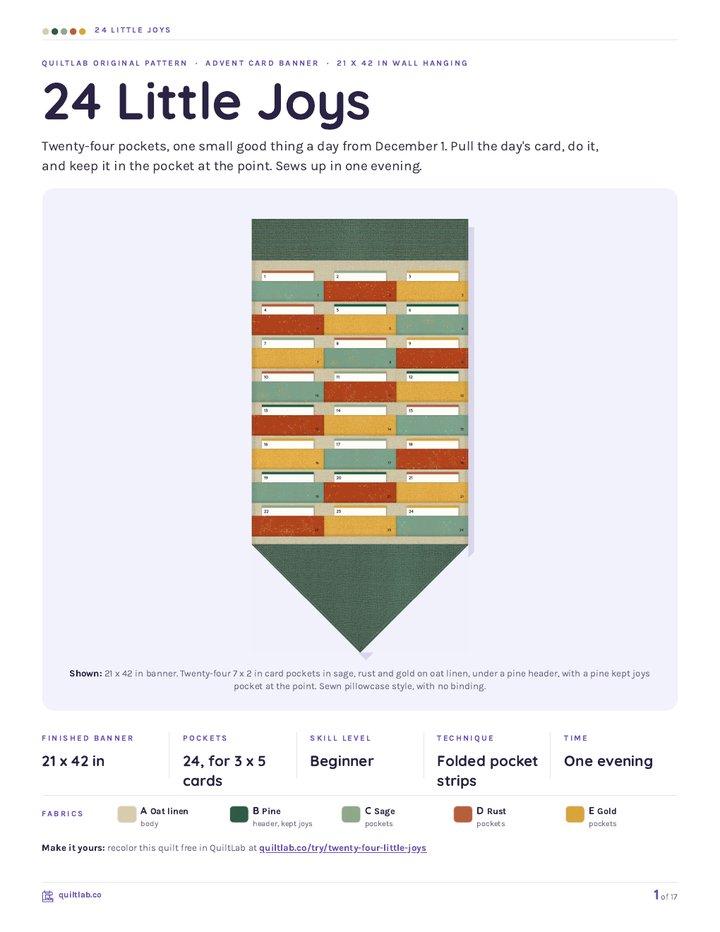
24 Little Joys
Quilt patternBeginner · 21 x 42 in wall hanging
Plan your next quilt
Lay out blocks and try colors in QuiltLab's grid editor before you cut.
Free forever, no card needed.
Get quilting tips by email
QuiltLab updates, tips and quilting inspiration. Unsubscribe anytime.
Related posts

When Is an Improv Quilt Finished?
Stop changing a composition when it answers your current design question. A before-and-after study helps separate necessary fixes from new ideas.

Build an Abstract Quilt Design from Three Shapes
Turn a sketch you own into a clear patchwork plan. Three colored rectangles show how to preserve a composition while extending a few straight seams.

Start a Damaged Quilt Assessment Before Repair
Record what you see, what you were told and what remains unknown before changing a damaged quilt. A simple condition map organizes the questions.