Fussy Cutting Staggered Fabric Repeats
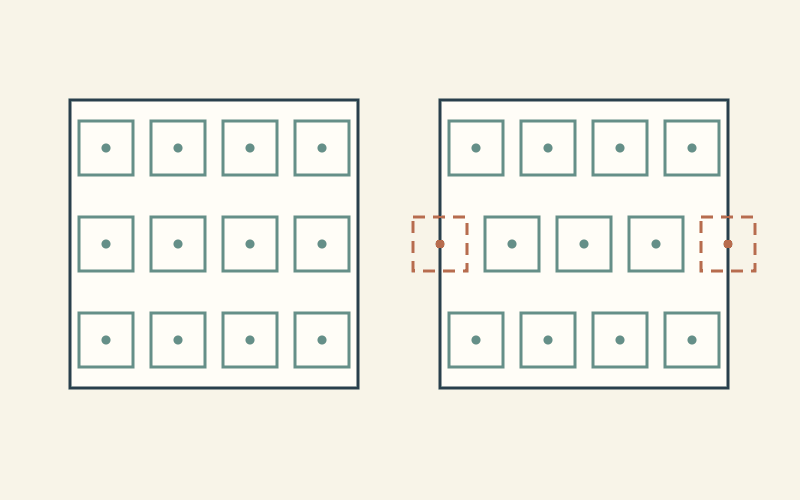
Count complete cutting windows, row by row, before deciding how many repeated motifs your fabric can supply. A motif center may sit on the usable cloth while part of the required cut falls beyond its edge. Staggered rows make those boundary losses easy to miss.
Start by marking one full cutting window and finding its matching positions on the actual fabric. Then record which positions fit. Multiplying one row's count by the number of rows works only when the rows really have the same usable positions.
Measure the motif positions before naming the repeat
Choose a feature you can recognize reliably: the middle of a flower, a particular bird or a junction in a geometric print. Find the next matching feature across the cloth and in the rows above or below it.
Linda Franz's written fussy-cutting explanation at Inklingo uses recognizable repeated features to investigate fabric repeats. Measure the fabric in front of you rather than assuming a product photograph shows its full spacing or starting position.
Direction matters when describing an offset. Spoonflower's repeat-options guide calls a vertical half-step a half-drop and a horizontal half-step between rows a half-brick. Our example has a horizontal row shift, so we will call it a staggered or half-brick arrangement.
The Sew Helpful explanation of half-drop repeats illustrates the vertical offset in a curtain-planning context. It is useful for understanding the distinction, but a curtain-drop calculation does a different job from counting quilt patches.
Draw the full cut around the visible window
Suppose the motif must occupy a 4-inch finished square. With nominal quarter-inch seams on all four sides, its full cutting square is 4.5 inches. That outside square is what must fit on the usable fabric.
Sew4Home's fussy-cutting guide explains planning around a motif and its cutting boundary. Our fussy-cutting overview also separates the part you want to see from the allowance around it.
Make a paper window that shows both boundaries, or mark them on a suitable transparent ruler. Look through the 4-inch opening, then check every edge of the 4.5-inch cut. A beautiful view through the opening cannot recover a missing corner of fabric.
The worked maps here are hypothetical drawings, not measurements of a particular fabric or a cutting template. They use a 24-by-24-inch usable piece and a fixed starting position so we can check every count.
Establish the limits for a complete cutting square
A 4.5-inch square extends 2.25 inches to each side of its center. On a 24-inch usable width, a centered cut therefore fits only when its center is at least 2.25 inches from the left edge and no farther right than 21.75 inches.
The same limits apply vertically. Our three rows have centers 4, 12 and 20 inches down the fabric. Every row is far enough from the top and bottom for the full 4.5-inch height.
Now compare the horizontal positions. In the aligned map, all three rows have centers at 3, 9, 15 and 21 inches. Four cuts fit in every row: 12 usable cuts.
In the staggered map, the first and third rows keep those four positions. The middle row shifts by half the 6-inch horizontal spacing. Its motif centers occur at 0, 6, 12, 18 and 24 inches.
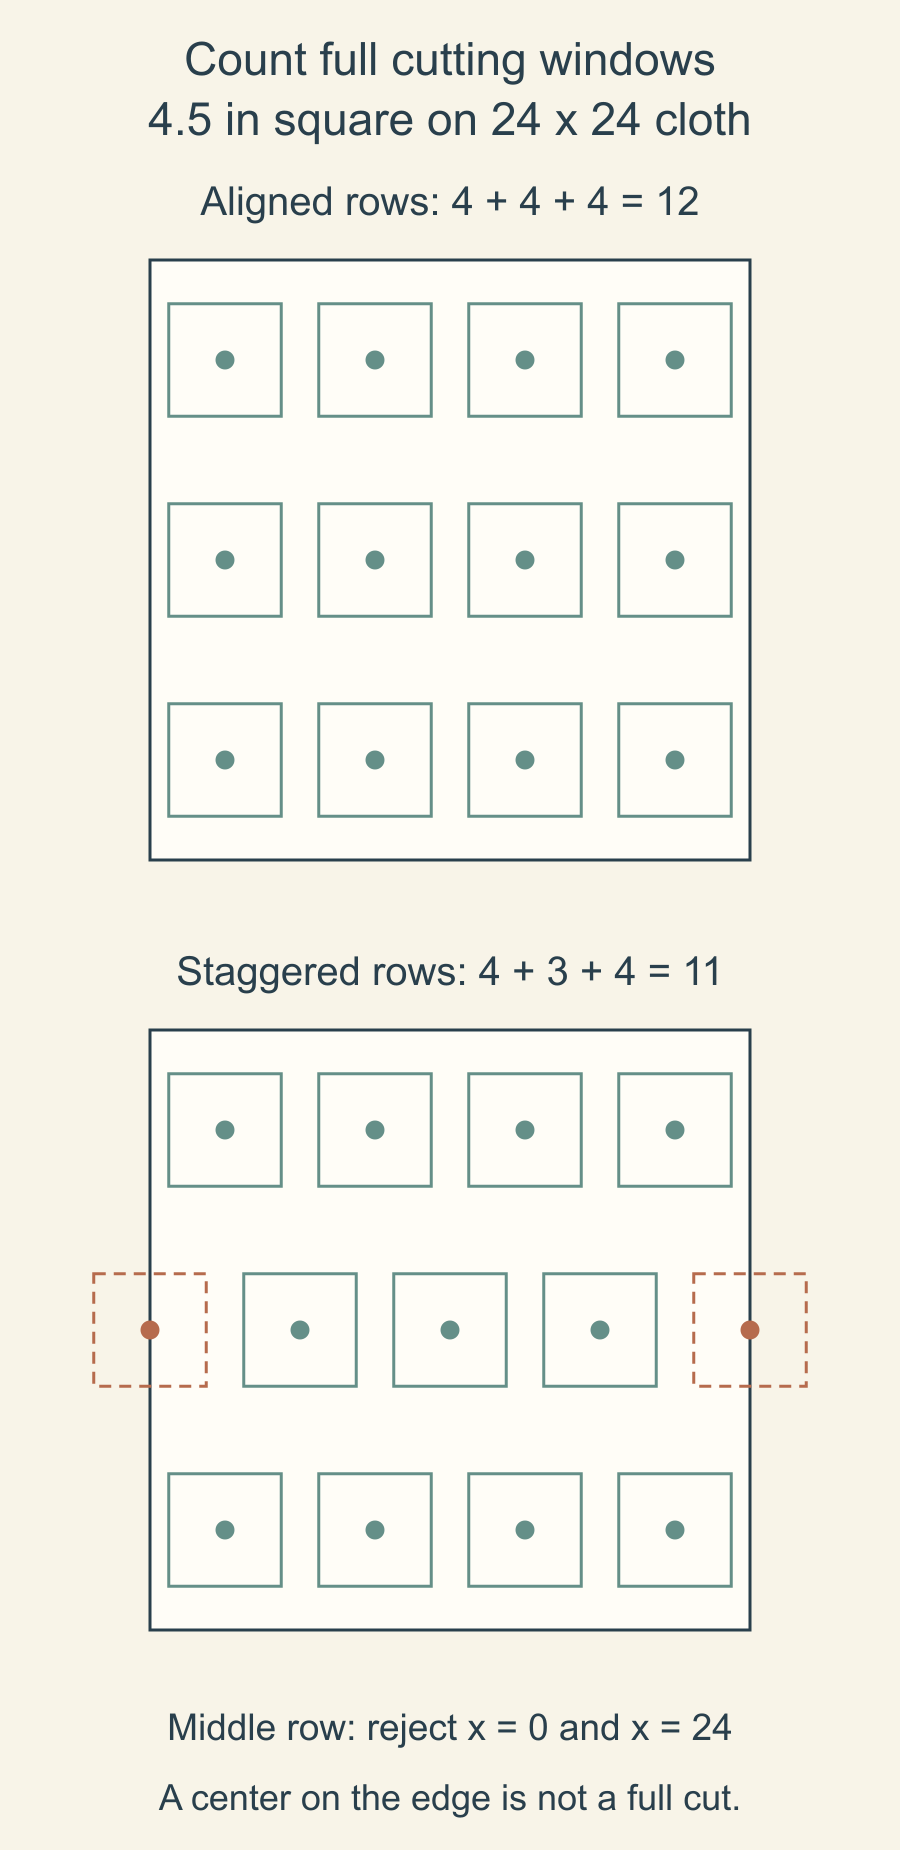
Count both rejected boundary motifs
The center at zero lies on the left edge. Its cutting square would run from -2.25 to 2.25 inches, so half of that square is outside the usable piece.
The center at 24 lies on the right edge. Its cutting square would run from 21.75 to 26.25 inches. That cut also fails the boundary check.
The three middle-row centers at 6, 12 and 18 inches fit. The count is therefore:
| Row center down the cloth | Accepted centers across | Rejected centers across | Usable cuts |
|---|---|---|---|
| 4 inches | 3, 9, 15, 21 | None in this map | 4 |
| 12 inches | 6, 12, 18 | 0 and 24 | 3 |
| 20 inches | 3, 9, 15, 21 | None in this map | 4 |
That gives 4 + 3 + 4 = 11, compared with 12 in the aligned map. Both rejected edge motifs matter, even though the middle row has five visible centers rather than four.
The accepted cutting squares do not overlap. Adjacent centers are 6 inches apart horizontally, leaving 1.5 inches between 4.5-inch cuts. Rows are 8 inches apart, leaving 3.5 inches vertically. Those spaces remain part of the cloth, though they may suit other pieces in your project.
Recount when the starting position changes
Our count depends on where the usable rectangle begins. Trimming an edge, avoiding a flaw or choosing a different motif position can change which full windows fit. Record that starting position with the dimensions.
Do the same if you change the cut size. A larger allowance or a wider motif frame moves the valid center limits inward. A smaller cut may fit a boundary position that the larger square could not use.
Turning a window introduces another question: does the motif still face the direction you need? Count a rotated position only if the design and construction allow it. A mirrored drawing does not create a matching mirrored motif on printed cloth.
For hexagons, use the actual shape and its full cutting allowance rather than applying this square-window count. Our fussy-cut hexagon guide covers that different framing question.
Keep a short count record before cutting a batch
Write down the usable dimensions, visible window, full cutting envelope, motif reference and row positions. Mark rejected windows as well as accepted ones. That makes it easier to check why an estimate changed.
On your own cloth, place the full window at every planned position before cutting the first batch. Check print variations and the required orientation, then make one cut and compare it with the pattern's requirements. Use the confirmed positions to count the remainder rather than relying on the first row alone.
Free patterns to try
Printable PDF patterns with cutting charts and diagrams, free to download.
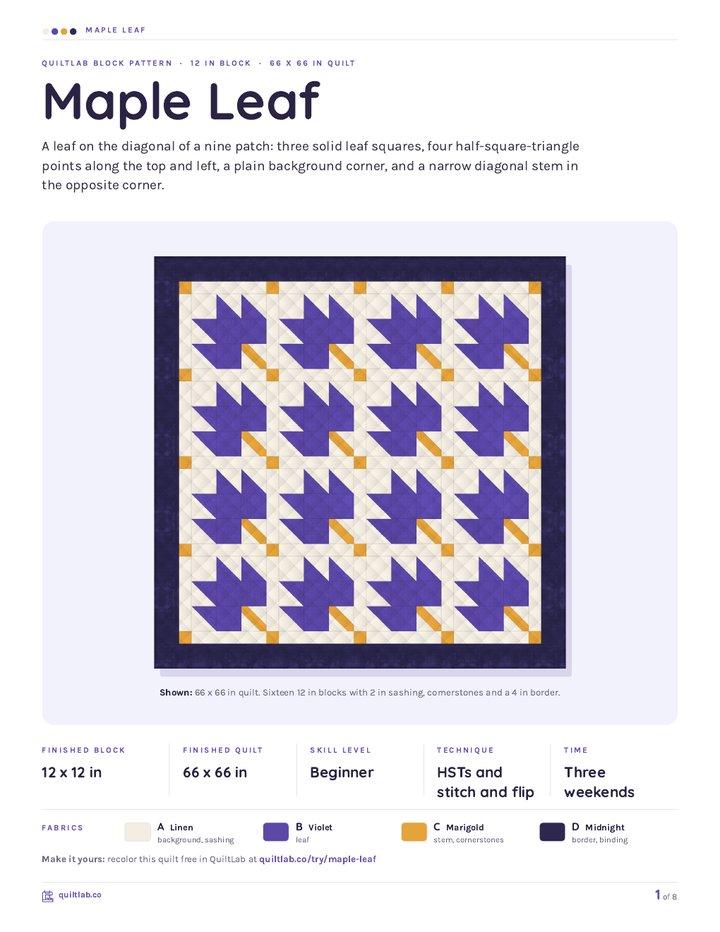
Maple Leaf
Block patternBeginner · 12 in block, makes a 66 x 66 in quilt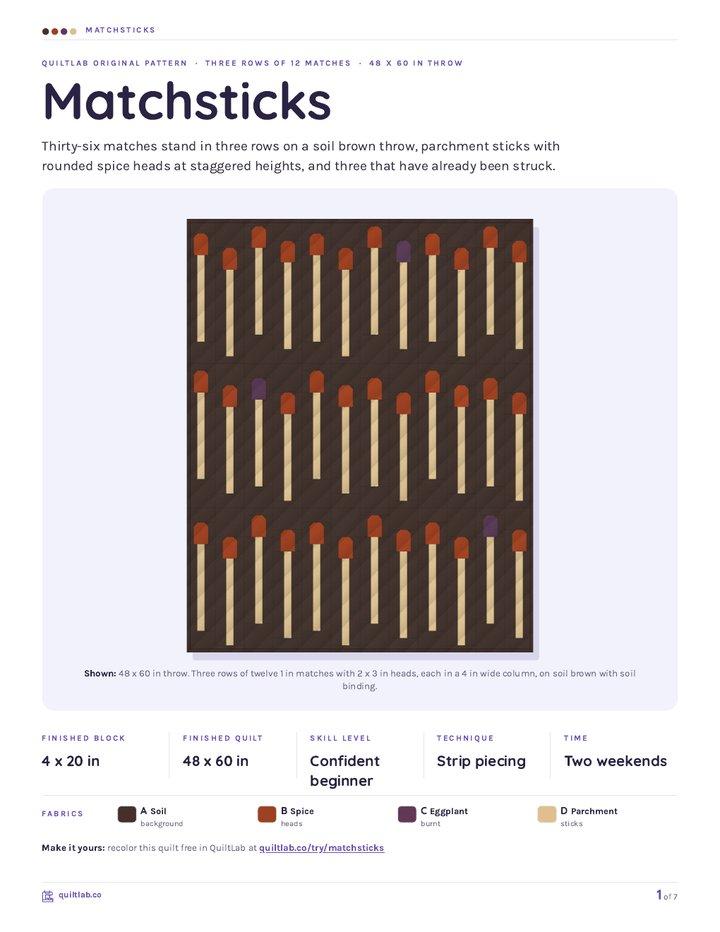
Matchsticks
Quilt patternBeginner · 48 x 60 in throw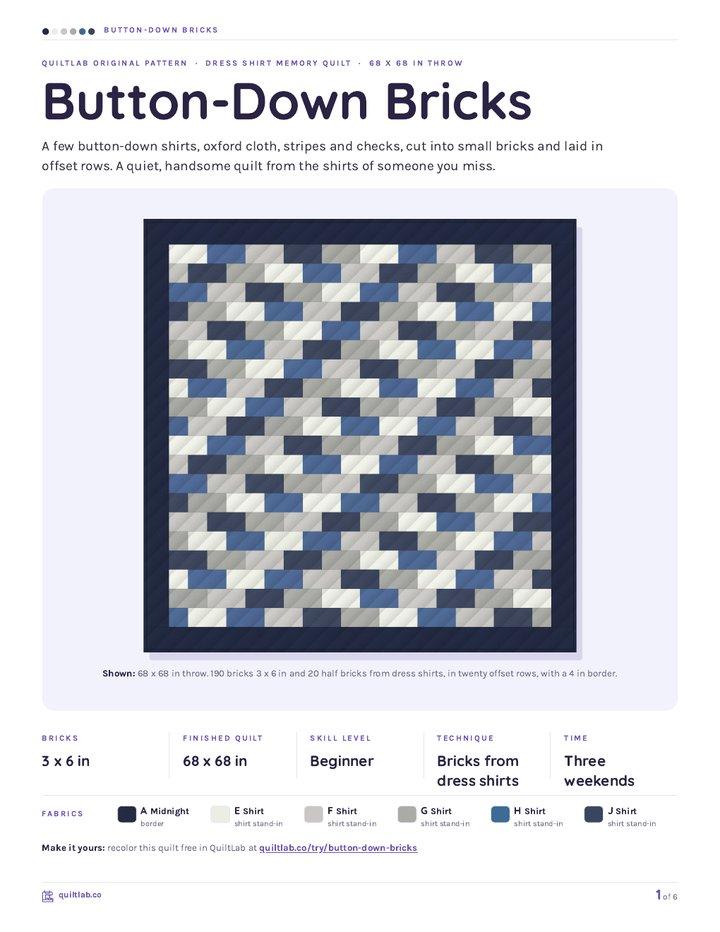
Button-Down Bricks
Quilt patternBeginner · 68 x 68 in throw
Plan your next quilt
Lay out blocks and try colors in QuiltLab's grid editor before you cut.
Free forever, no card needed.
Explore designing with your fabricsGet quilting tips by email
QuiltLab updates, tips and quilting inspiration. Unsubscribe anytime.
Related posts

When Is an Improv Quilt Finished?
Stop changing a composition when it answers your current design question. A before-and-after study helps separate necessary fixes from new ideas.

Build an Abstract Quilt Design from Three Shapes
Turn a sketch you own into a clear patchwork plan. Three colored rectangles show how to preserve a composition while extending a few straight seams.

Start a Damaged Quilt Assessment Before Repair
Record what you see, what you were told and what remains unknown before changing a damaged quilt. A simple condition map organizes the questions.