


Eight at a Time Half Square Triangles: Batch Math
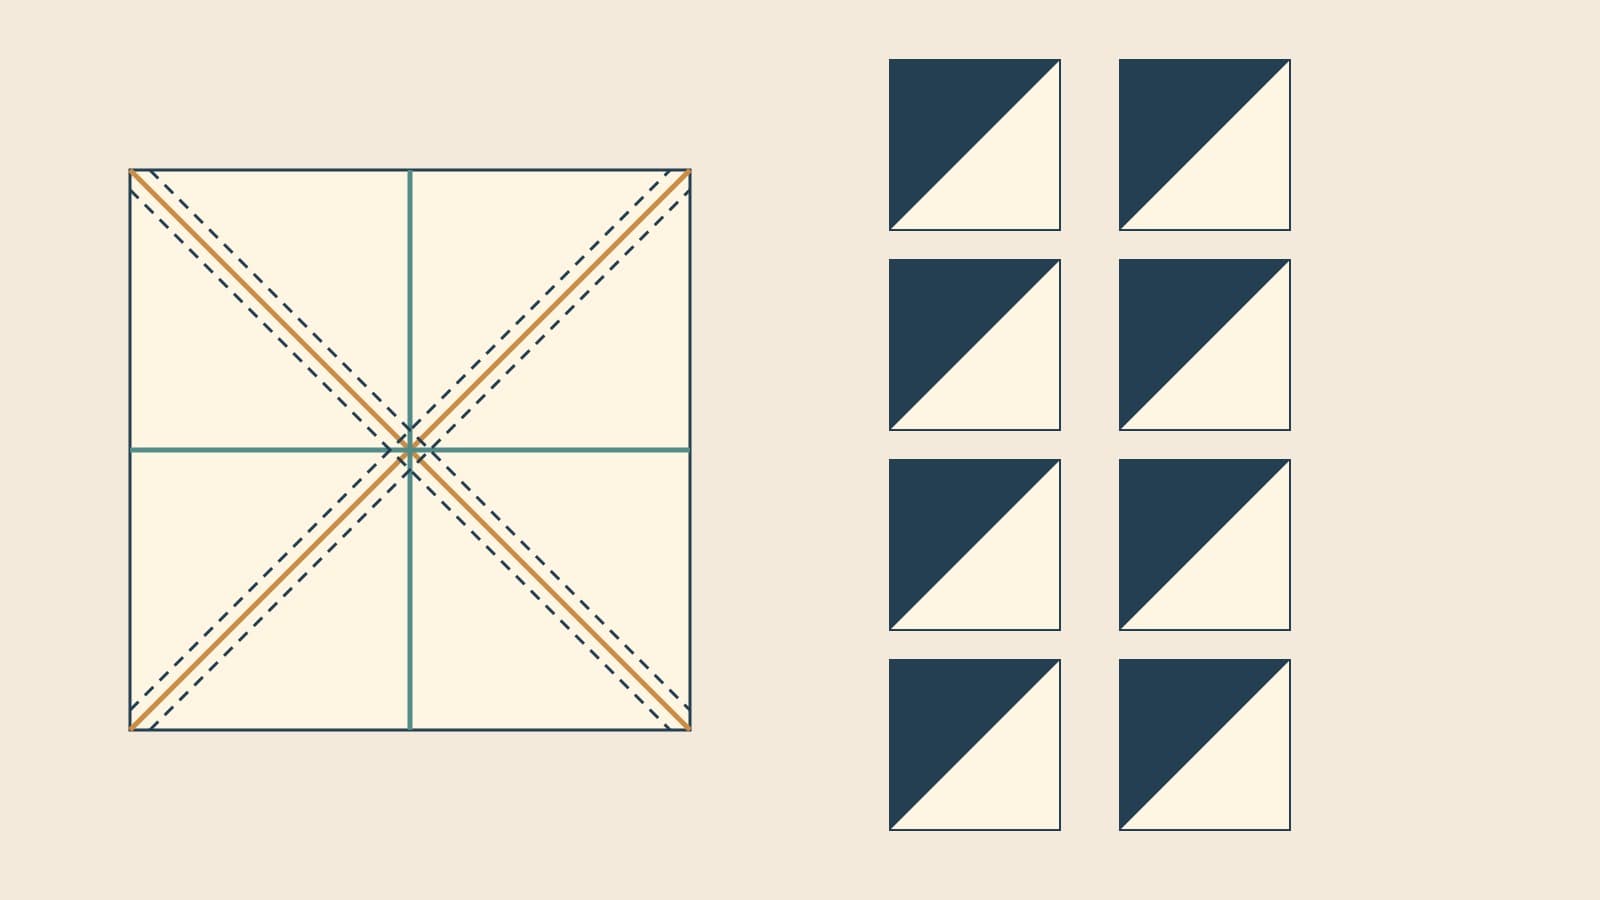
Eight at a time half square triangles suit a design that needs repeated units in the same two fabrics. One pair of large squares yields eight HSTs. Before cutting, check both the starting-square size and the number of batches needed for each fabric combination.
Our worked example needs 54 HSTs finishing at 4 inches: 30 navy/cream and 24 teal/cream. We will start with 10-inch squares, trim each opened unit to 4 1/2 inches, and account for the two surplus navy units. The diagrams and counts are original planning examples; they are not a sew-tested pattern.
Choose the size you need after assembly
The finished size is what remains visible after the HST is joined to its neighbors. The unfinished size is the square you need on the cutting table before joining. With quarter-inch outer seams, unfinished size is finished size plus 1/2 inch.
For a 4-inch finished HST, that means a 4 1/2-inch trim size. Do not trim the unit to 4 inches: after joining, it would finish at 3 1/2 inches and fail to match the intended grid.
The large starting squares have a different allowance. APQS's Magic 8 reference sheet gives the conventional rule: add 7/8 inch to the desired finished size, then double it. For our example:
- 4 + 7/8 = 4 7/8 inches.
- 4 7/8 x 2 = 9 3/4 inches for each starting square.
For extra trimming room, Amanda's eight-at-a-time tutorial at Broadcloth Studio uses twice the finished size + 2 inches. That gives 2 x 4 + 2 = 10 inches. This article uses that oversized choice.
| Finished HST | Trim each unit to | Conventional start | Oversized start |
|---|---|---|---|
| 1 1/2 inches | 2 inches | 4 3/4 inches | 5 inches |
| 2 inches | 2 1/2 inches | 5 3/4 inches | 6 inches |
| 3 inches | 3 1/2 inches | 7 3/4 inches | 8 inches |
| 4 inches | 4 1/2 inches | 9 3/4 inches | 10 inches |
| 5 inches | 5 1/2 inches | 11 3/4 inches | 12 inches |
The table is calculated from those two rules. Oversizing adds 1/4 inch to the large square's side compared with the conventional rule. After the midpoint cuts, each quarter is only 1/8 inch wider than its conventional counterpart. That is useful correction room, not unlimited insurance against an inaccurate seam.
Make and measure one batch in your actual fabric before cutting the rest. If a unit cannot contain the required trimming square, set it aside and check your marking, seam width and pressing.
Understand why two squares yield eight units
Picture the large square divided by a vertical and horizontal midpoint line. Those lines create four smaller squares. Each smaller square contains one diagonal seam arrangement that produces two HSTs, so the yield is 4 x 2 = 8.
In our example, the 10-inch square's midpoint is 5 inches from either edge. Its four quarters are therefore 5 x 5 inches before opening the diagonal seams. The seam reduces the opened unit's size, and the remaining excess allows trimming to 4 1/2 inches.
The batch produces eight units with the same fabric pair. Turning an HST changes which corner is dark; it does not create another fabric combination. If the design needs navy/cream and teal/cream, those are separate batches even if the cream is shared.
Mark, sew and cut one complete batch
The following sequence uses the midpoint-first cutting order illustrated by Amanda at Broadcloth Studio:
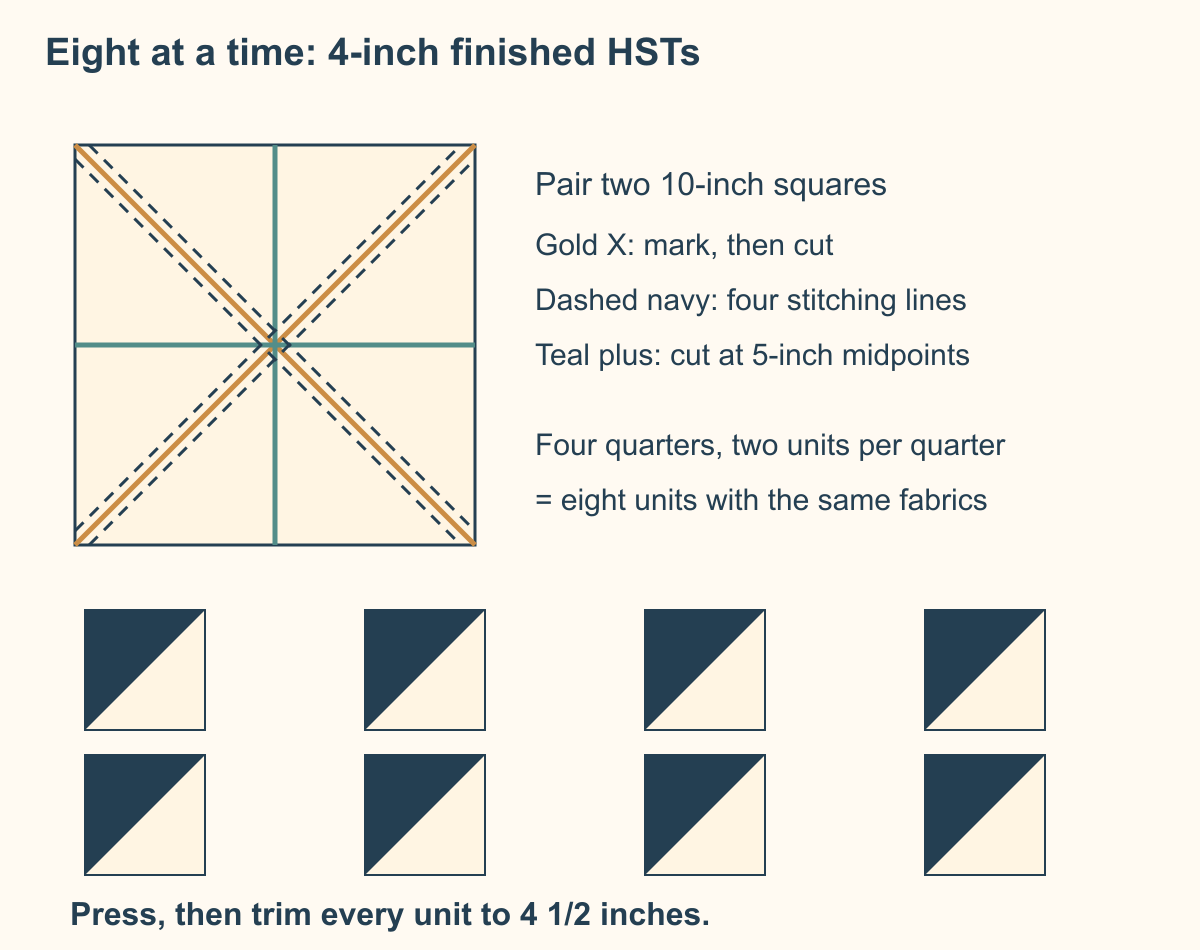
- Cut one navy and one cream square, each 10 x 10 inches.
- On the wrong side of the cream square, mark both corner-to-corner diagonals to form an X.
- Place the squares right sides together and keep their edges aligned.
- Sew a quarter inch on both sides of each diagonal. There are four stitching lines; the marked diagonals are cut lines.
- Cut vertically and horizontally through the square's midpoints, 5 inches from the original edges. Keep the pieces in position while checking the second midpoint cut.
- Cut each quarter along its marked diagonal. Open the eight units, press, and trim to 4 1/2 inches.
Kathleen Anderson's Cowden Quilt School lesson demonstrates another valid order: cut the diagonals first, then the vertical and horizontal divisions. Follow one sequence consistently. Switching halfway through can make it harder to keep track of the original square's center.
After pressing, align the ruler's diagonal with the unit's seam and ensure the whole 4 1/2-inch square fits inside the cloth. Trim two adjacent edges, turn the unit, and use those straightened edges to position the remaining cuts. The seam should meet the trimming square's opposite corners. Kathleen's tutorial also shows diagonal alignment during trimming; our target measurement comes from the 4-inch finished example above.
Keep finished, unfinished and starting-square labels on your notes. A source's word "finished" sometimes describes a trimmed loose unit rather than its size after joining. The measurement you need here is explicit: 4 1/2 inches before assembly, 4 inches after assembly.
Count the 54-unit example by fabric pair
Suppose the design requires 30 navy/cream HSTs and 24 teal/cream HSTs, all the same size. Divide each requirement by eight and round each result upward.
| Fabric pair | Units needed | Eight-unit batches | Units produced |
|---|---|---|---|
| Navy / cream | 30 | 4 | 32 |
| Teal / cream | 24 | 3 | 24 |
| Total | 54 | 7 | 56 |
For these seven batches, cut seven cream 10-inch squares, four navy 10-inch squares and three teal 10-inch squares. That is 14 starting squares. The output is 54 required units plus two navy/cream spares.
Label those spares by fabric pair and trim size. They can replace navy/cream units in this project or begin another project with matching measurements. They cannot replace teal/cream units without changing the design.
Do not round only the overall total. A different design needing 10 navy/cream and 10 teal/cream units needs two batches of each: four batches produce 32 units. Dividing the overall 20 by eight and rounding to three would give 24 units, but three whole batches cannot supply at least 10 of both pairs.
If surplus matters more than keeping one method, combine batch sizes. For our 54-unit example, three eight-at-a-time navy batches make 24 navy/cream units, and three two-at-a-time pairs make the remaining six. Three teal batches make 24 teal/cream units. The result is exactly 24 + 6 + 24 = 54. For 4-inch finished units, those smaller two-at-a-time pairs can start with 5-inch squares and trim to the same 4 1/2 inches. Keep their smaller starting-square measurement separate from the 10-inch batch measurement.
Decide when the batch method fits the quilt
Eight-at-a-time works well when the fabric-pair counts are large or close to multiples of eight. Smaller pair counts, numerous accent colors, or limited scraps may make two-at-a-time more convenient. A high batch yield does not remove marking, pressing or trimming work: all eight units still need checking.
Use half-square triangle quilt layouts for orientation ideas after the size and count plan is settled. If planning digitally in QuiltLab, represent these units at their 4-inch finished size. The Quilt Editor guide explains its Grid measurements; keep 4 1/2-inch trimming and 10-inch cutting information in your construction notes.
QuiltLab does not generate the HST cutting plan or fabric yardage. Your batch worksheet supplies that construction information, while the design helps you check where each fabric pair belongs. Count the color pairs from the final layout before repeating the test batch.
When fabric pairs vary or only a few units remain, the two-at-a-time HST method gives a smaller batch with its own starting-square calculation. Choose the batch size before cutting either method's squares.
Related posts
Fussy Cutting: Plan the Motif Before You Cut
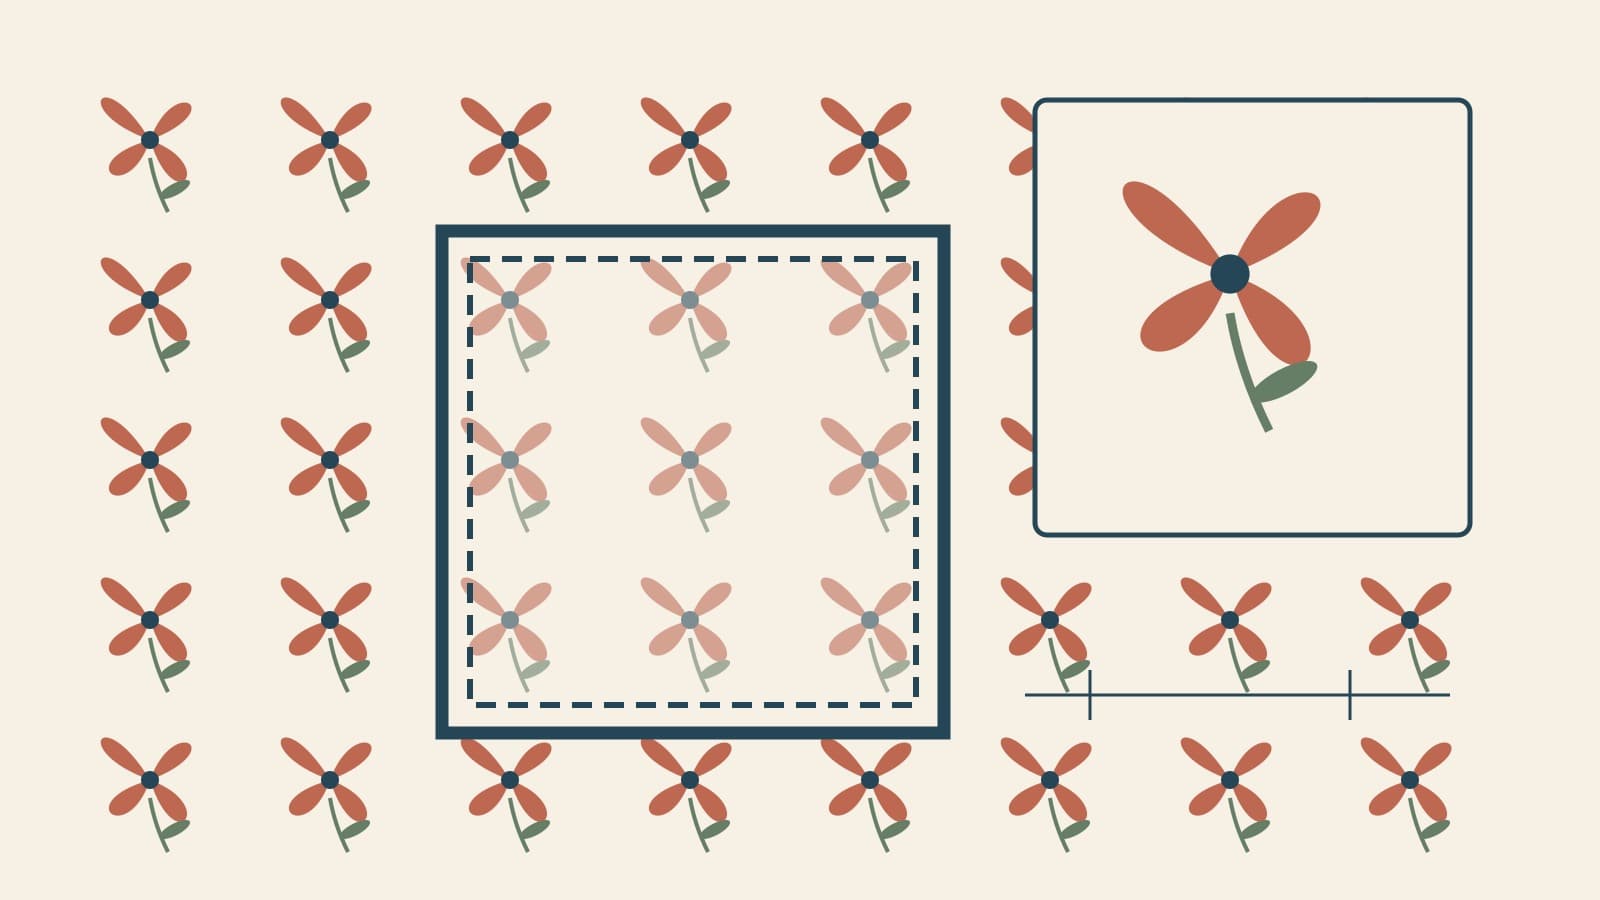
Frame the print, protect the seam allowance and count usable repeats. A four-inch square example, plus a QuiltLab preview before you cut.
Fussy Cutting Hexagons: Plan Repeats for a Rosette
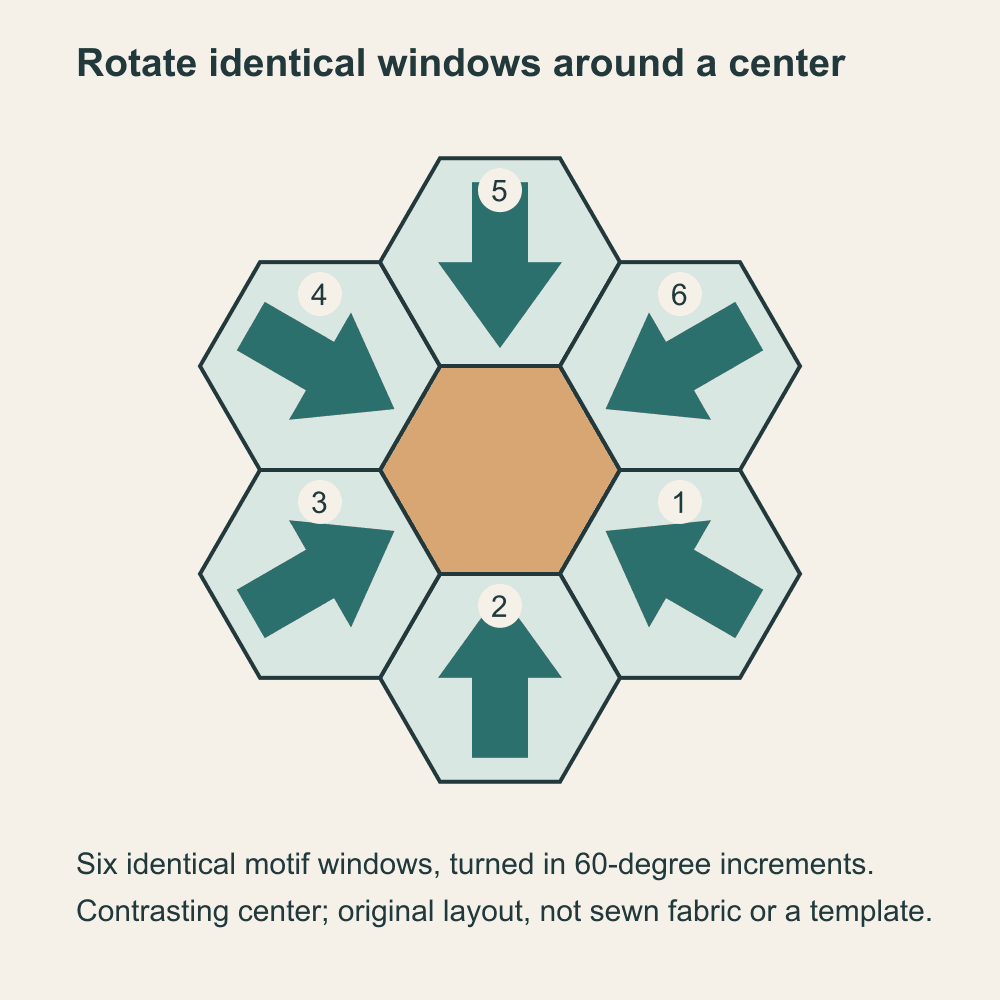
Count six matching motifs, record their orientation and preview a hexagon rosette before cutting the fabric.
How to Write a Quilt Pattern: Pages, Diagrams and Testing
Turn a quilt design into a clear pattern with a page plan, checked quantities, useful diagrams and a testing process.