What Can You Make with Leftover Charm Squares?
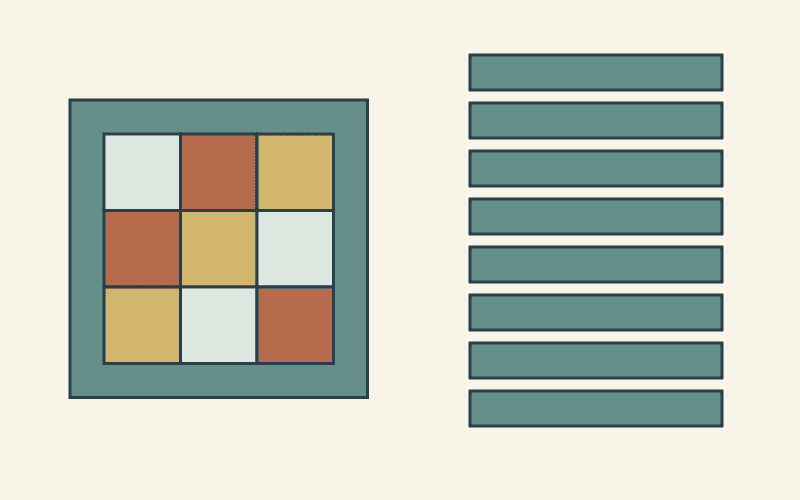
Leftover charm squares can become a small patchwork panel for a cushion front or wall piece. With nine usable squares, start by checking a three-by-three center and a frame that fits your short strips. List backing and finishing materials separately, and keep unneeded long strips intact for the next project.
Leftover charm squares rarely arrive as a complete, matching pack. Some prints are gone, a strip may have a cut end and the quantity on the original label no longer describes what is in your box. Your current inventory is the useful starting point.
Record usable pieces, not the old package total
Lay out the remainder and give each shape a count. Measure a strip between the boundaries you can actually use, after excluding a damaged end or any edge your method requires you to remove.
Amy Smart's charm-square project collection at Diary of a Quilter explains the familiar 5-inch charm-square format and shows different project scales. Treat the size name as a starting description, then check your own pieces.
For pinked pieces, decide which boundary the cutting instructions use before assuming the full nominal width is available. Our pinked-edge seam-allowance guide covers that separate measurement question.
Here is the imaginary inventory for our example. We drew the panel and inventory ledger for this article and have not sewn the project.
| Piece type | Usable size | Count |
|---|---|---|
| Charm squares | 5 x 5 inches | 9 |
| Short strips | 2.5 x 18 inches | 12 |
The strips are already short remnants. Nothing in this plan assumes that a full width-of-fabric strip is hiding behind that 18-inch measurement.
Choose a project that respects the longest pieces
A three-by-three center uses all nine squares. A narrow frame can use four of the short strips while leaving eight intact. That is a promising panel to investigate before deciding whether it becomes a small wall piece or part of a cushion.
Compare the idea with the inventory before choosing a finished object:
| Proposed use | Inventory question | Result here |
|---|---|---|
| One nine-square center | Are nine squares available? | Yes |
| Two matching nine-square centers | Are eighteen squares available? | No |
| Frame requiring an unjoined 22-inch strip | Is any strip that long? | No |
A longer piece could sometimes be made by joining strips, but that introduces a join, allowance and placement decision. Mark it as a new plan rather than pretending the existing strip is longer.
Erica Jackman's discussion of 2.5-inch-square scraps at Kitchen Table Quilting offers ways to use small pieces. Cut down a longer remainder when the chosen project needs those squares, instead of losing its length before you know what you want to make.
Check the center before the frame
Three 5-inch raw squares joined with nominal quarter-inch seams measure 14 inches raw across. The calculation is 15 inches minus two joins, each consuming half an inch across the two pieces.
The three rows give the same raw height. The center therefore measures 14 by 14 inches before any surrounding joins, contributing a 13.5-by-13.5-inch finished area once its outside allowances are used.
Keep those stages on the sketch. An instruction that asks for a frame to fit a 14-inch raw center cannot use the finished 13.5-inch number interchangeably.
Our one-charm-pack planning guide compares layouts from an intact pack. This example starts further along: the nine-square remainder is fixed, and the available strip lengths decide which surrounding plan is feasible.
Audit the four frame cuts
For this declared example, the frame uses two pieces cut 2.5 by 14 inches and two cut 2.5 by 18 inches. The longer pair spans the center after the first opposite pair is joined.
Across that joined width, 14 + 2.5 + 2.5 - 1 = 18 inches raw. The final framed panel is an 18-inch raw square, with a nominal 17.5-inch finished area under the same seam assumption.
| Frame cut | Number | Source strip use |
|---|---|---|
| 2.5 x 14 inches | 2 | Two strips, leaving 4-inch ends |
| 2.5 x 18 inches | 2 | Two whole usable strips |
Each required cut fits one available strip. The diagram checks piece feasibility; a complete project still needs its construction method, actual measurement checks and finishing plan.
Keep useful leftovers separate from waste
The starting inventory contains 225 square inches in the nine squares and 540 in the twelve strips: 765 square inches altogether.
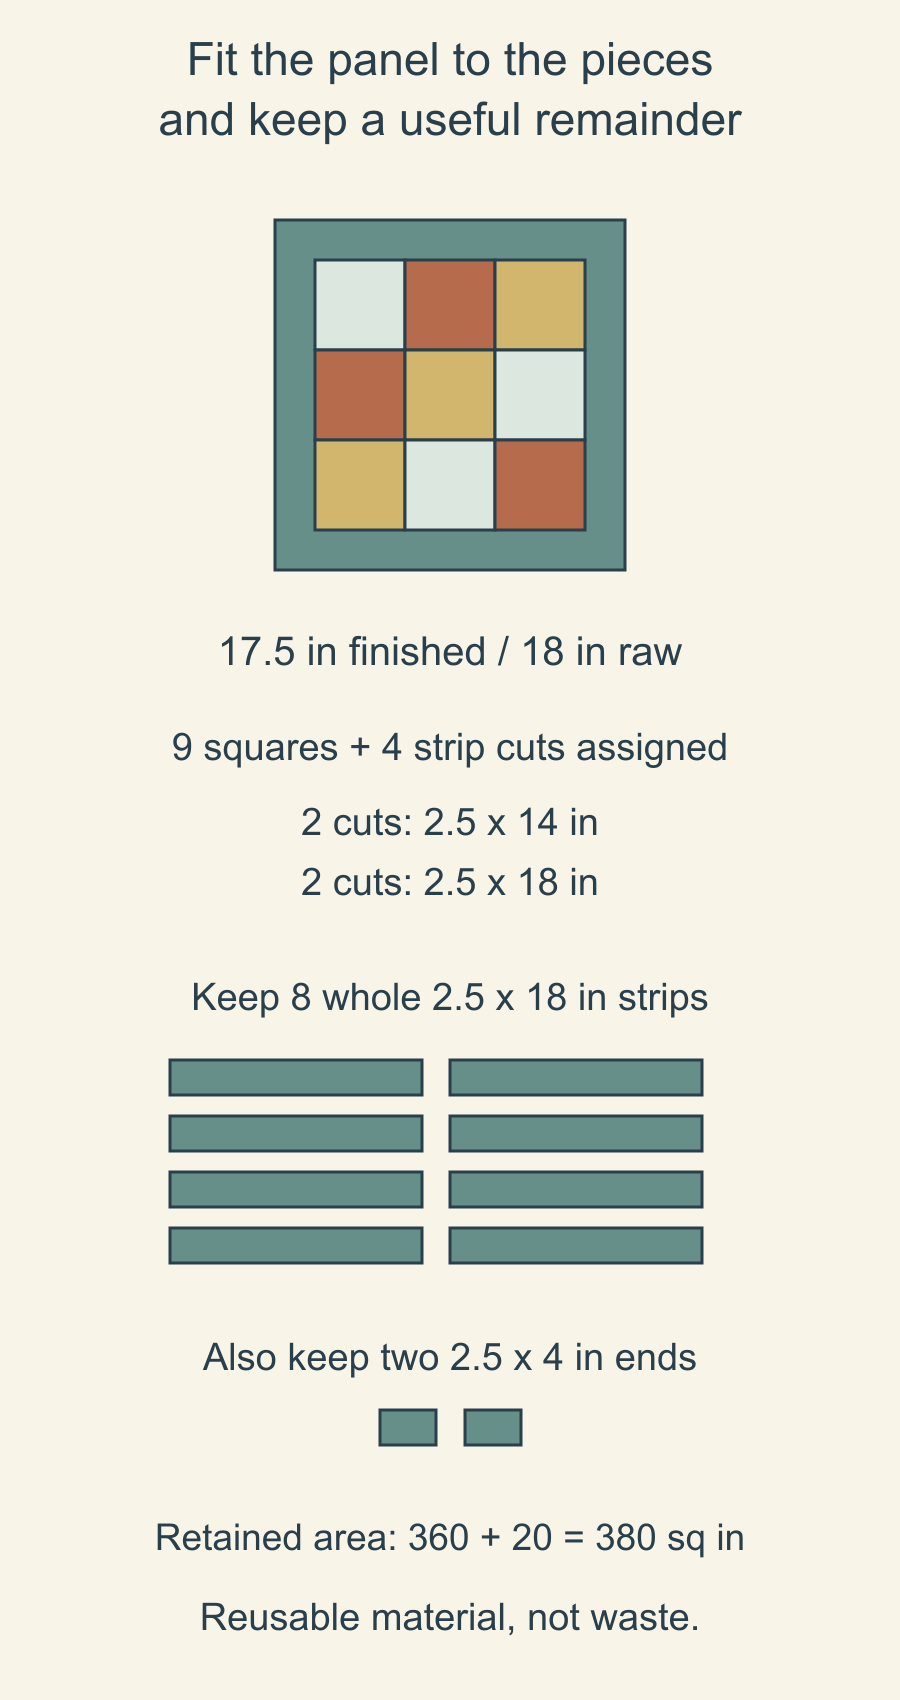
The pieces assigned to the panel contain 225 + 70 + 90 = 385 square inches before sewing. The retained material totals 380 square inches:
- Eight intact 2.5-by-18-inch strips: 360 square inches.
- Two 2.5-by-4-inch ends: 20 square inches.
Those pieces remain usable. Calling all 380 square inches waste would hide the most useful part of the inventory record.
Also distinguish cut-piece area from assembled area. The raw panel covers 18 times 18, or 324 square inches. The difference between its 385 square inches of cuts and that footprint is 61 square inches, accounted for in the sewn seam overlaps. It is not a missing stack of scraps.
Area is a cross-check, not a cutting plan. A pile of tiny pieces with 380 square inches does not offer the same options as eight intact short strips.
Finish the project brief before using the rest
Sherri McConnell's Jelly Roll Fun article for Moda shows smaller projects and framed-block possibilities for strip leftovers. Use those examples to choose a project scale, then check what your own finish requires.
If this panel becomes a cushion front, you still need the actual back, closure, insert-size and joining instructions. If it becomes a quilted wall piece, backing, batting, quilting and edge finishing are separate requirements. Put those materials on the brief before declaring the project fully supplied.
Keep the eight strips together with their measured dimensions and the two short ends in a separate labeled group. Our limited-fabric planning guide helps when one particular cloth is the constraint you must preserve.
Count your current squares and measure the longest usable strips now. Sketch one panel that fits both, mark what remains and settle its finishing requirements before cutting into the rest.
Free patterns to try
Printable PDF patterns with cutting charts and diagrams, free to download.
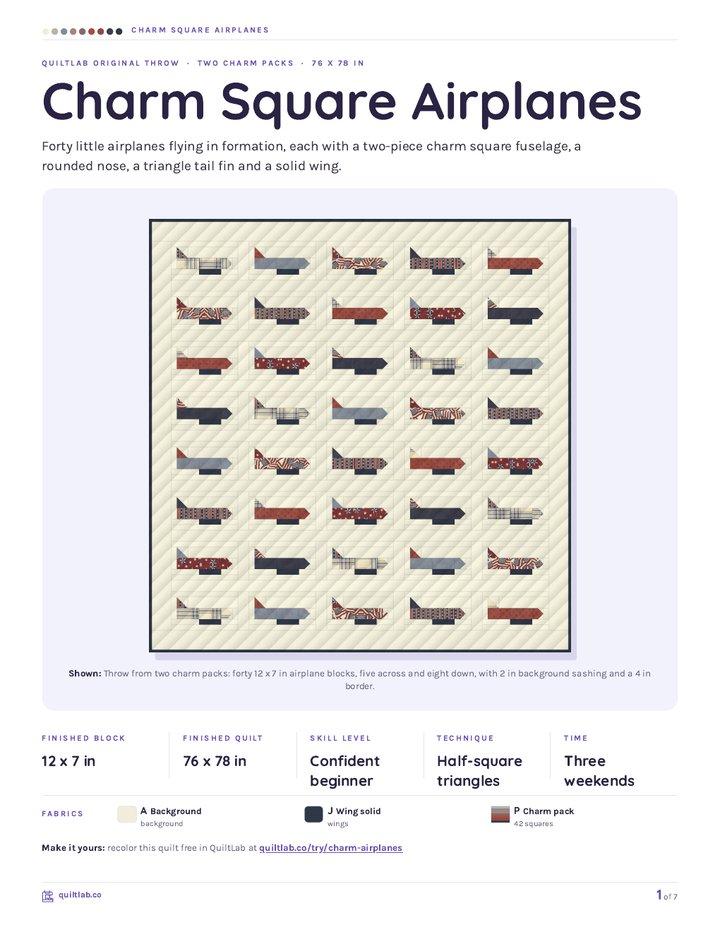
Charm Square Airplanes
Quilt patternBeginner · 76 x 78 in throw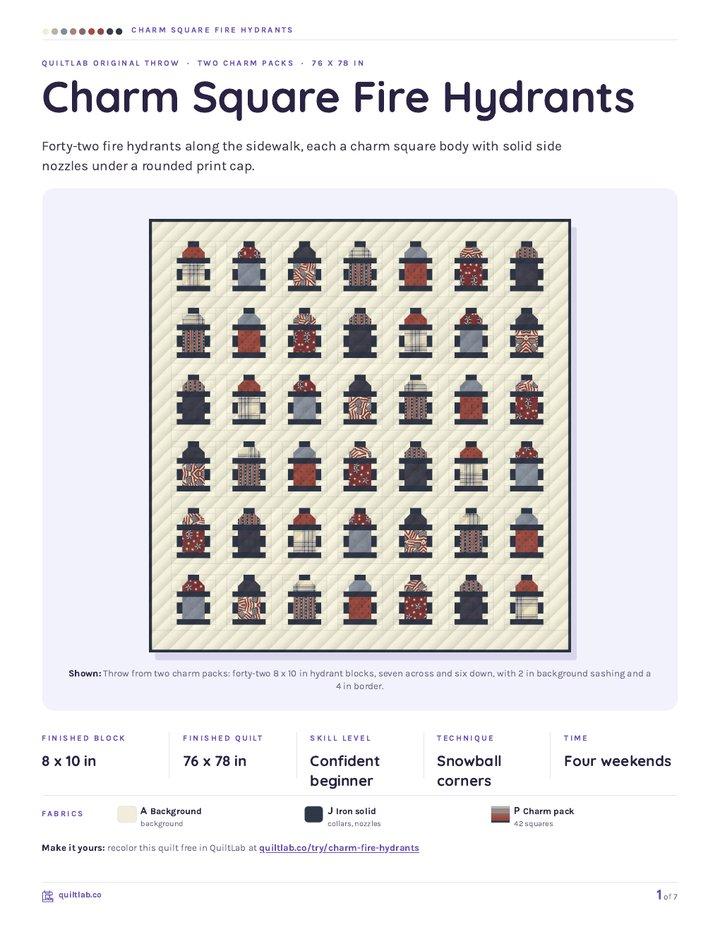
Charm Square Fire Hydrants
Quilt patternBeginner · 76 x 78 in throw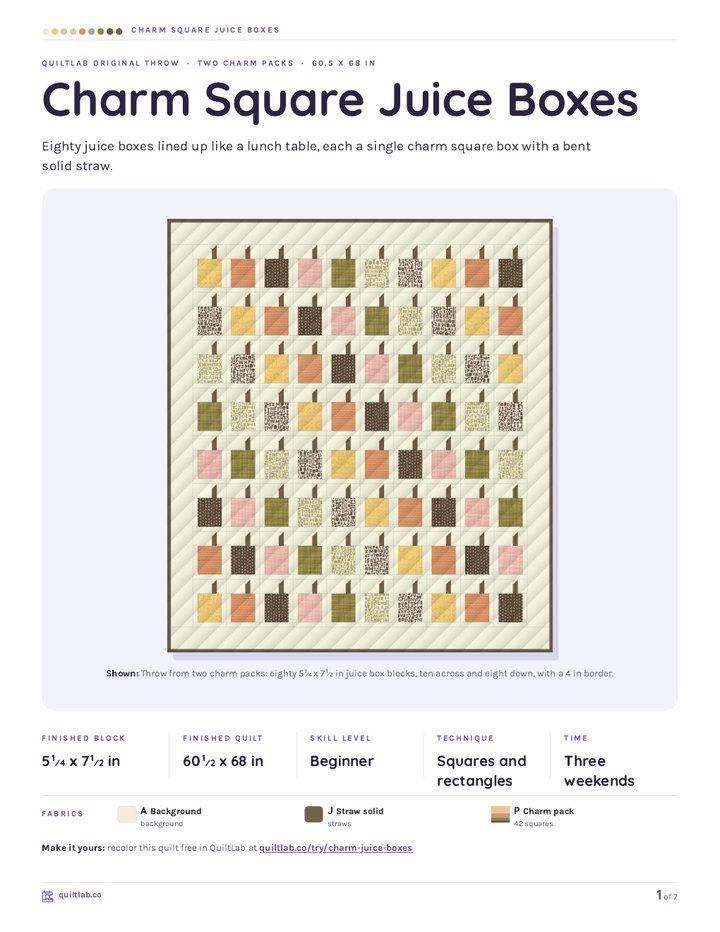
Charm Square Juice Boxes
Quilt patternBeginner · 60 1/2 x 68 in throw
Plan your next quilt
Lay out blocks and try colors in QuiltLab's grid editor before you cut.
Free forever, no card needed.
Get quilting tips by email
QuiltLab updates, tips and quilting inspiration. Unsubscribe anytime.
Related posts

When Is an Improv Quilt Finished?
Stop changing a composition when it answers your current design question. A before-and-after study helps separate necessary fixes from new ideas.

Build an Abstract Quilt Design from Three Shapes
Turn a sketch you own into a clear patchwork plan. Three colored rectangles show how to preserve a composition while extending a few straight seams.

Start a Damaged Quilt Assessment Before Repair
Record what you see, what you were told and what remains unknown before changing a damaged quilt. A simple condition map organizes the questions.