Removing Paper from Foundation Piecing Safely
Remove foundation paper when it has finished its job in the pattern, while keeping any paper still needed to support or align the next join. Hold the sewn unit close to the seam and tear gently instead of pulling against an unsupported edge. Follow the particular pattern and paper directions when they specify the order.
This article concerns sew-through foundation paper piecing. English paper piecing and reusable freezer-paper methods handle their papers differently. Our method comparison helps if you are unsure which process your pattern uses.
Identify which edges still need support
Before removing anything, find the next join in the instructions. Note the paper lines, corners or outer edges that help position that join. Paper you no longer need in one seam allowance may sit beside paper that still has an important job.
Paper Panache's written questions and answers explains why removal timing depends on the project and on whether edges still need the foundation. Some work keeps its paper until a later assembly stage; another method may remove selected areas earlier.
Read the pattern's sequence before choosing between those approaches. If an instruction is unclear, ask about the particular edge rather than assuming every piece of paper should come out together.
Our guide to reading an FPP pattern covers the printed references and order. Here, use those references to decide which paper can safely leave the unit at the current stage.
Separate seam-allowance paper from the main foundation
Kristy Lea's foundation-piecing tips at Quiet Play describe removing the two narrow allowance-paper strips after joining sections in her method. That is a specific stage, while the larger template areas remain a separate decision.
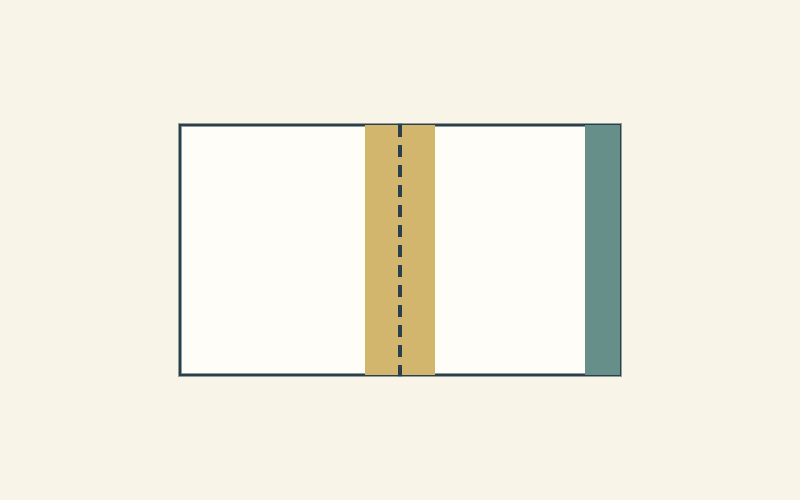
For our drawn example, mark three zones: a completed joining seam, the narrow paper on either side within its allowances and an outer edge still needed for a future join. We drew the support map and have not sewn it. It is a conceptual illustration rather than a printable foundation template.
| Zone | Question before removal |
|---|---|
| Completed join allowance | Does the pattern now permit this narrow paper to come out? |
| Main foundation area | Does it still support the unit at this assembly stage? |
| Future-join outer edge | Is its line or shape still needed for alignment? |
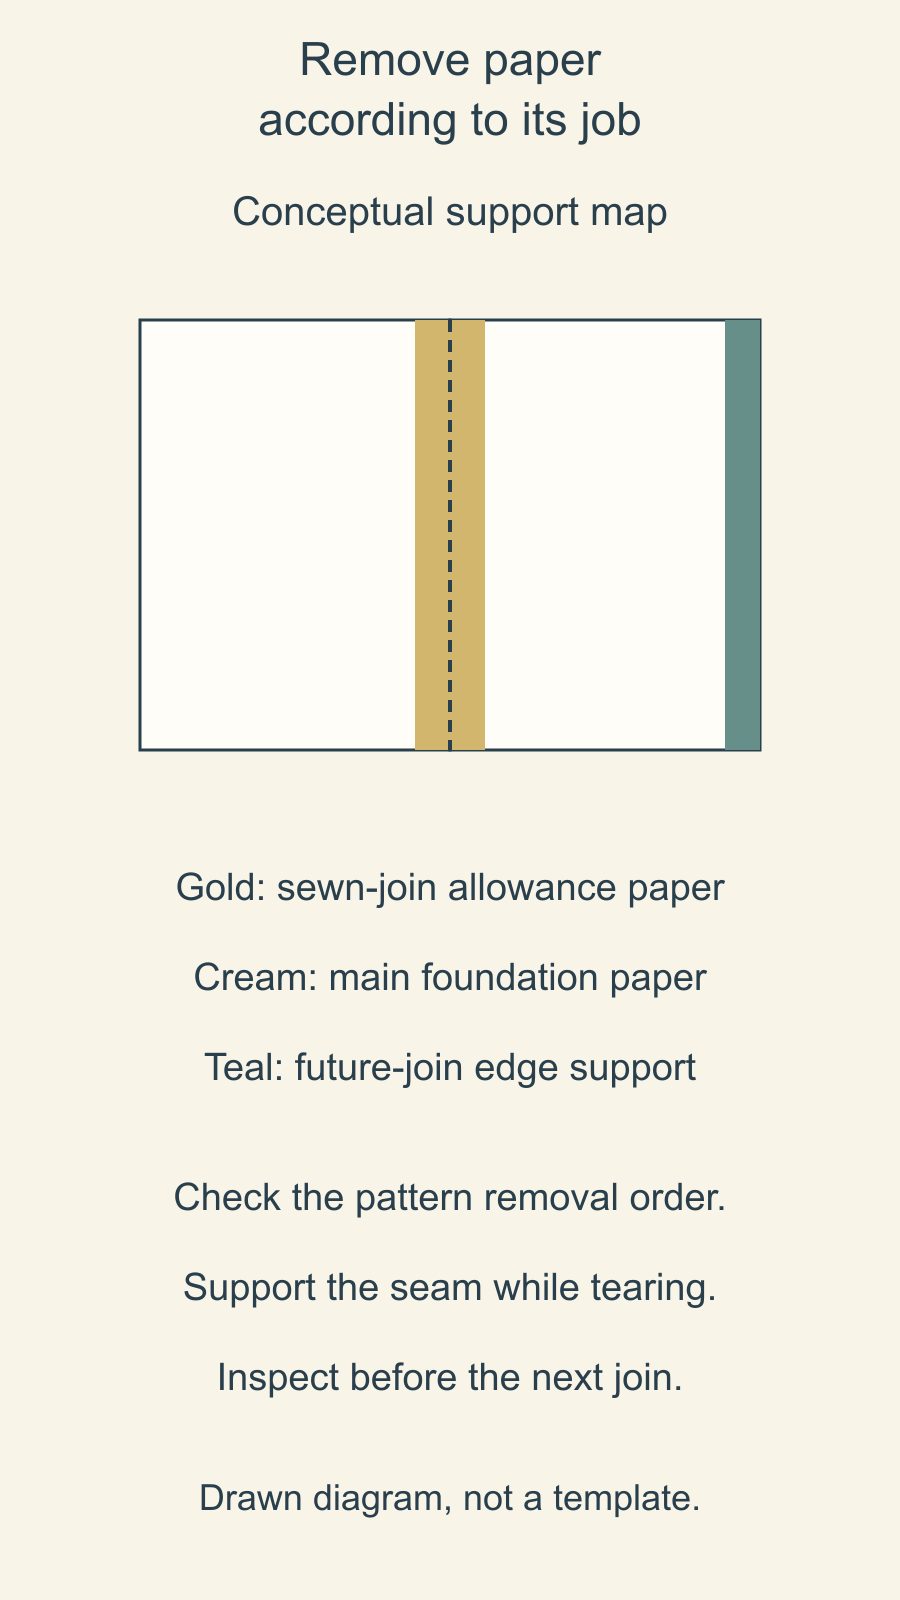
Where an example mentions a quarter-inch allowance, that belongs to the declared pattern assumption. Check the actual pattern rather than importing that allowance into every template.
Watch the allowance-paper action when it helps
In Violet Craft's FPP tutorial series, the lesson on sewing templates together shows the same useful distinction. At 4:35-5:23 in the recording below, she folds along the joined seam and removes the narrow allowance paper while the main foundations remain.
Watch which paper stays in place as well as which strip comes away. Her demonstration uses her pattern and assembly sequence; apply the action only at the corresponding permitted stage of yours.
Support the seam while you work
Kitty Wilkin's written FPP tutorial for Andover Fabrics describes holding the block and pulling the paper gently away and to the side. That control keeps the action close to the perforated line instead of asking the fabric edge to resist a broad tug.
Begin with a small section you can support comfortably. Fold or crease along the existing stitching as the method directs, then remove the permitted paper with a controlled movement. Pause if the stitches or fabric begin moving with it.
Change your hand position as the piece comes away. The useful support point moves with the work; it should not remain at the far corner while you pull a long strip across the unit.
If you cannot see the stitches clearly, stop and inspect before continuing. Better light and a smaller section to hold are more useful than trying to finish the removal in one pull.
Remove small remnants carefully
Wilkin describes using blunt tweezers for remaining bits. Work carefully around the thread rather than digging under stitches or pulling a fragment through the fabric.
A piece of paper caught in a join may need closer inspection of the allowance and the next assembly step. Keep the unit supported while deciding what can come away. Do not assume every remaining speck will disappear safely in washing.
Before using water, check the paper, printing and fabric instructions. Paper Panache discusses the uncertainty of ink and moisture; a suggested technique for one combination may leave a mark or create a different problem in another.
Wilkin also mentions having heard of wet removal while explicitly saying she had not tried it. Treat that as an untested suggestion in her account, not her verified recommendation.
Use the directions for the exact paper
The maker's page for Carol Doak's Foundation Paper from C&T Publishing describes that product's lightweight tear-away behavior and specific dry-iron/press-cloth directions. Another paper or printed medium may have different requirements.
Keep the packaging or product name with the project. If removal is unusually difficult, check the pattern, paper and the stitching setup used before applying more force. For a future sample, investigate the relevant setup under the actual instructions instead of treating one teacher's machine stitch length as a universal setting.
Our FPP fabric-coverage guide handles a different earlier-stage check: whether fabric covers its required area. Accurate coverage and controlled paper removal both matter, but one does not prove the other has been completed correctly.
Check the unit before the next join
Lay the unit down and inspect its edges, seams and reference points. Identify which support remains and why. Compare that state with the next instruction before placing it against another section.
If you find a disturbed stitch or uncertain allowance, resolve it while the unit is accessible. Keep the question attached to its page and section label so the pattern designer can understand what you need clarified.
Find the next join in your current FPP pattern now. Mark the paper that still supports it, remove only the areas the method permits and inspect the unit before continuing assembly.
Free patterns to try
Printable PDF patterns with cutting charts and diagrams, free to download.
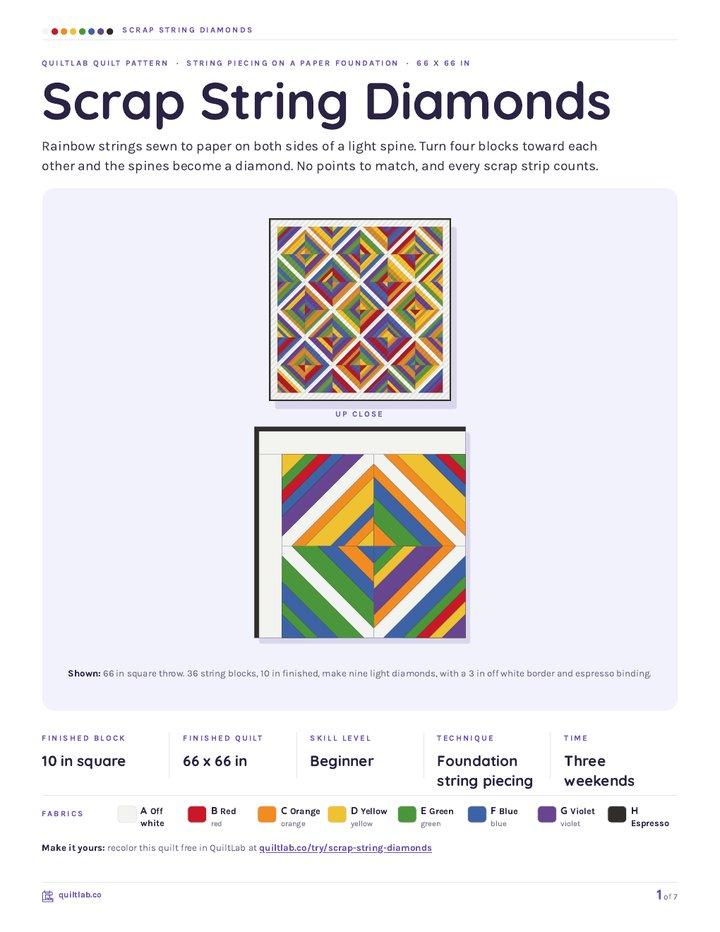
Scrap String Diamonds
Quilt patternBeginner · 66 in square throw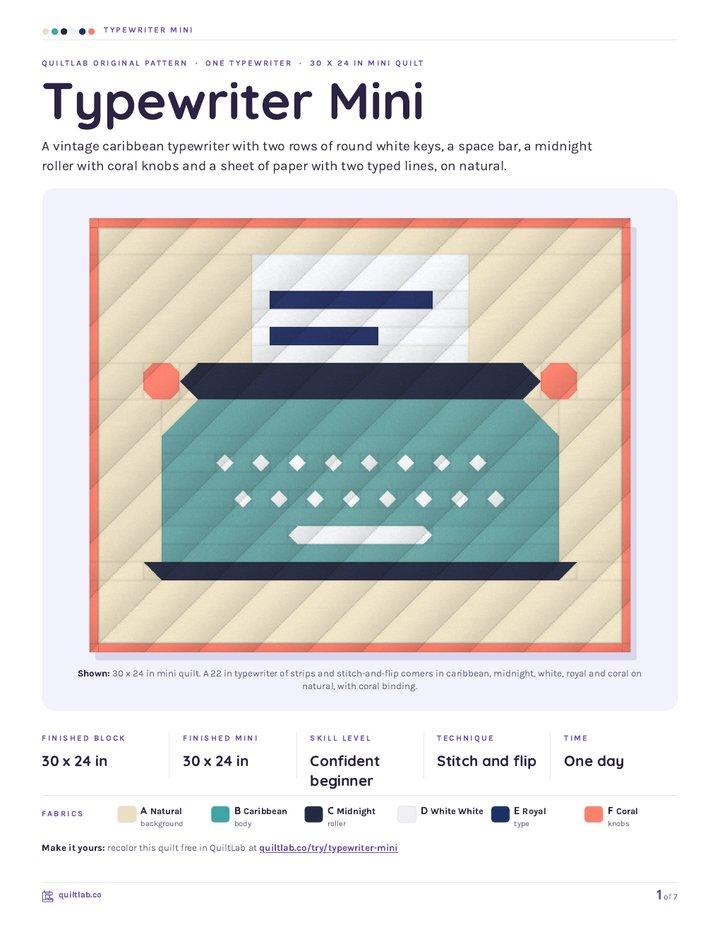
Typewriter Mini
Quilt patternBeginner · 30 x 24 in mini quilt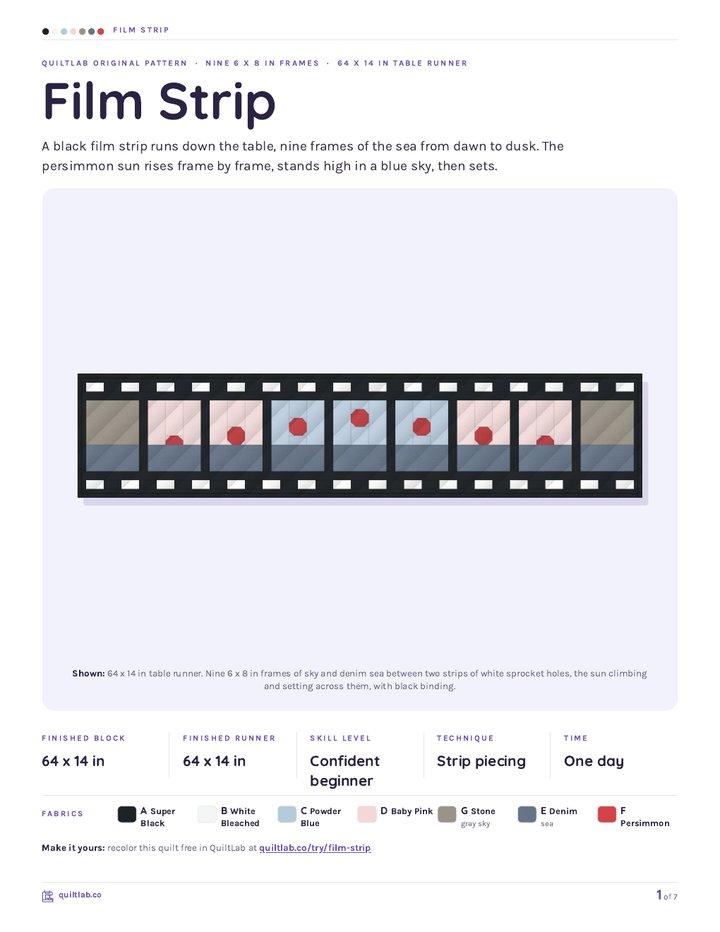
Film Strip
Quilt patternBeginner · 64 x 14 in table runner
Plan your next quilt
Lay out blocks and try colors in QuiltLab's grid editor before you cut.
Free forever, no card needed.
Get quilting tips by email
QuiltLab updates, tips and quilting inspiration. Unsubscribe anytime.
Related posts

When Is an Improv Quilt Finished?
Stop changing a composition when it answers your current design question. A before-and-after study helps separate necessary fixes from new ideas.

Build an Abstract Quilt Design from Three Shapes
Turn a sketch you own into a clear patchwork plan. Three colored rectangles show how to preserve a composition while extending a few straight seams.

Start a Damaged Quilt Assessment Before Repair
Record what you see, what you were told and what remains unknown before changing a damaged quilt. A simple condition map organizes the questions.