How to Pack a Quilt for Shipping

To pack a quilt for shipping, start with a completely dry quilt, a clean protective inner covering and a sturdy box that fits the prepared bundle without force. Put identification inside as well as outside, secure the box and measure the sealed parcel before choosing postage. Confirm the recipient's requirements before packing a show or service-bound quilt.
This guide covers an ordinary new quilt in sound condition. Fragile, historic, heavily embellished or unusually shaped textiles need a packing plan suited to their condition. The steps below won't establish a conservation method for them.
Confirm the destination before folding
Check the recipient's current address, contact details, receiving dates and any preparation instructions. A quilt show or quilting service may require a particular label, project number, return arrangement or packing method. Save those instructions with the project.
The American Quilter's Society's shipping guidance illustrates that organized handoff: its entrants use a protective bag inside a sturdy box, identify the quilt, and include contact information. Its contestant guide governs event-specific details. Don't copy an old show's address or program rules into an unrelated shipment.
Tell an ordinary recipient when you intend to send the package and arrange how they will confirm its condition. Keep the quilt title or project description consistent across the packing record and the note inside. “The blue quilt” becomes ambiguous when several projects are moving at once.
Prepare the quilt and its record
Inspect both faces and the edges before packing. Remove unrelated loose items and check for anything that could snag or press into the textile. Photograph the front, back, label and any area worth documenting.
If the quilt needs cleaning or mark removal, use a method compatible with its actual materials and let it dry fully before packing. Our first-wash guide covers that separate decision. Shipping is not a reason to apply a new cleaning treatment without checking it first.
Keep the materials record and a brief condition note. A sewn label and a packing slip serve different purposes: the label stays with the quilt, while the slip helps identify the shipment if the outer packaging is separated. Our quilt-label guide explains what belongs on the permanent label.
Fit the box to the prepared bundle
Arrange the quilt gently and avoid forcing a large bundle into a small container. Measure it after the intended protective covering and any needed supports are included. Then measure the usable inside of the candidate box, not its advertised outside dimensions.
Suppose the prepared bundle actually measures 12 by 15 by 6 inches. A box with inside dimensions 14 by 17 by 8 inches has two extra inches in each overall dimension. If centered, that leaves a nominal inch at each opposing side, including above and below.
| Direction | Prepared bundle | Box interior | Total extra space |
|---|---|---|---|
| Width | 12 in | 14 in | 2 in |
| Length | 15 in | 17 in | 2 in |
| Height | 6 in | 8 in | 2 in |
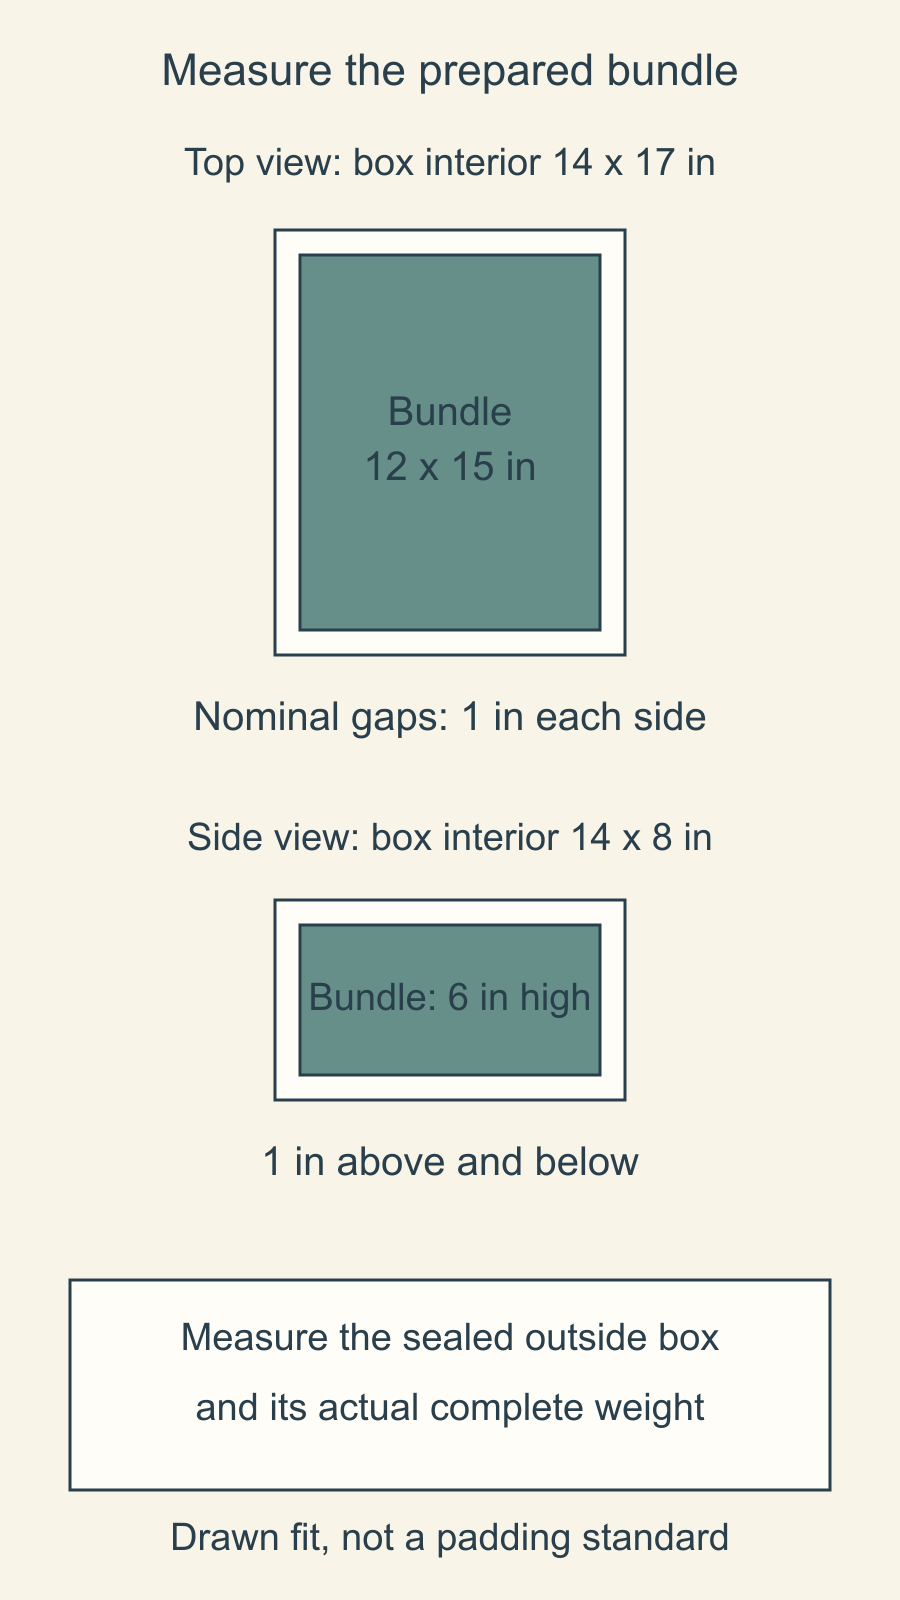
Those measurements are an example, not a prediction of how your quilt will fold. Choose protective support and cushioning for the actual object and shipping requirements. Recheck the fit if those materials change the bundle's size. The flaps should close without using the lid to crush the contents.
The USPS domestic packaging instructions call for strong packaging that does not bulge, with room for needed cushioning to protect the contents and prevent shifting. A box's geometric capacity is only one part of that check.
Keep transit protection separate from storage
A clean inner covering helps separate the quilt from the outer box. Follow any recipient-specified method and keep tape or labels off the textile itself. The temporary bag-and-box arrangement in AQS shipping guidance is a transit instruction.
Long-term care is a different question. North Carolina Historic Sites' textile-care guidance discusses archival storage and cautions about unsuitable plastic storage materials and microclimates. Don't treat a short-trip packing arrangement as permission to leave the quilt sealed indefinitely.
National Museums Scotland's textile-packing guidance emphasizes limiting damaging creases and choosing packing to suit the object. It says rolling can be complicated and calls for experienced handling or a conservator when suitability is uncertain. A tube is therefore not an automatic upgrade for every quilt.
For this ordinary new-quilt shipment, keep the handling simple and avoid unnecessary compression. If condition or construction changes that plan, pause the packing decision and obtain appropriate advice for that textile.
Close, label and measure the actual parcel
Include a contact sheet with the recipient's name and address, your return details and the quilt's identifier inside the box. Secure it where the recipient can find it without adhesive touching the quilt. Check any required return paperwork before closing.
For USPS, use enough 2-inch-wide packing tape to close and secure all seams. Cover or black out old logos, addresses, labels and barcodes on reused packaging. Keep external labels flat on the same side without folding or overlapping them. Don't wrap the box in string, cord or twine; USPS warns that these can catch in sorting equipment. Use the actual carrier's directions if you choose another service.
Measure the sealed outside dimensions and weigh the complete package. The inside-box fit calculation above is not the parcel size used for postage. Compare services using those real measurements and your timing needs. Keep the receipt and tracking details, and check the exact terms of any coverage you choose.
For an insured USPS shipment, read its domestic claim instructions before mailing. They explain filing periods and proof of insurance, value and damage. If damage occurs, USPS says to keep the original packaging and everything in the package until the claim is settled. Photographs help document condition, but don't guarantee a claim will be paid.
Finish with an arrival check
Save a photograph of the closed labeled package with the packing record, then share the tracking information through your agreed channel. Tracking tells you about the parcel's journey. For a private recipient, arrange a separate check of the quilt itself when it arrives.
Ask them to note any damage to the box, open the package carefully and compare the quilt with the description and photographs. Keep packaging needed for a possible claim. Record their arrival and condition confirmation alongside the shipping details.
A show or service may use a different check-in process. AQS, for example, says it cannot confirm individual quilts' arrival and directs entrants to shipment tracking. Follow the actual recipient's process and keep any condition report they provide. The goal is a clear handoff record, with parcel tracking and textile condition recorded separately.
Free patterns to try
Printable PDF patterns with cutting charts and diagrams, free to download.
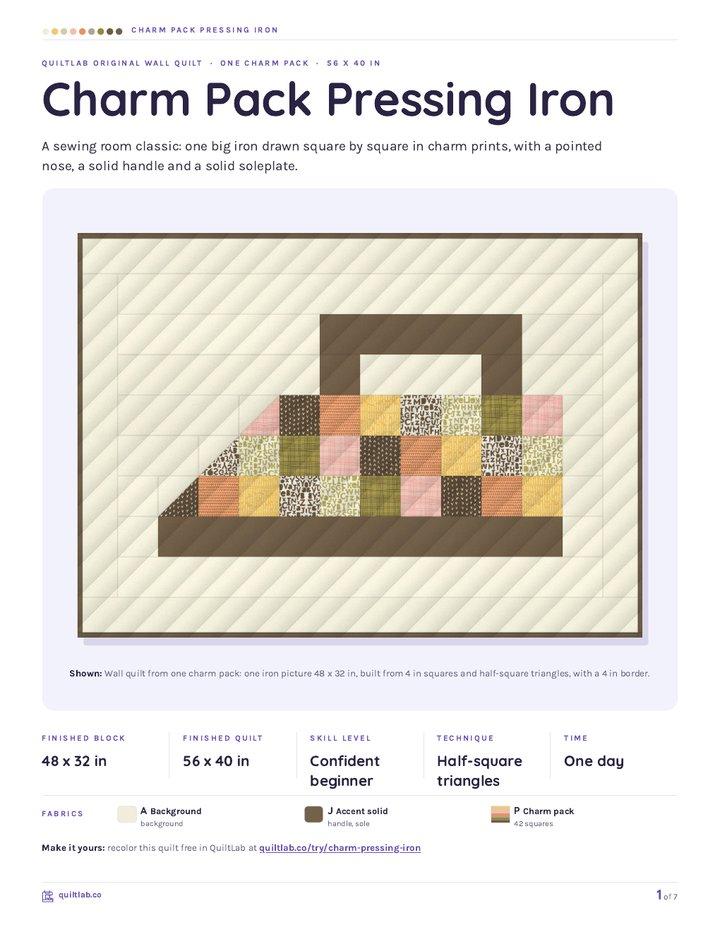
Charm Pack Pressing Iron
Quilt patternBeginner · 56 x 40 in wall quilt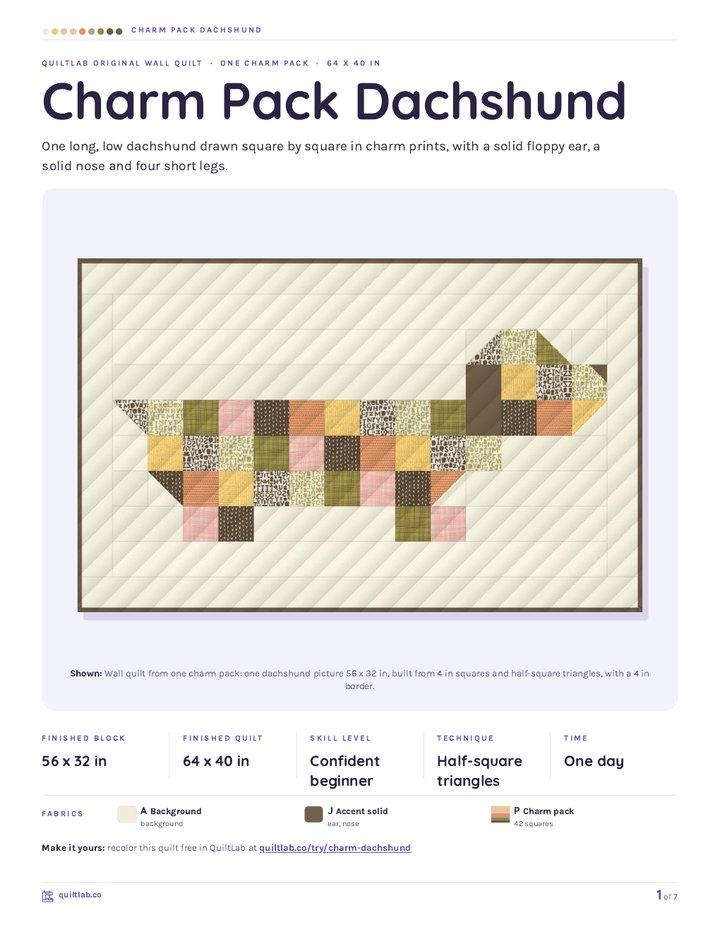
Charm Pack Dachshund
Quilt patternBeginner · 64 x 40 in wall quilt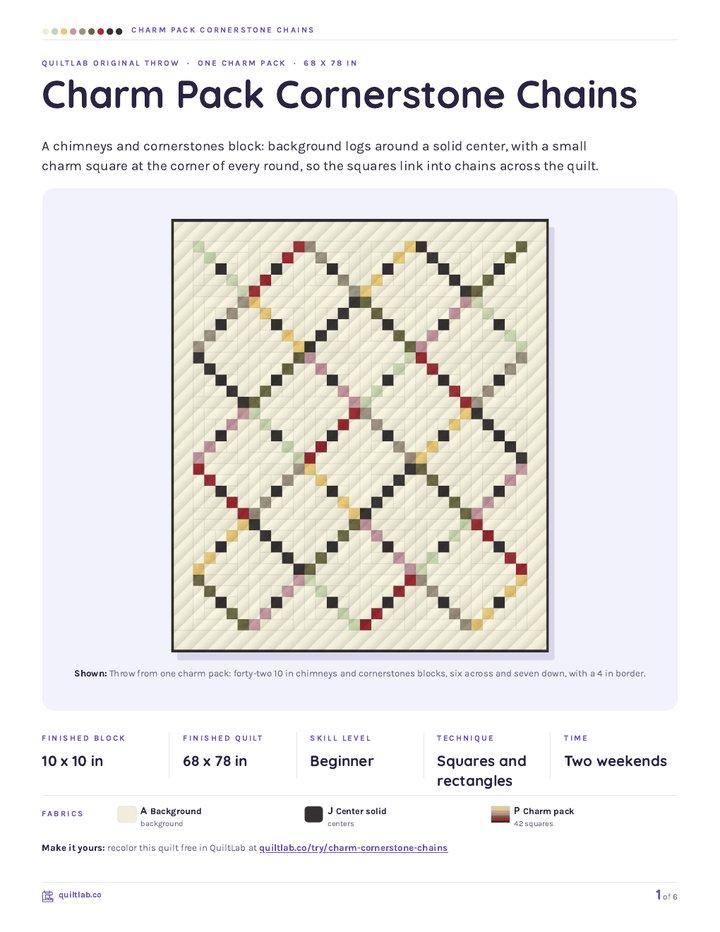
Charm Pack Cornerstone Chains
Quilt patternBeginner · 68 x 78 in throw
Plan your next quilt
Lay out blocks and try colors in QuiltLab's grid editor before you cut.
Free forever, no card needed.
Get quilting tips by email
QuiltLab updates, tips and quilting inspiration. Unsubscribe anytime.
Related posts

When Is an Improv Quilt Finished?
Stop changing a composition when it answers your current design question. A before-and-after study helps separate necessary fixes from new ideas.

Build an Abstract Quilt Design from Three Shapes
Turn a sketch you own into a clear patchwork plan. Three colored rectangles show how to preserve a composition while extending a few straight seams.

Start a Damaged Quilt Assessment Before Repair
Record what you see, what you were told and what remains unknown before changing a damaged quilt. A simple condition map organizes the questions.