


How to Set Quilt Blocks on Point: Triangles and a 13-Block Example

Learning how to set quilt blocks on point starts with turning the blocks 45 degrees, then filling the gaps around them. The two decisions that make the setting work are which triangles belong at the sides and corners, and how much fabric to leave outside the block points.
We'll plan a square center using thirteen 12-inch finished blocks, eight side triangles and four corner triangles. You'll get the counts, cutting arithmetic and diagonal assembly map. The illustrations are original digital diagrams, not QuiltLab output, sewn samples or full-size cutting templates. The example is mathematically checked rather than sew-tested.
Start with the finished block size
A block measuring 12-1/2 inches before it joins the quilt finishes at 12 inches after its outer quarter-inch allowances are sewn. Use that finished 12-inch measurement in the setting formulas. Using 12-1/2 inches makes the triangles unnecessarily larger and changes the intended geometry.
Turning the block does not change its side length. It changes the space it occupies: a square's point-to-point diagonal is its side multiplied by the square root of two, approximately 1.414.
12 x square root of 2 = approximately 16.97 inches.
That is the finished diamond's horizontal and vertical span. For our setting, three of those spans run across the center: 3 x 16.97 = approximately 50.91 inches. The same calculation gives its height. This is the planned center before any border; it is not a promise that a pressed, untrimmed top will measure exactly 50.91 inches.
This example uses equal square blocks with no sashing. Adding strips between the blocks changes the geometry and triangle requirements. Use the applicable pattern's setting instructions rather than applying these unsashed cuts to a sashed quilt.
Count the whole layout before cutting triangles
The picture has five horizontal bands containing 3, 2, 3, 2 and 3 full blocks. Count the actual diamonds, not a rectangular rows-times-columns grid: 3 + 2 + 3 + 2 + 3 = 13.
Two triangular gaps lie on each of the four sides, giving eight side triangles. The remaining four gaps are the corners.
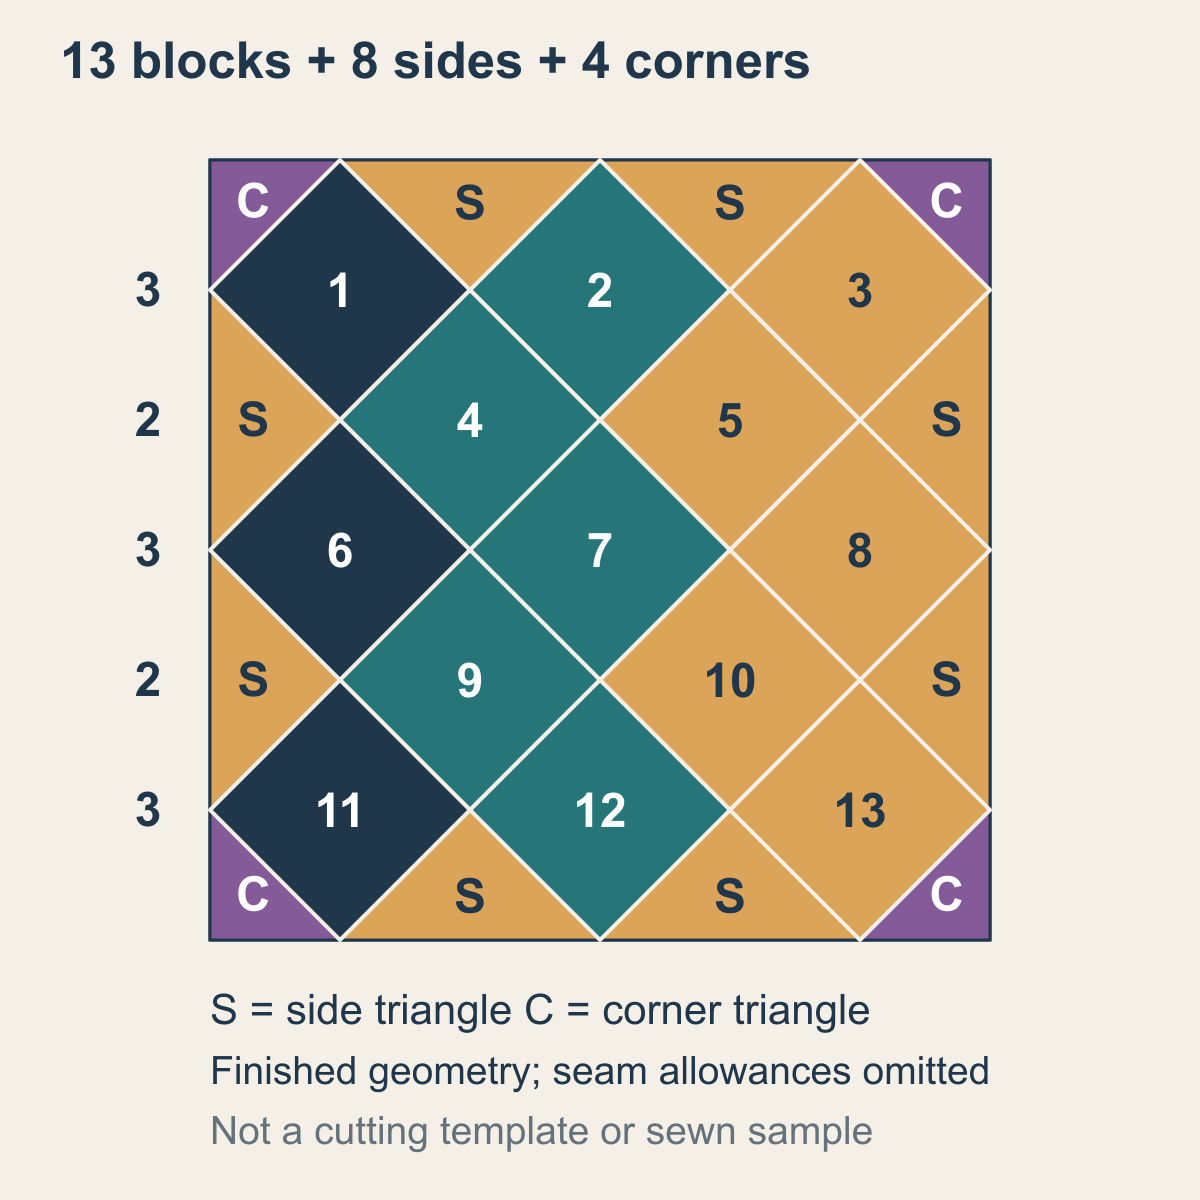
The geometry also provides an independent count check. Each full diamond has the area of one block; each side triangle fills half that area and each corner fills a quarter. The total is 13 + 8/2 + 4/4 = 18 block areas. At 12 inches per finished block, 18 x 144 = 2,592 square inches. A center measuring 36 times the square root of two on each side has that same area: 36 x 36 x 2 = 2,592.
For another layout, draw every boundary gap and count it. Four corner triangles remain typical for a rectangular setting, but eight side triangles belong to this particular example.
Cut side and corner triangles for different grain directions
Both pieces look like right triangles. Their relationship to the fabric grain differs:
- Side triangles: cut a square on both diagonals to produce four quarter-square triangles. Each triangle's long edge is an original square edge; place it on the quilt perimeter. The two shorter edges are bias cuts that join the blocks.
- Corner triangles: cut a square on one diagonal to produce two half-square triangles. The two original square edges become the quilt's outside corner; the long bias edge faces inward.
Julie Baird's setting-triangle lesson at Generations Quilt Patterns explains these cuts and their grain positions. Start with squares whose edges follow the fabric's lengthwise and crosswise grain. Cutting arbitrary squares at an angle to the weave does not produce the grain directions shown here.
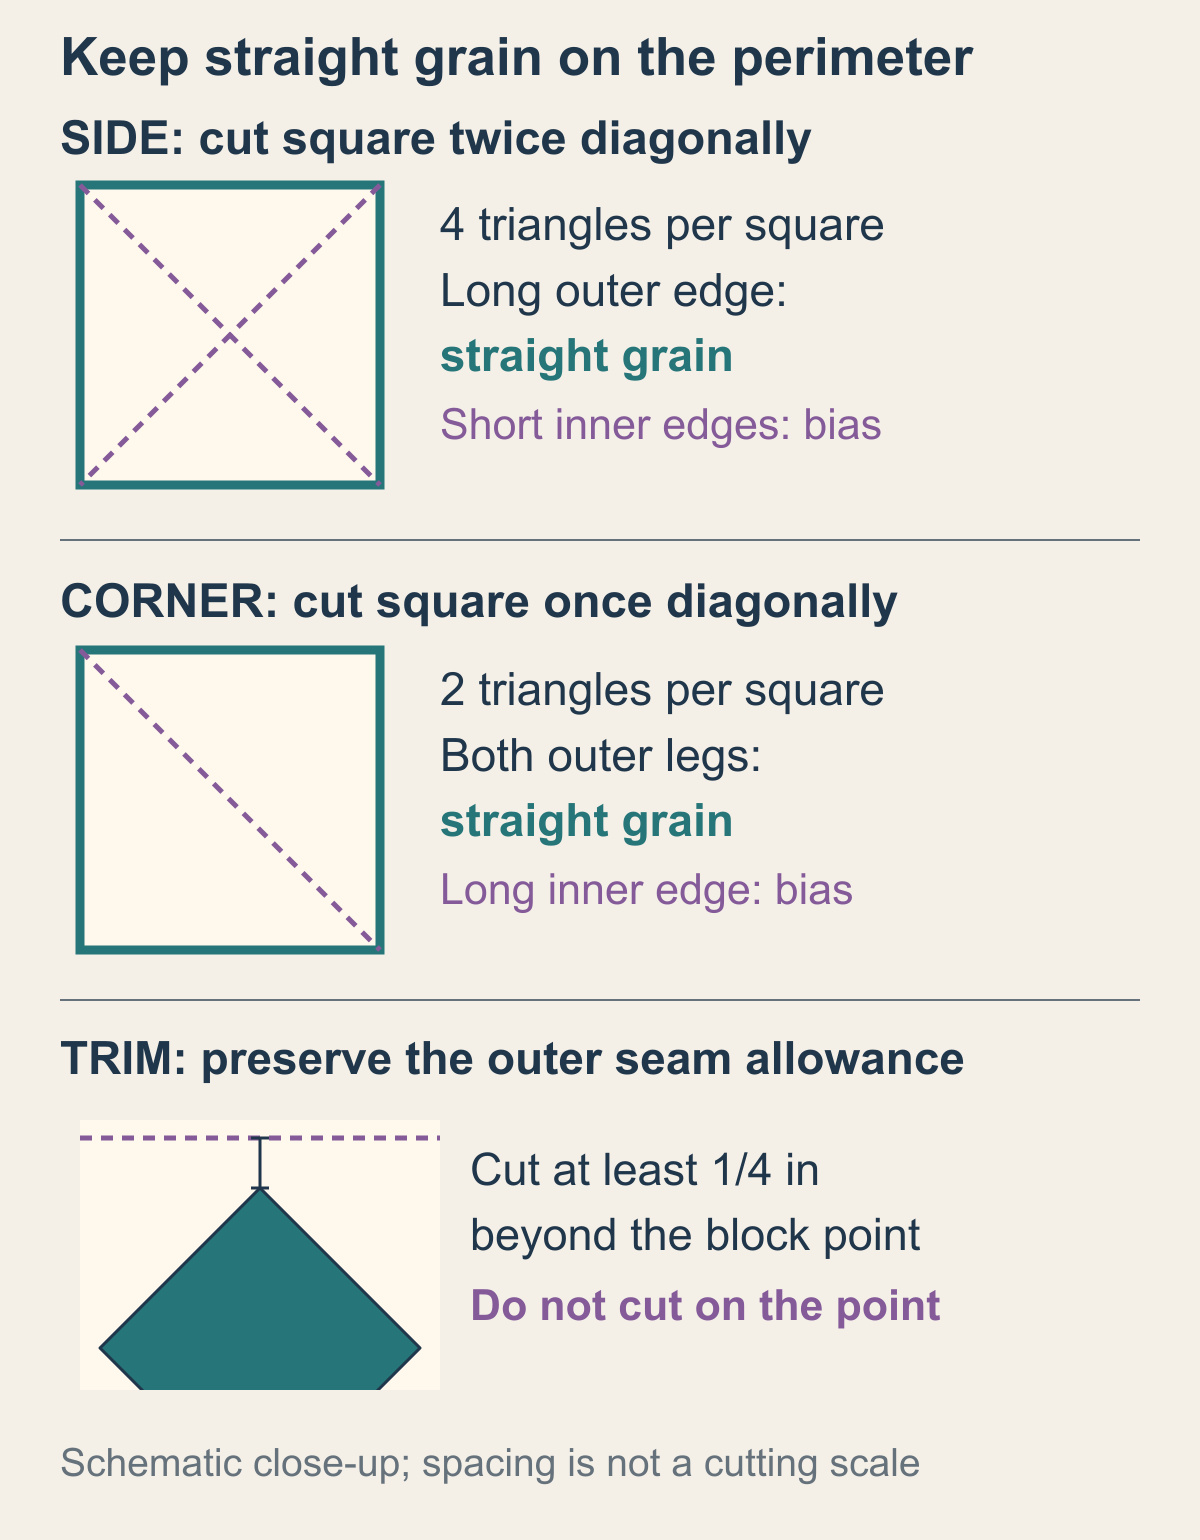
Do not substitute a diagonally halved large square for a side triangle just because its shape fits. That puts its long bias edge around the outside. Use the right cut before dealing with the bias edges that necessarily remain inside the setting.
Calculate the parent squares, then allow trimming room
For conventional rotary cutting with quarter-inch seams, the parent-square formulas are:
Side square = finished block x square root of 2 + 1-1/4 inches.
Corner square = finished block / square root of 2 + 7/8 inch.
Round each result up to the next 1/8-inch ruler mark. Marcia Hohn's setting-triangle reference at Quilter's Cache gives these allowances using 1.414 for the square root of two. Using the calculator's full value avoids rounding drift. The added amounts are cutting allowances, not finished triangle dimensions.
For our 12-inch blocks:
| Triangle job | Calculation before rounding | Conventional square cut | Yield per square |
|---|---|---|---|
| Side | 12 x 1.41421356 + 1.25 = 18.2206 | 18-1/4 inches | Four, from two diagonal cuts |
| Corner | 12 / 1.41421356 + 0.875 = 9.3603 | 9-3/8 inches | Two, from one diagonal cut |
For a first setting, extra fabric gives you room to square up the outside after assembly. Fat Quarter Shop's on-point setting cheat sheet includes a larger-cut column labeled "What Kimberly Cuts." For these 12-inch blocks, it lists 18-3/4-inch side squares and 9-7/8-inch corner squares: half an inch larger than each conventional parent square.
Use those larger cuts for this example:
- Cut two 18-3/4-inch squares. Cut each twice diagonally to get eight side triangles.
- Cut two 9-7/8-inch squares. Cut each once diagonally to get four corner triangles.
The extra half inch belongs to the square's cutting dimension. It does not mean sewing a half-inch seam. Keep the planned quarter-inch seams and center the oversized pieces carefully.
Directional prints need another check: a triangle cut from one square may point the print in a different direction from its neighbor. Lay out the cut pieces before sewing. A nondirectional setting fabric removes that complication from the first attempt.
Assemble diagonal rows using the numbered blocks
The horizontal bands help you count, but the blocks join along diagonal rows. Reading the numbered diagram from upper left toward lower right gives this map:
| Diagonal row | Blocks, in order | End pieces |
|---|---|---|
| A | 1 | Two side triangles; top-left corner added to the end unit |
| B | 2, 4, 6 | Two side triangles |
| C | 3, 5, 7, 9, 11 | Top-right and bottom-left corner triangles |
| D | 8, 10, 12 | Two side triangles |
| E | 13 | Two side triangles; bottom-right corner added to the end unit |
That accounts for all thirteen blocks, eight side triangles and four corners exactly once. Keep a labeled sketch or photograph beside the sewing area; a rotated block can be harder to identify after rows leave the design wall.
Deanne Eisenman's on-point assembly tutorial at Snuggles Quilts shows actual cloth alignment, including the outer one-block end units. For those units, attach the two side triangles before centering the corner triangle over the remaining end. For the middle row, center a corner triangle at each end of the five-block strip.
With oversized triangles, do not try to make every raw tip line up. Mark the middle of the edge being joined and the matching triangle edge, align those marks, and pin without stretching. Expect projecting triangle tips. Join the diagonal rows by matching the block seams first, then supporting the surrounding triangles. Press by lifting and setting the iron rather than pulling it along bias seams.
Trim outside the points, not through them
After the center is assembled and pressed, establish a straight rectangle around it. Preserve at least 1/4 inch beyond the outermost block points. The ruler's quarter-inch mark belongs on the point; the cutting edge lies outside it. Cutting directly on the point removes the allowance needed when adding a border or binding.
HollyAnne Knight's on-point setting article at String & Story describes the quarter-inch final allowance and suggests leaving a larger initial margin for later squaring. If you choose to float the points with more background, keep that margin deliberate and consistent around the center.
Check the proposed trim line against several points on each side before cutting. If one would lose its allowance, investigate the row alignment or seam measurements. Trimming the entire center smaller cannot restore a missing point. Measure the squared center before calculating any border cuts.
Keep the construction record beside the digital design
QuiltLab's Quilt Editor guide documents Standard and On Point grid orientations. Use the guide to explore the orientation controls, and retain a separate note with your block count, triangle cuts and assembly order. The arithmetic and numbered setting in this article are manual planning work; they are not generated cutting instructions from QuiltLab.
For the broader planning process, see how to design a quilt. Before cutting setting fabric for an entire project, confirm the blocks' actual unfinished measurements, select the correct grain-aware triangle cuts, and check the perimeter allowance on the complete layout.
Related posts
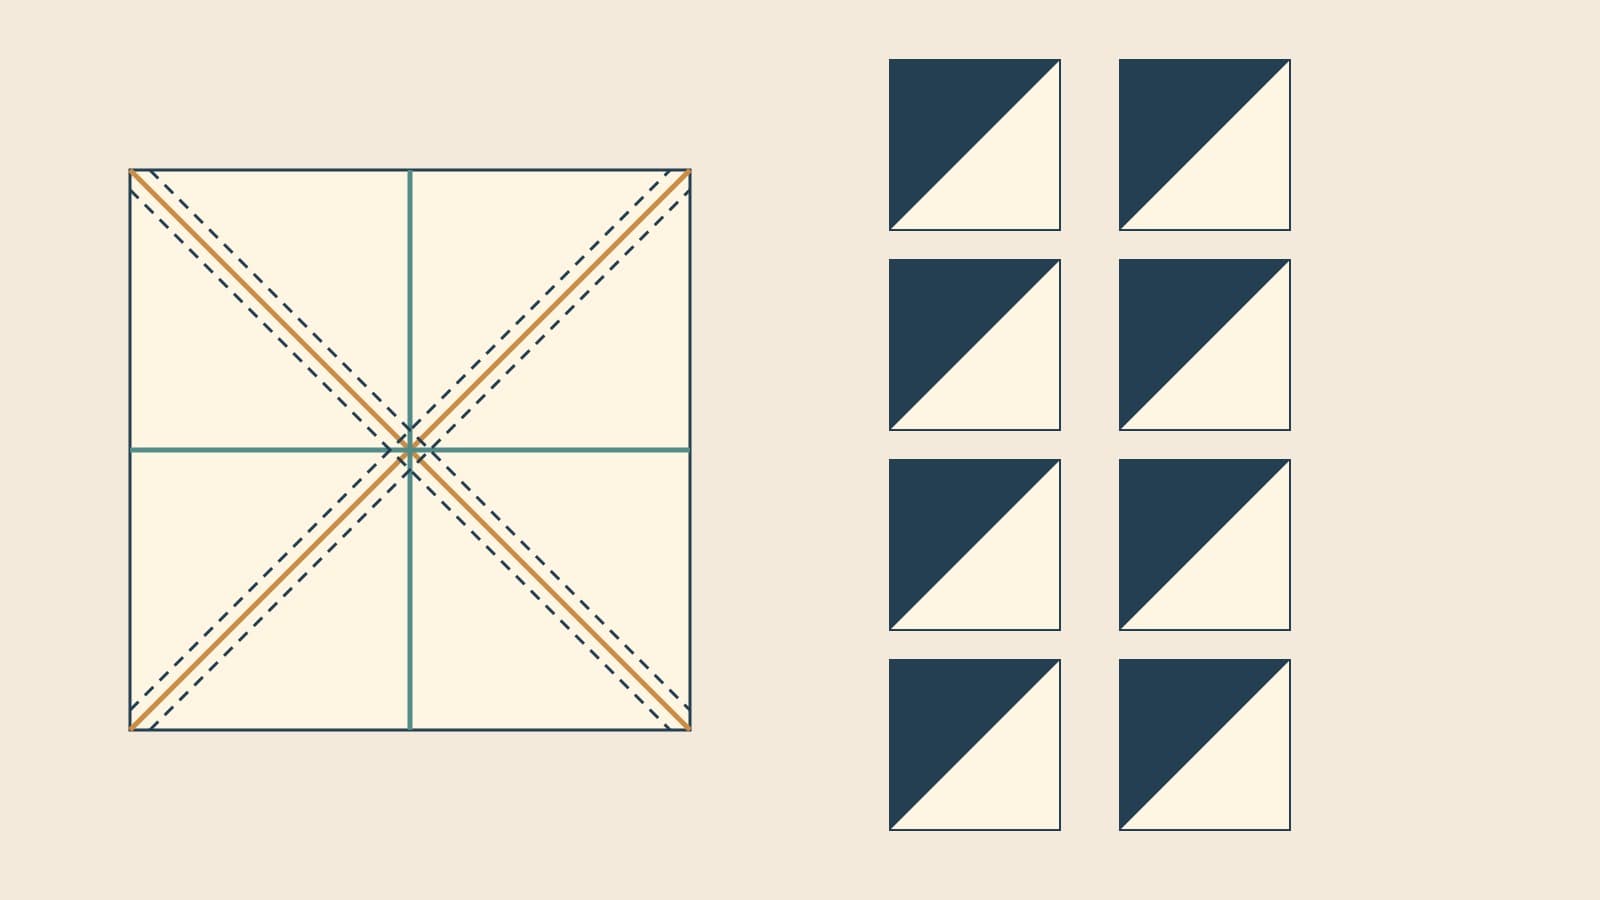
Eight at a Time Half Square Triangles: Batch Math
Plan eight-at-a-time half-square triangles with an oversized starting-square rule, a clear cutting sequence, and a 54-unit color-pair example.
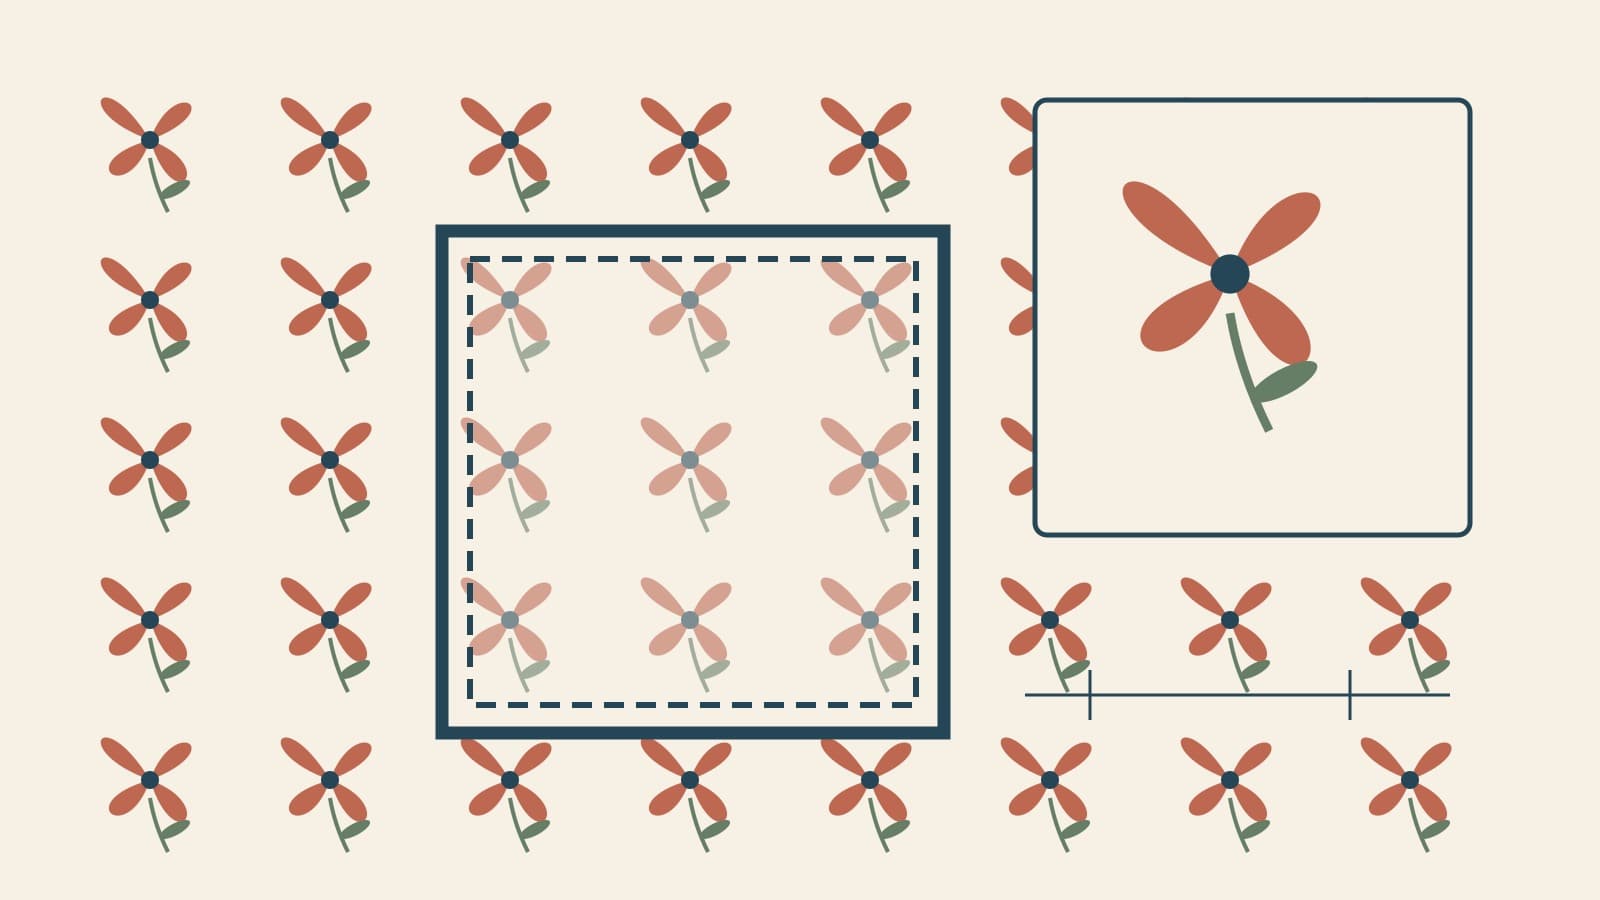
Fussy Cutting: Plan the Motif Before You Cut
Frame the print, protect the seam allowance and count usable repeats. A four-inch square example, plus a QuiltLab preview before you cut.
Fussy Cutting Hexagons: Plan Repeats for a Rosette
Count six matching motifs, record their orientation and preview a hexagon rosette before cutting the fabric.