How to Plan an Orphan Block Quilt
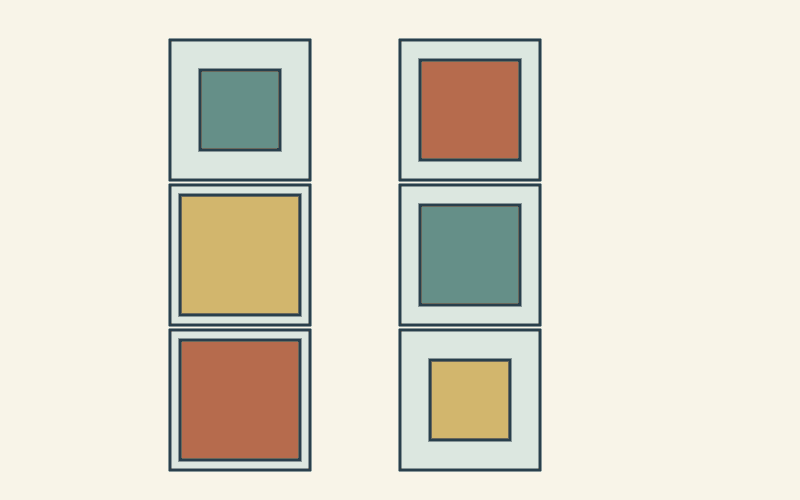
Measure the blocks you already have, choose a finished size they can share and plan the surrounding pieces before trimming anything. A common frame or background can bring different orphan blocks into one quilt while leaving their designs intact.
For a small first project, start with a handful that share a color, theme or visual weight. You do not have to use every leftover block in the same top. A block that needs a different setting can become the beginning of another project.
Inventory the blocks as they are
Give each block a label and record its actual raw width and height. Add its intended finished size if you know it. Those numbers describe different boundaries, so keep separate columns.
Check the outside edges too. Note points close to the seam line, bias edges, uneven allowances or an area that needs repair. A nominal 12-inch block may not currently measure 12.5 inches raw, and a label from the old pattern does not replace the ruler.
Sherri McConnell's tips for using orphan blocks begin with looking at what you have, including size, color and theme. That inventory helps you choose between a quilt and a smaller project before you add work merely to use everything.
Group the blocks loosely on a table. Look for something they can share: a repeated dark, a background color or a similar scale of detail. Keep that observation with the measurements.
Choose what the surrounding fabric should do
A common background can connect blocks that came from different projects. A stronger frame can make each block read as a separate panel. Choose which effect serves the blocks before deciding how wide every strip should be.
Leila Gardunia's orphan-block quilt with negative space shows an actual project using leftover blocks and surrounding background. Her quilt is a useful example of giving existing blocks room; the plan below is our drawn exercise, which we have not sewn.
If the block backgrounds are different whites or creams, audition the proposed surrounding fabric beside all of them. A close match may look like a mismatch in one place. A deliberate contrast may let the different backgrounds remain distinct.
Our negative-space guide helps when the amount and arrangement of open field is the main decision. Here, the immediate problem is making unequal blocks fit a manageable set of units.
Work from an explicit six-block example
Imagine you have two blocks of each nominal finished size: 8, 10 and 12 inches. For this arithmetic example, each is square and has intact quarter-inch allowances all around.
| Inventory label | Number | Finished block | Raw block |
|---|---|---|---|
| A | 2 | 8 inches | 8.5 inches |
| B | 2 | 10 inches | 10.5 inches |
| C | 2 | 12 inches | 12.5 inches |
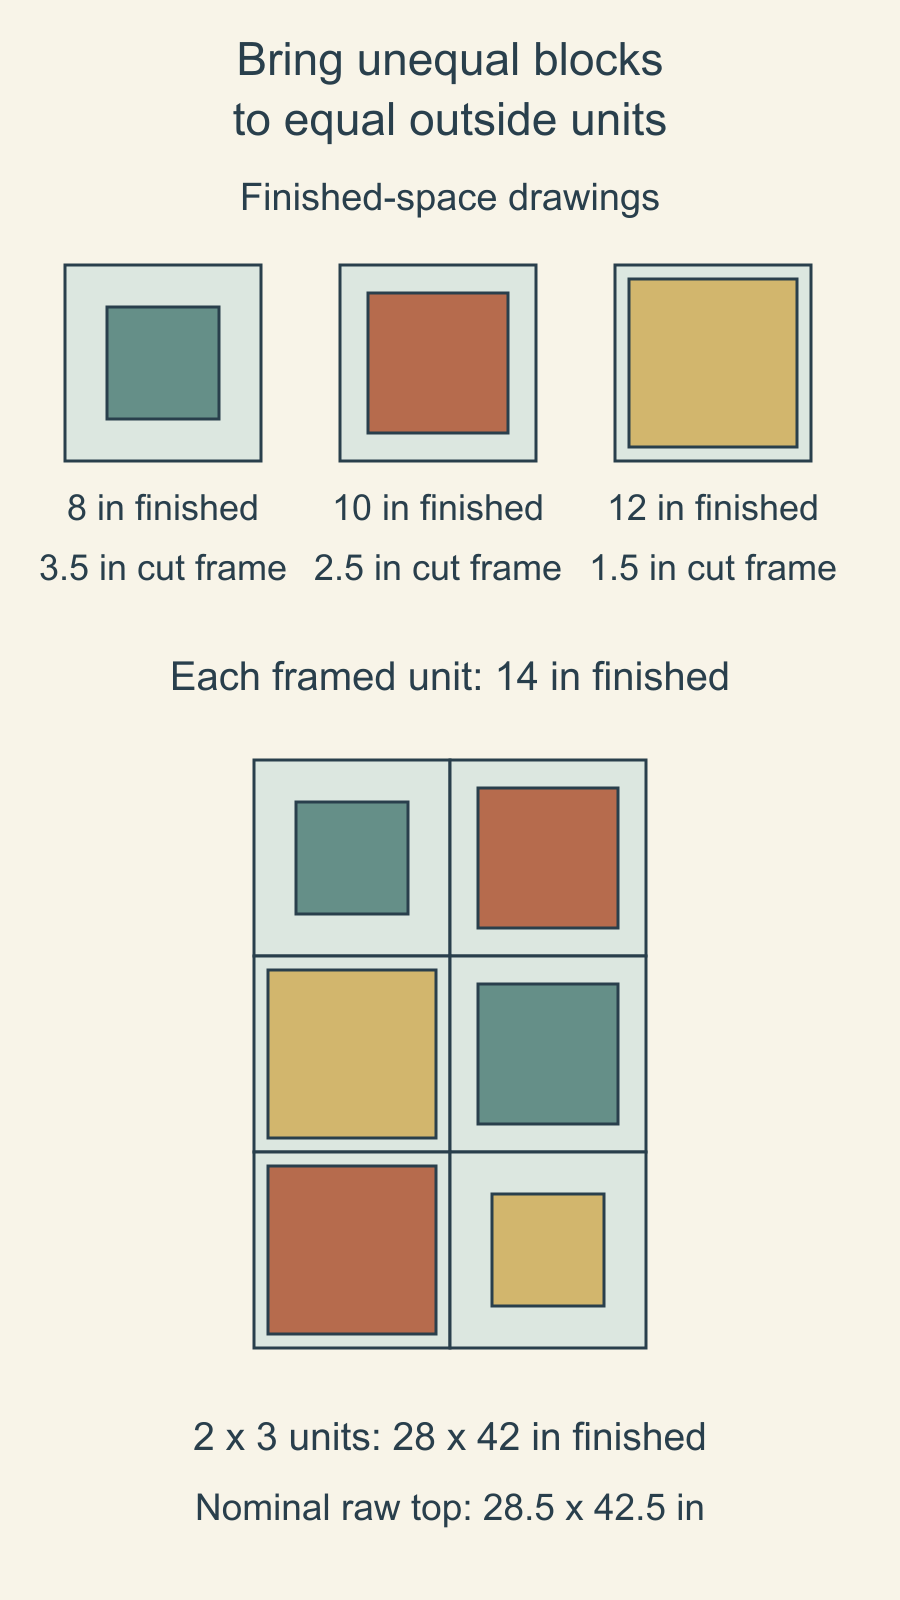
We will surround each with a frame so the framed units measure 14.5 inches raw and contribute 14 inches each to the finished layout. This is one planning choice, rather than a standard size for orphan blocks.
The smaller block needs more frame width. The larger one needs less. Equal finished outside units give us a simple way to arrange the collection without shrinking the largest blocks to match the smallest.
Account for the joins when sizing the frames
For two frame strips on opposite sides, the joined raw dimension equals the raw block plus both cut strip widths, minus the two seam losses. Each quarter-inch join consumes half an inch across the two pieces.
For the 8.5-inch raw block, two 3.5-inch-wide strips give 8.5 + 3.5 + 3.5 - 1 = 14.5 inches across the joined unit. The 10.5-inch block needs 2.5-inch cut widths; the 12.5-inch block needs 1.5-inch cut widths.
| Raw block | Cut frame width | Joined raw unit |
|---|---|---|
| 8.5 inches | 3.5 inches | 14.5 inches |
| 10.5 inches | 2.5 inches | 14.5 inches |
| 12.5 inches | 1.5 inches | 14.5 inches |
Try one side-first frame
For one intact 8.5-inch raw square, use this sequence with quarter-inch seams:
- Cut two side strips, each 3.5 x 8.5 inches. Sew them to opposite sides of the block.
- Press and measure the intermediate unit: it should be 14.5 inches wide and 8.5 inches high. If it differs, check the block, strip widths and seams before continuing.
- Cut two strips, each 3.5 x 14.5 inches, for the top and bottom. Sew them on, press and check for a 14.5-inch raw square.
These cut dimensions serve the hypothetical block in our table. Plan the other frames from their actual block measurements, and check strip lengths, joining order and fabric requirements before cutting the whole batch.
Arrange the equal units and check the whole size
Six units in two columns and three rows make a finished 28-by-42-inch layout: two times 14 across and three times 14 down. There is no added sashing or outer border in this drawing.
The nominal raw top includes its outside allowances. Across two 14.5-inch raw units, one join consumes half an inch: 28.5 inches. Down three units, two joins consume one inch: 42.5 inches.
Now look beyond the size. Spread repeated colors or particularly busy blocks deliberately. Try the largest-looking motif in two positions while keeping the frames unchanged. Photograph the alternatives from the same position so you can compare them.
Aunt Em's Quilts discusses borders, fillers and row groupings for orphan blocks. Those are useful alternatives when one uniform framing plan makes the blocks feel crowded or overly separated.
Leave an awkward block out before damaging it
A block with a point already close to its raw edge may need repair or a different setting. Trimming it smaller to fit the chart can remove the allowance the point needs.
An irregular block may also need its own surrounding construction. Record its actual outline and ask how the joining method will support it. Forcing it into a nominal square can create another problem for the next seam.
If one block does not suit the group, set it aside with a note about why. A cushion, small wall piece or another top can give it a clearer role. The useful result is a workable collection, not an empty orphan-block box.
For blocks suited to the reverse side, our pieced-backing stripe study checks inherited seams and the extra fabric your quilter needs.
Make one framed unit before committing the collection
Choose the block whose edges are easiest to check. Confirm its measurements, the frame plan and the finished role you want. Make and measure that unit using the actual method before preparing every surrounding piece.
If the result differs from the plan, investigate the block, strip widths and seams while the change is still small. Update the inventory instead of silently treating the nominal dimensions as measured facts.
Our sampler-layout guide helps with arranging a varied set once the units fit. The scrappy-quilt guide offers a different starting point when you have loose fabric rather than completed blocks.
Pick six candidate blocks now and write their actual raw dimensions beside them. Choose one shared surrounding fabric, sketch the required frames and check one unit before committing the rest of the collection.
Free patterns to try
Printable PDF patterns with cutting charts and diagrams, free to download.
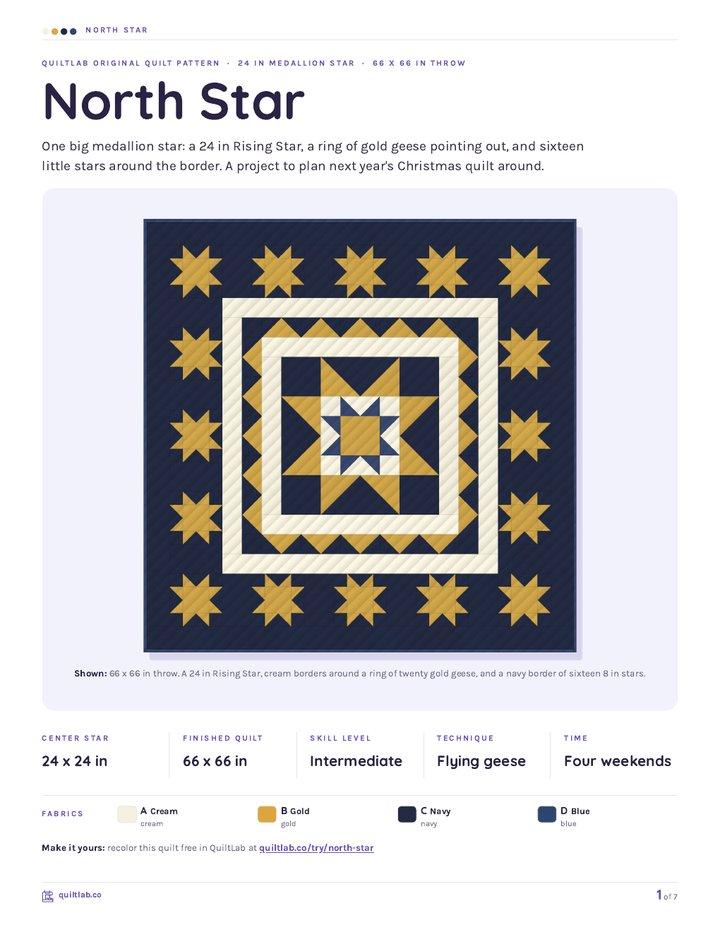
North Star
Quilt patternIntermediate · 24 x 24 in center star, 66 x 66 in quilt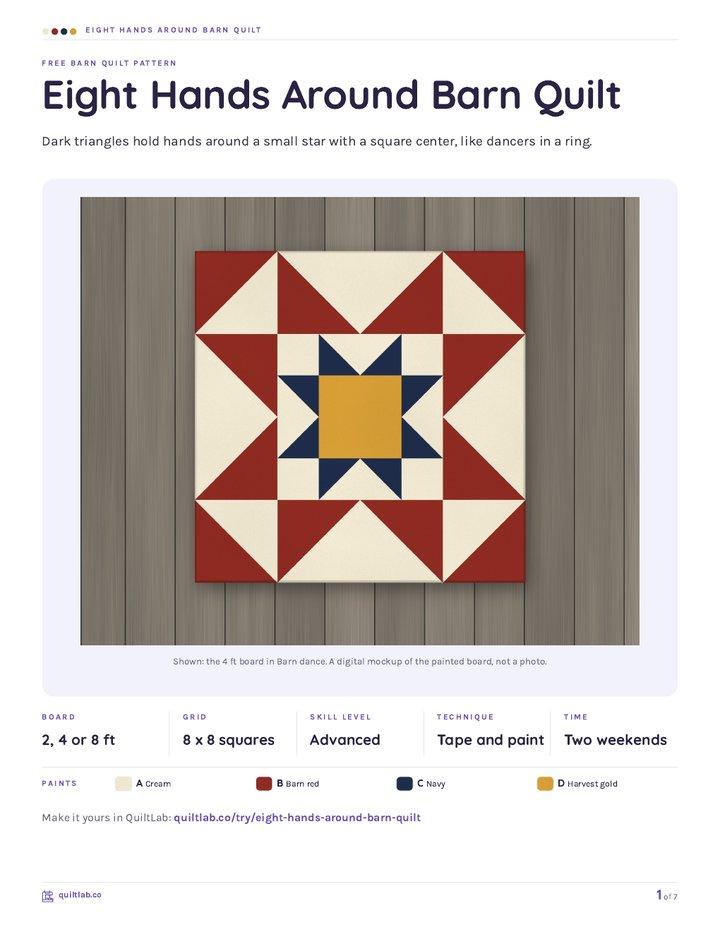
Eight Hands Around Barn Quilt
Barn quilt patternAdvanced · 2, 4 or 8 ft barn quilt board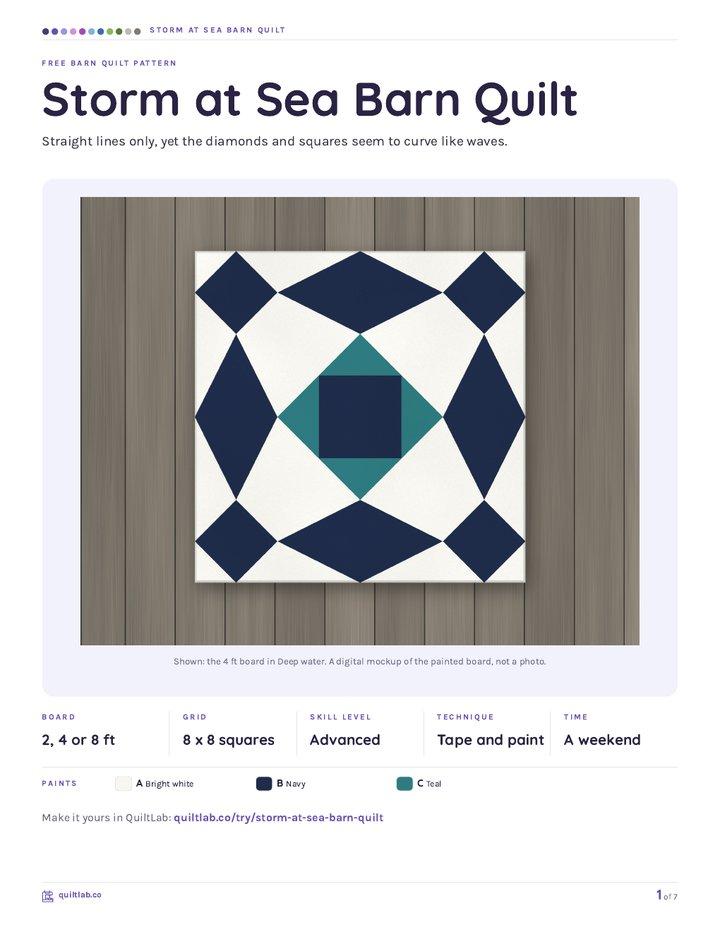
Storm at Sea Barn Quilt
Barn quilt patternAdvanced · 2, 4 or 8 ft barn quilt board
Plan your next quilt
Lay out blocks and try colors in QuiltLab's grid editor before you cut.
Free forever, no card needed.
Get quilting tips by email
QuiltLab updates, tips and quilting inspiration. Unsubscribe anytime.
Related posts

When Is an Improv Quilt Finished?
Stop changing a composition when it answers your current design question. A before-and-after study helps separate necessary fixes from new ideas.

Build an Abstract Quilt Design from Three Shapes
Turn a sketch you own into a clear patchwork plan. Three colored rectangles show how to preserve a composition while extending a few straight seams.

Start a Damaged Quilt Assessment Before Repair
Record what you see, what you were told and what remains unknown before changing a damaged quilt. A simple condition map organizes the questions.