Read a Pixel Quilt Color Key Before Choosing Fabric
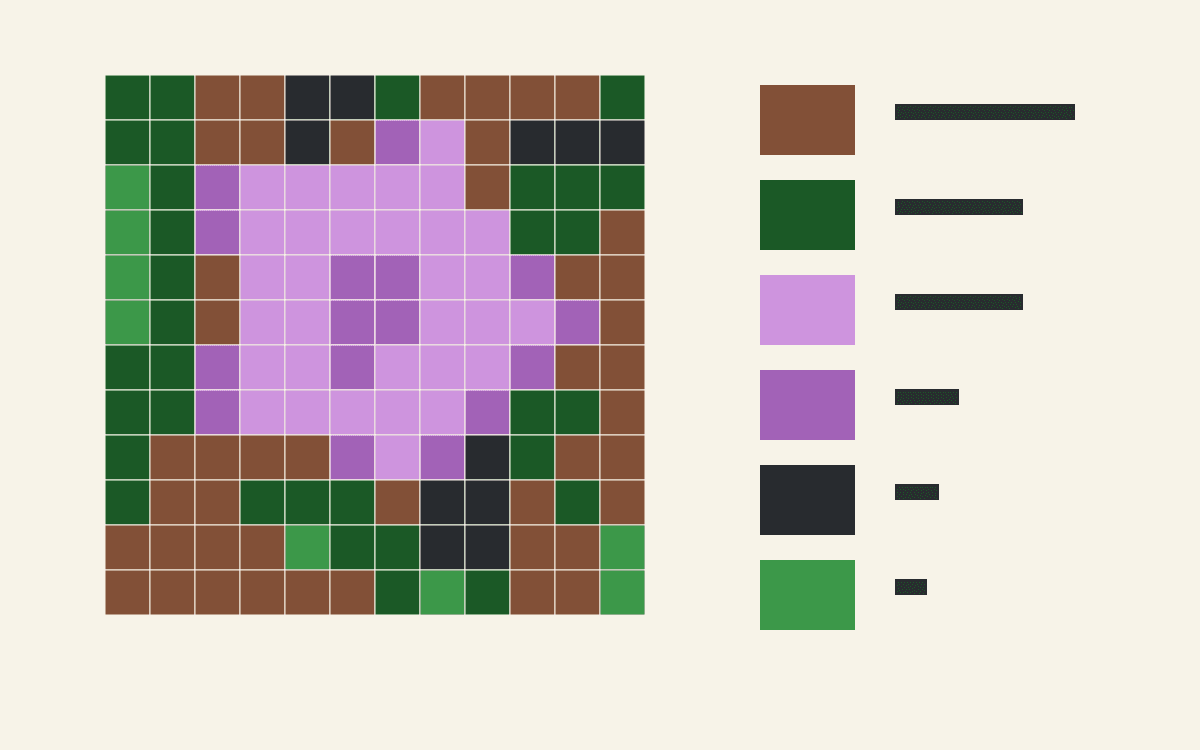
Use a pixel quilt color key as an identifier map: connect each printed color number to one chosen fabric, then check its count against the grid. Read every page before you start. The first entry needn't be Color 1, and a percentage is not a cutting count or a yardage allowance.
Keep the guide version, identifier and actual cloth choice together. That small record prevents a later reorder or substitution from quietly changing the picture.
Read the whole key before numbering fabrics
Our worked example is the real QuiltLab square-layout guide saved on October 16. It has 144 square patches in a 12-by-12 grid, with six colors. Its key begins on one page and continues on the second.
The source is the CC0 photograph Morning Flower. Its current file page credits Velatrix; the original upload and structured creator record name Nicolas M. Perrault. We redrew and annotated the checked guide for this article; no physical fabric match or sewn result is supplied.

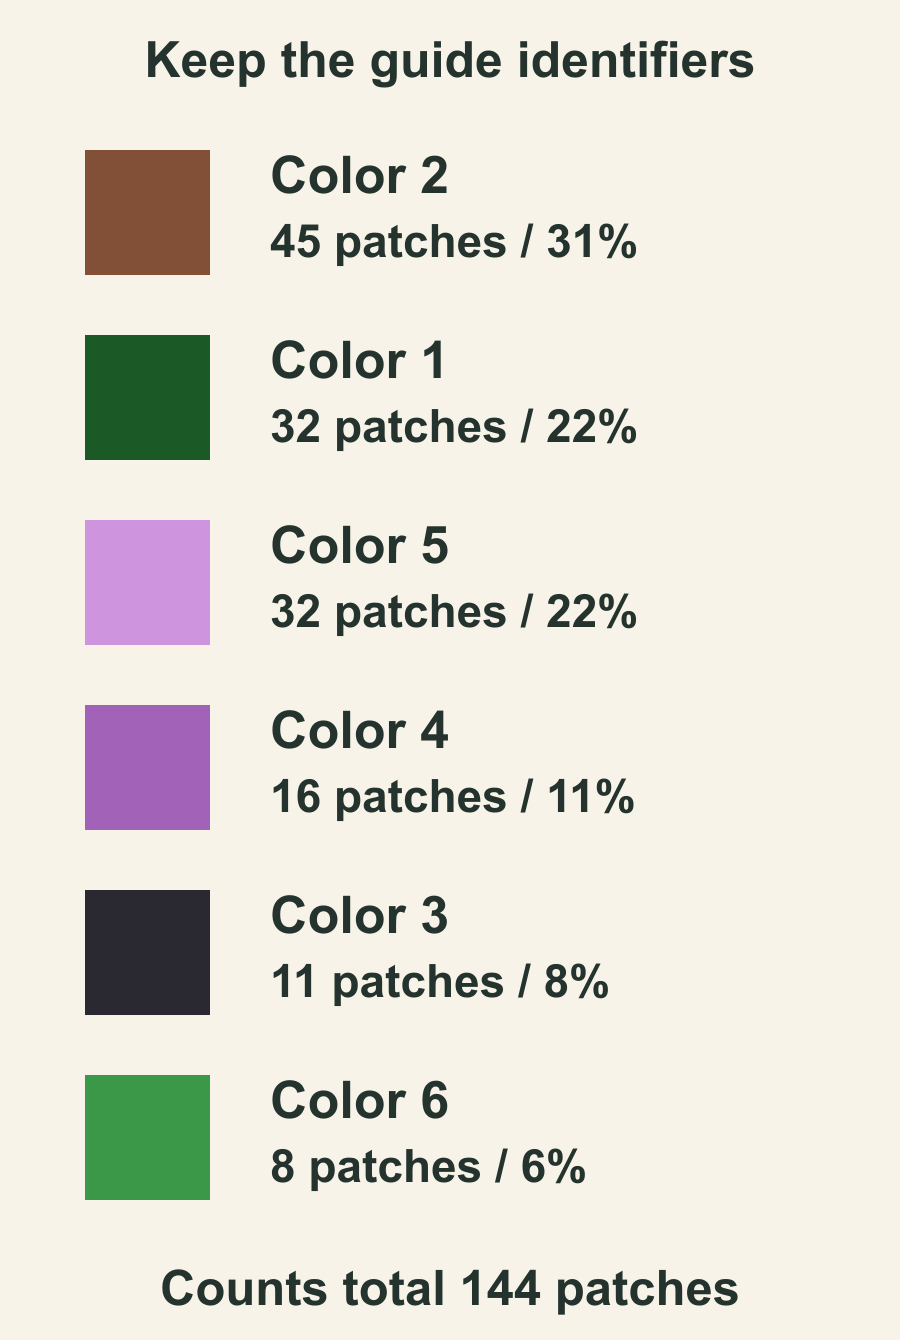
The key's order is Color 2, Color 1, Color 5, Color 4, Color 3, Color 6. The entries run from larger counts to smaller ones, rather than following their numeric identifiers. Color 2 stays Color 2 when it appears first.
Our photo-quilt tutorial covers the full starting workflow. Here, we concentrate on checking the chosen key and connecting it to fabric decisions.
Separate the identifier, count and percentage
An identifier answers which entry you mean. A count answers how many cells use it. A percentage describes its share of the 144-cell picture, rounded for display.
| Guide identifier | Squares | Calculated share | Printed share |
|---|---|---|---|
| Color 2 | 45 | 31.25% | 31% |
| Color 1 | 32 | 22.22...% | 22% |
| Color 5 | 32 | 22.22...% | 22% |
| Color 4 | 16 | 11.11...% | 11% |
| Color 3 | 11 | 7.64% approximately | 8% |
| Color 6 | 8 | 5.56% approximately | 6% |
The counts sum to 45 + 32 + 32 + 16 + 11 + 8 = 144. Divide each count by 144 to check its share. For Color 2, that is 45/144, or 31.25%.
The printed percentages happen to total 100% in this guide. Individually rounded percentages don't always do that, so the total alone doesn't prove a key is complete. Check the counts and all pages as well.
Equal counts can hide a labeling mistake too. Color 1 and Color 5 each have 32 squares. If you accidentally exchange their fabric-card identifiers, both piles still meet their counts and the key still totals 144. Yet 64 positions would receive the other entry's fabric. Check an identifier against its swatch and a known grid position before accepting the totals; the checkpoints below give you places to start.
For example, 8% of 144 is 11.52. That doesn't mean cutting twelve near-black squares changes the design's requirement. Color 3 occupies eleven cells. Use eleven as the design count, then make any extra-cut decision separately.
Connect the key to real positions
Choose a few cells far apart in the picture and trace each one back to its key entry. Read coordinates from the front, with row 1 at the top and column 1 at the left.
In our guide:
- Row 1, column 1: Color 1, dark green.
- Row 5, column 5: Color 5, pale purple.
- Row 8, column 8: Color 5, pale purple.
- Row 12, column 12: Color 6, brighter green.
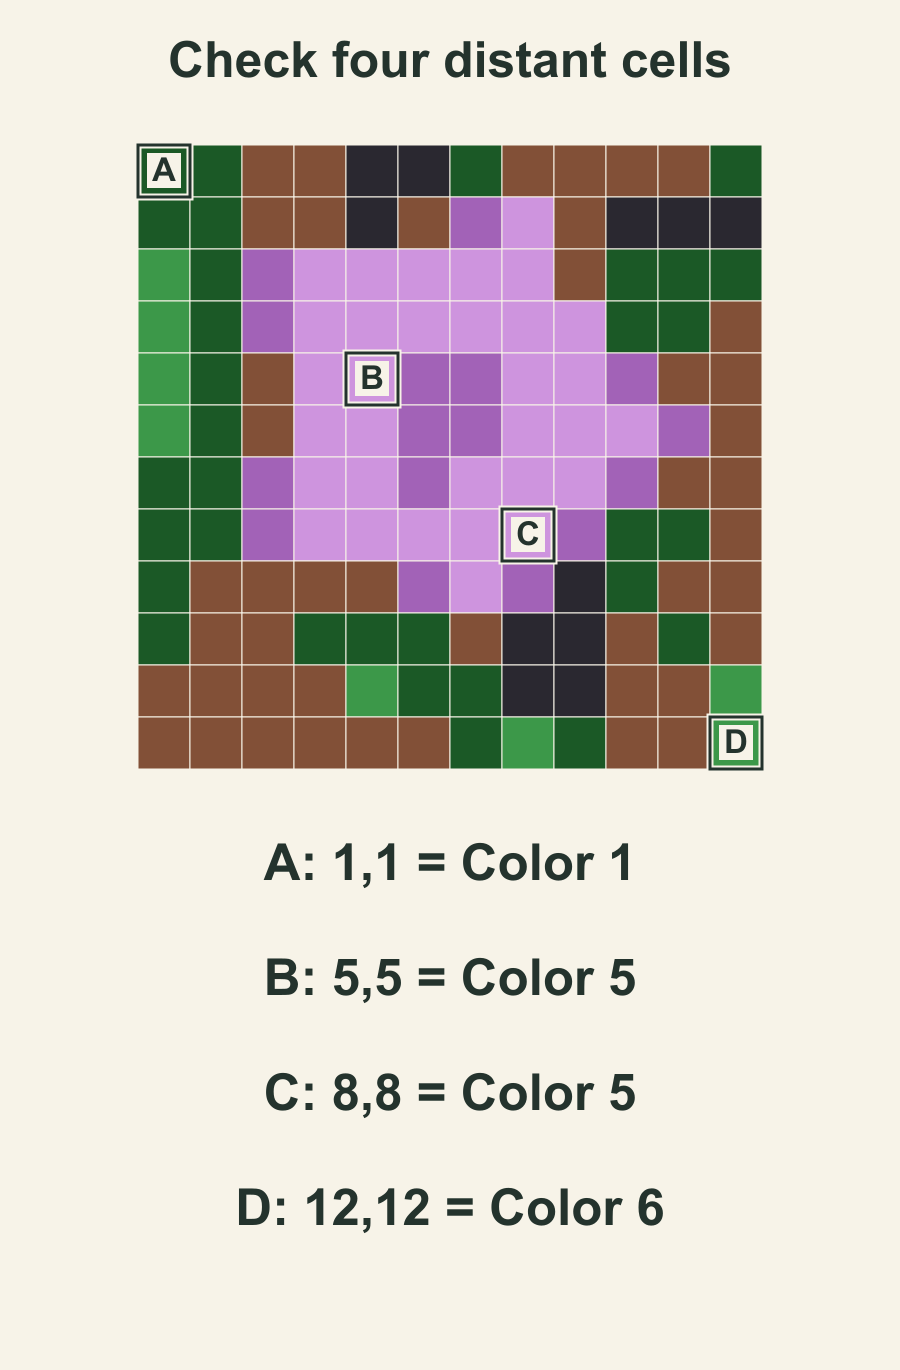
These checks don't replace counting the full grid, but they can reveal a reversed page or an older key. If the corner points toward green on your map and toward brown in your fabric record, resolve the disagreement before moving more pieces.
Tia Lynn Design's Pixel Quilt Builder uses color and letter labels in its own spreadsheet workflow. The transferable idea is keeping an identifier tied to its cells. Its spreadsheet merging and cut-size conventions belong to that tool; they are not features asserted for this QuiltLab guide.
Make a fabric record without renumbering the key
Keep the original identifier as the first field on each fabric card. Add your chosen fabric name, a supplier or inventory note, and a physical sample once you have one. Your shelf can use the same order as the cards, but the card should still say Color 5 even if you store it third.
Leave a space for the decision date and the guide version. A helpful entry might be "Color 5; actual fabric to choose; compare beside Color 4." Leave that decision open until you choose the actual cloth.
Shirley's numbered mosaic study at Mystery Bay Quilt Design connects fabric piles to a numbered value grid. That connection is what your cards preserve. Color names such as purple are too broad when two different purples sit next to each other in the picture.
For physical comparison methods, see our solid-fabric matching guide. A screen swatch supplies a visual reference, not a guarantee that a bolt matches under your room's light.
Check a substitution against its neighbors
If a candidate fabric is unavailable, identify the role it serves before replacing it. Color 5's pale purple touches a darker purple through much of this flower. A substitute that is close to the darker fabric may blur that boundary even if its hue name seems right.
Lay the actual candidates beside their important neighbors at approximately the planned patch size. View the group from farther away as well as at the cutting table. Record which real fabric you choose under the same guide ID.
Jenn Thorsen's pixel-quilt guidance checks each section's color placement before the irreversible step in her fusible-grid method. Keep that checkpoint in your own chosen construction approach: verify the mapping before committing a section.
If you change the actual digital design, save a new version and review the new key rather than assuming the old counts survive. A physical substitution and an edited conversion are different decisions to document.
Keep cutting arithmetic on another line
Once every entry has a chosen fabric, copy its exact count into the cutting worksheet. Add the cut-square dimension and your measured usable fabric width there. Neither the identifier nor the printed percentage provides those dimensions.
Leave a separate place for spare cuts, preparation losses and purchase rounding. A correct 144-cell total says the picture is accounted for; it doesn't include every material needed to make and finish a quilt.
Open your chosen key now, read through its final page, and confirm the count total. Then trace the four checkpoints and start one fabric card per identifier. Finish those decisions before sorting a roomful of nearly matching squares.
Free patterns to try
Printable PDF patterns with cutting charts and diagrams, free to download.
Pixel Pizza Mug Rug
Quilt patternBeginner · 12 x 9 in mug rug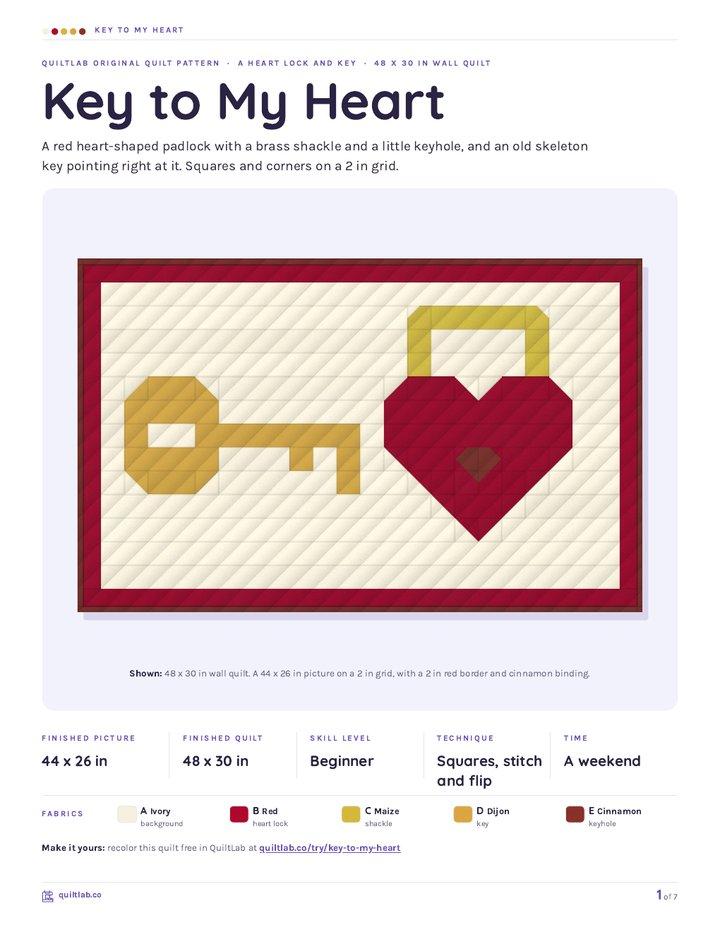
Key to My Heart
Quilt patternBeginner · 48 x 30 in wall quilt
Color Field
Quilt patternBeginner · 36 x 48 in wall quilt
Plan your next quilt
Lay out blocks and try colors in QuiltLab's grid editor before you cut.
Free forever, no card needed.
Explore designing with your fabricsGet quilting tips by email
QuiltLab updates, tips and quilting inspiration. Unsubscribe anytime.
Related posts
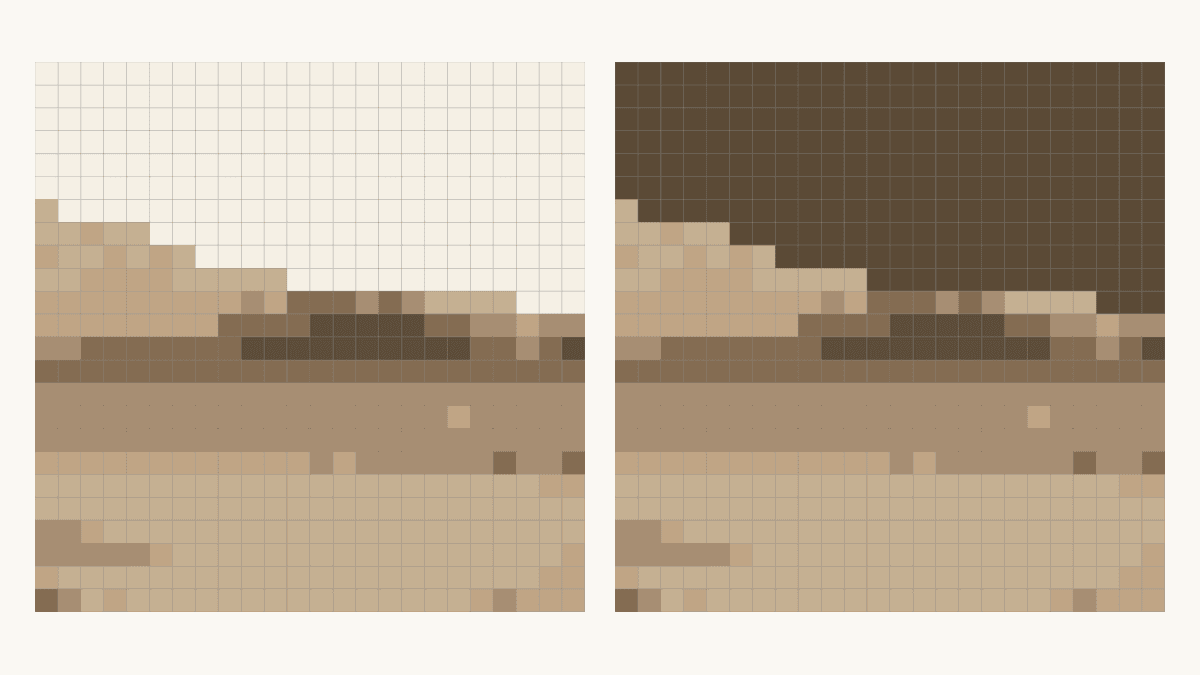
How to Change Photo Quilt Background Contrast
Compare two saved background edits at one fixed grid. Check shared colors, inspect a tree edge and keep the matching PDF guide before choosing cloth.
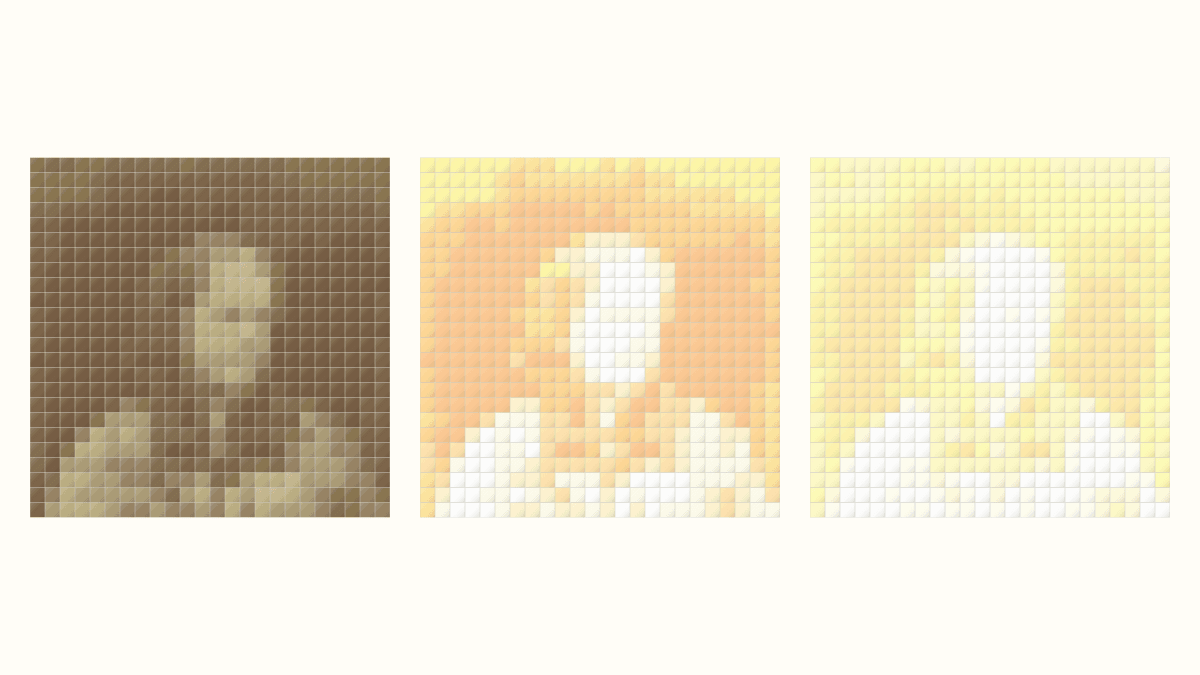
Photo Quilt Contrast: Keep Useful Detail
Compare three source-photo adjustments at one quilt grid. See where highlights disappear and check the applied image before choosing a mosaic.
Plan a Printed Photo Memory Quilt Layout
Give one photo room to lead, add separate captions and compare two measured drawings using provider-listed panel sizes.