Plan a Printed Photo Memory Quilt Layout
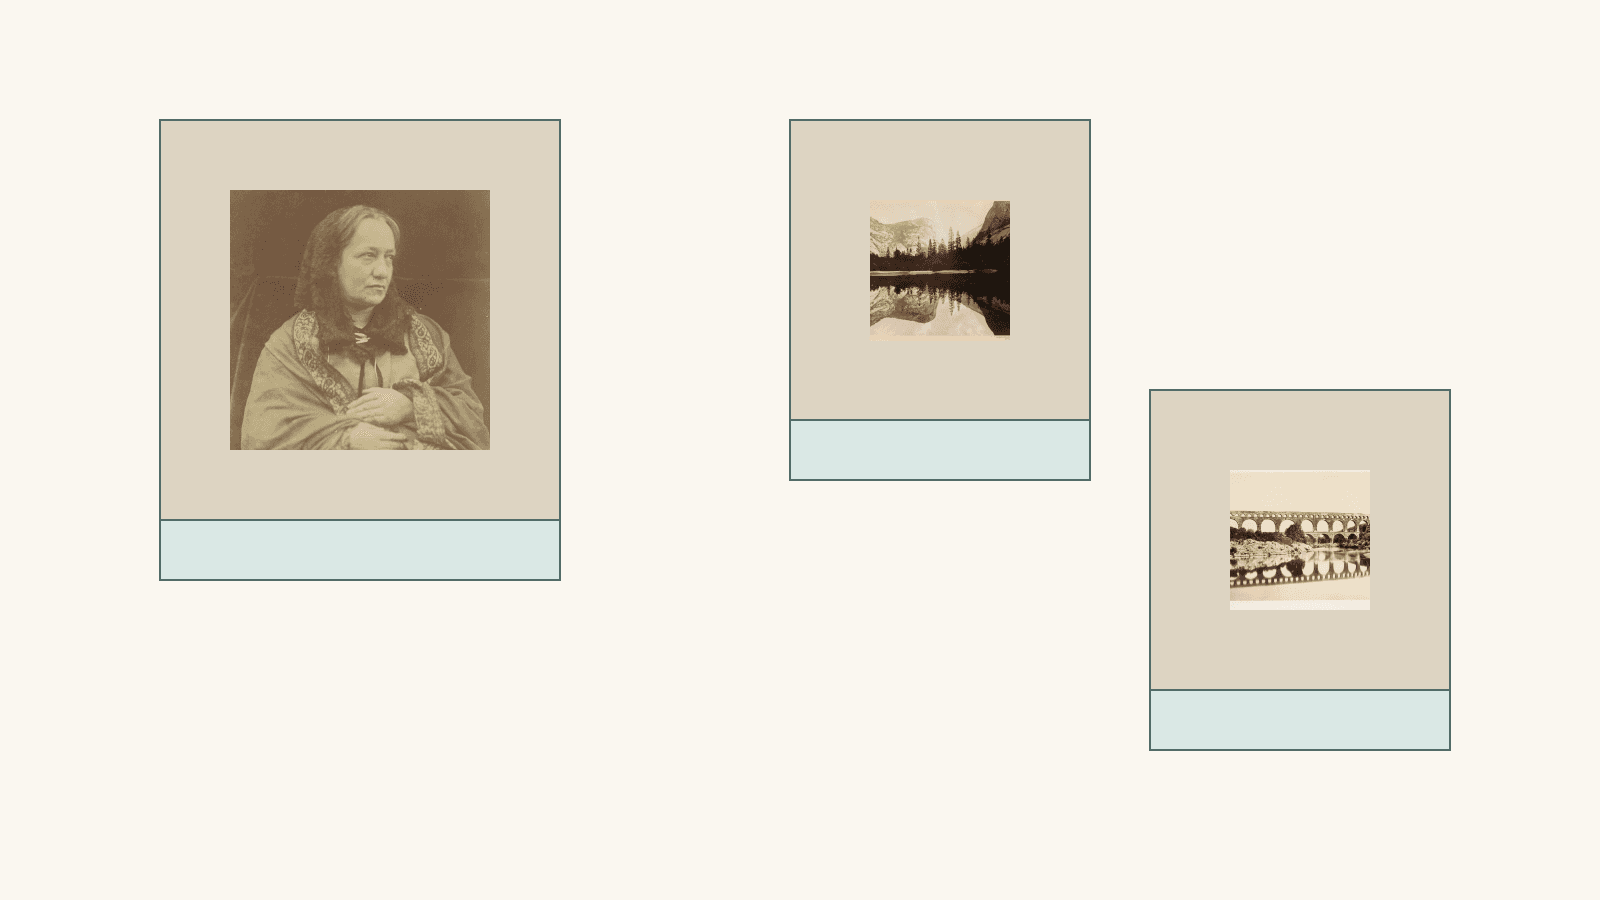
Choose the photo you want people to notice first, then give it more visible image space than the supporting pictures. Keep captions in their own planned area. Before comparing a printed photo memory quilt layout, write down three sizes for each picture: the visible image, the surrounding panel and any added caption strip.
Start with a small group of pictures rather than filling a large grid immediately. Lori McCroskey’s Photo Quilt Blocks planning guide recommends uninterrupted photo areas and involving the quilt piecer before ordering. That helps you settle the image spaces before seams or a pattern divide them.
Separate the photograph from the panel around it
A listing’s “photo size” can mean the image itself or the finished block containing it. Ask which measurement you are being given and where seam allowances sit. The distinction matters when you put a name underneath a face: the outer panel may be large, but its border is already doing another job.
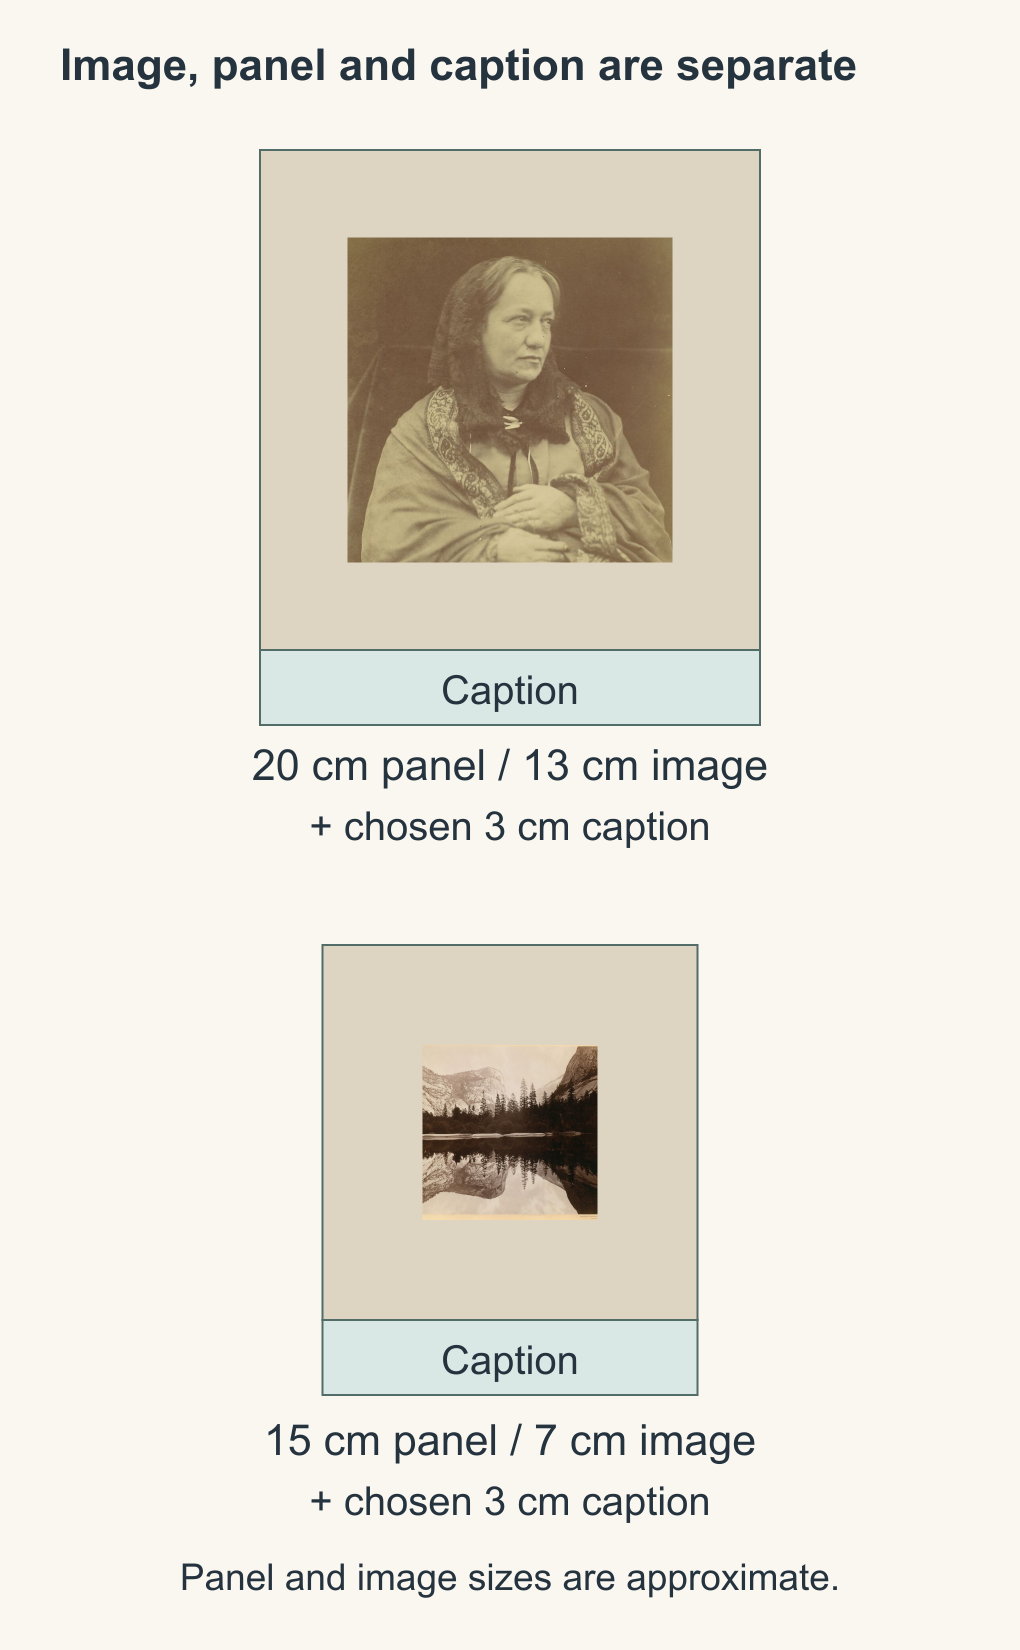
One documented example makes the difference clear. RubyBabyDesigns’ photo-addition listing gives these approximate finished sizes for two of its quilt designs:
| Provider design | Visible photo | Finished panel with border |
|---|---|---|
| Sammy Square | About 13 × 13 cm | About 20 × 20 cm |
| Sampson Square | About 7 × 7 cm | About 15 × 15 cm |
The listing describes borders made with memory clothing. It does not identify those borders as spare printable caption space.
We use these listed sizes as references for the drawings below. The two names refer to different provider designs; this mixed-size study is our layout exercise, not an ordering specification for that business. We haven't measured printed cloth or sewn the arrangement. The historical museum photographs illustrate placement and are not our family keepsakes.
If a 13 cm square is centered in a 20 cm square, the difference is 3.5 cm on each side. A centered 7 cm image in a 15 cm panel leaves 4 cm. Those are consequences of the drawing’s centered-square assumption. They are not measured border widths, seam allowances or cutting instructions.
Give one photo a clear job
For this study, the portrait is the focal image. Two landscape pictures support it. We use a 20 cm panel around the portrait and a 15 cm panel around each landscape. The portrait’s visible square is 13 cm across; each smaller photo square is 7 cm.
That larger image gives you more room to inspect a face or a group of people. It does not guarantee that a particular expression will survive printing. A crowded family picture may need a different crop or a larger space than a close portrait.
Keep the crop with the layout rather than deciding it after ordering. Check whether a square window cuts off a person, a sign or the part of a place that explains the memory. A narrow original can sit within a larger field without being stretched, or you can choose a different panel shape. Ask the printer how it handles that choice.
Our figure uses square crops of three public-domain photographs from The Met: Henry Herschel Hay Cameron’s portrait of Julia Margaret Cameron, Eadweard Muybridge’s Mirror Lake, Valley of the Yosemite and Edouard Baldus’s Pont du Gard. Their names and dates identify the actual images; no relationship between the three subjects is implied.
For your own quilt, give each image a short ID before changing crops. Keep the full source file beside the selected version. An ID lets you move a photo without losing its name, permission or caption.
Add caption space before you compare arrangements
Our three modules each include a separate 3 cm-high caption strip below the panel. The portrait module is therefore 20 × 23 cm. Each supporting module is 15 × 18 cm.
Those strips are a chosen design allowance. The size is not a promise that a certain number of words will fit. The lettering method, letter height and actual printed sample still decide that. Keep the first draft short: a person’s name and a date, or a place and a year. Put the longer story in a separate record.
Caption strips also change the layout’s geometry. A 20 cm panel with a 3 cm caption beneath it occupies 23 cm vertically, even if the photograph is only 13 cm high. Leaving the caption out of your sketch can make a tidy arrangement impossible to assemble as drawn.
Compare a tall arrangement with a wide one
Both drawings use the same three modules and a 3 cm gap between them. Each has a 3 cm outside margin. The gap and margin are layout choices, not an additional cloth allowance.
Arrangement A puts the portrait on the left and stacks the landscapes on the right. The portrait module starts at the top. Its caption ends well above the bottom of the supporting column, leaving an open area underneath. You could keep that space quiet or develop a separate story block after choosing the photos.
The overall width is 3 + 20 + 3 + 15 + 3 = 44 cm. The taller supporting column decides the height: 3 + 18 + 3 + 18 + 3 = 45 cm.
Arrangement B puts all three modules in one row. The portrait still has the largest image, but the eye can travel across the supporting pictures. This version uses less height and more width.
Its width is 3 + 20 + 3 + 15 + 3 + 15 + 3 = 62 cm. The 23 cm portrait module decides the height: 3 + 23 + 3 = 29 cm.
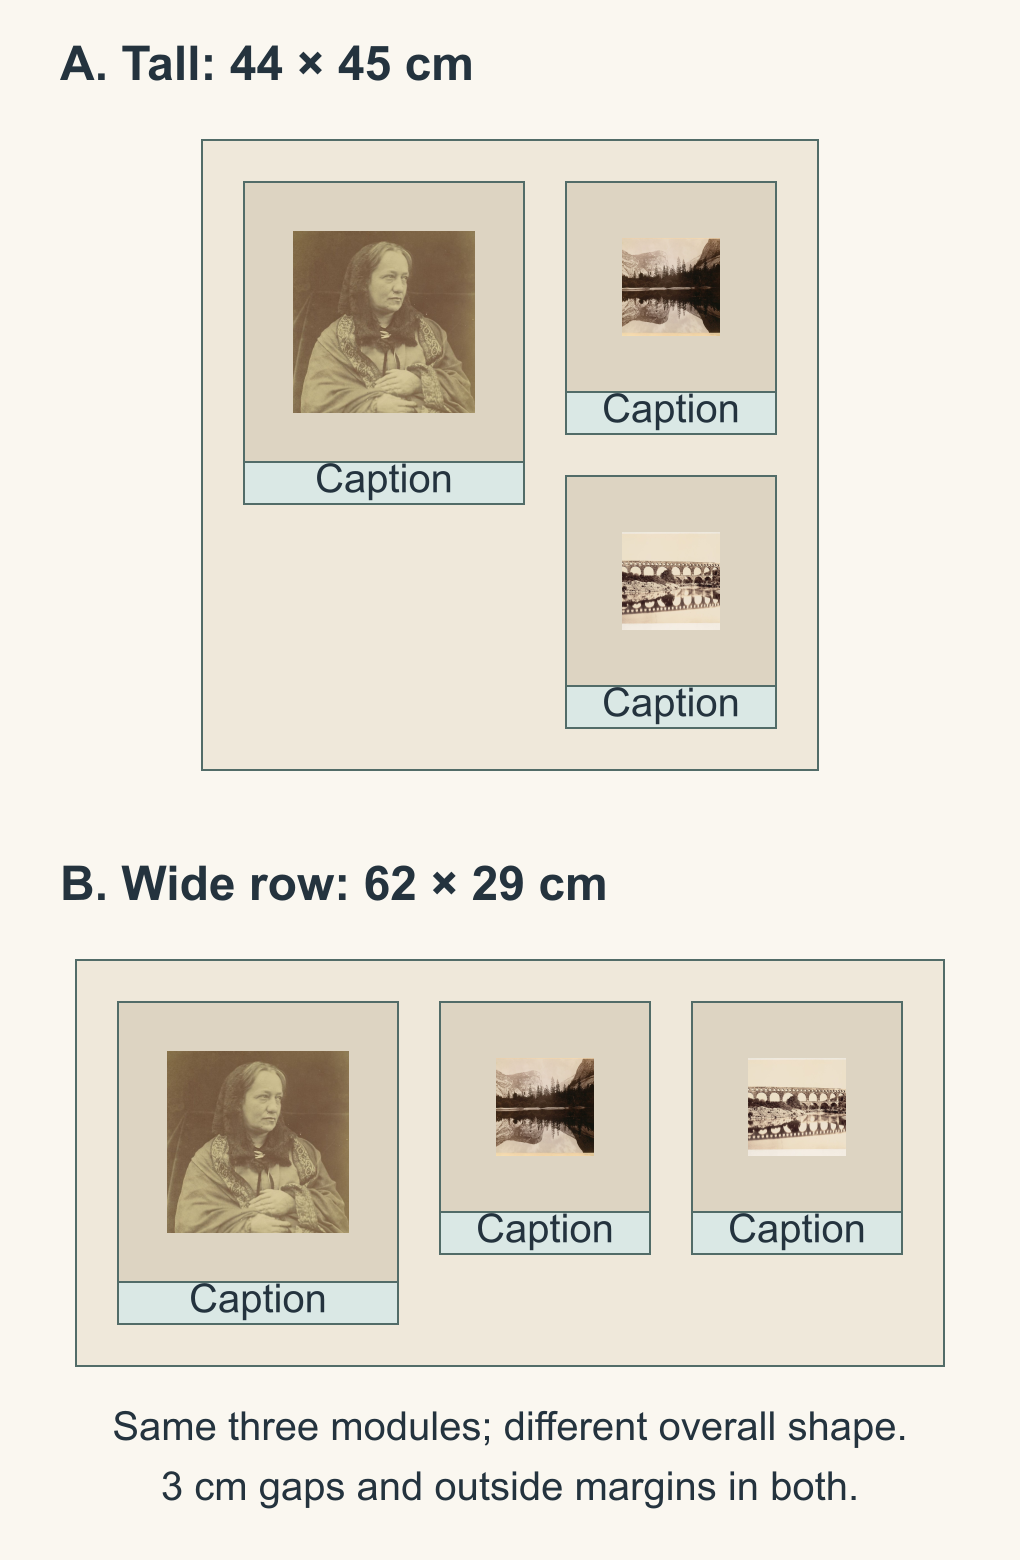
Neither drawing changes the number of photos. The visible image area is also unchanged: 13 × 13 + 7 × 7 + 7 × 7 = 267 square centimeters. The comparison is about placement, captions and the spaces between modules, not a calculated score for visual importance.
Choose the tall version when that outline suits the intended quilt and you want the supporting pictures grouped together. Choose the row when reading left to right helps the short captions. Then check whether the rest of the quilt can support that shape without shrinking the images you care about.
Check one printed module before choosing the surrounding cloth
Take the preferred crop and caption to the actual print provider. Confirm the visible image size, the finished panel size, the delivered raw size and the preparation instructions. Ask whether caption printing is offered or whether that strip will be made separately.
Send one labeled module sketch with those questions. Mark the image box, the finished panel outline and the separate caption strip. Ask the printer and piecer to confirm the delivered raw dimensions before you add cutting allowances; a finished-size listing alone cannot supply them. Keep their answer with the crop so a later layout change doesn't silently change the order.
The printing process matters here. Electric Quilt’s printable-fabric instructions recommend a plain-paper test and allow for possible slight shrinkage in their treated inkjet fabric. They also specify their own processing and care steps. Follow the directions for the material you actually choose rather than combining instructions from different printing methods.
Inspect the processed cloth before finalizing the adjacent fabric. Look at the smallest face, the caption and the crop edges at their intended size. Bring that sample when choosing surrounding fabrics; screen color alone cannot settle the match.
Start by recording one focal photo and two supporting photos with their three dimensions. Compare the tall and wide outlines, then ask your piecer and printer to confirm the chosen module. Our photo quilt ideas guide can help you choose a printing or piecing approach, and the group-quilt guide can help you choose a contribution format.
Free patterns to try
Printable PDF patterns with cutting charts and diagrams, free to download.
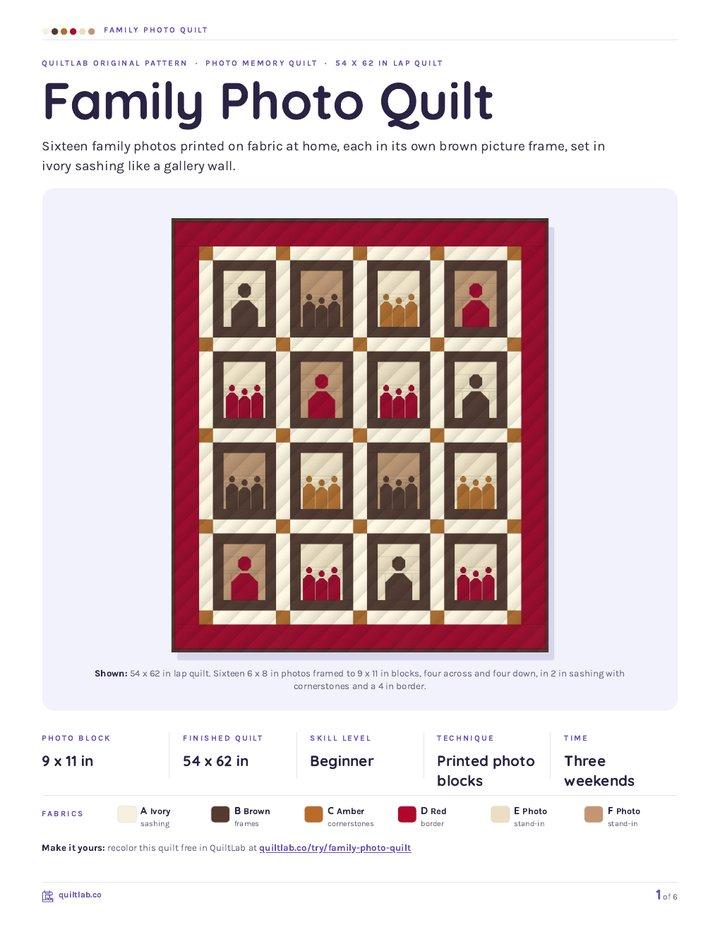
Family Photo Quilt
Quilt patternBeginner · 54 x 62 in lap quilt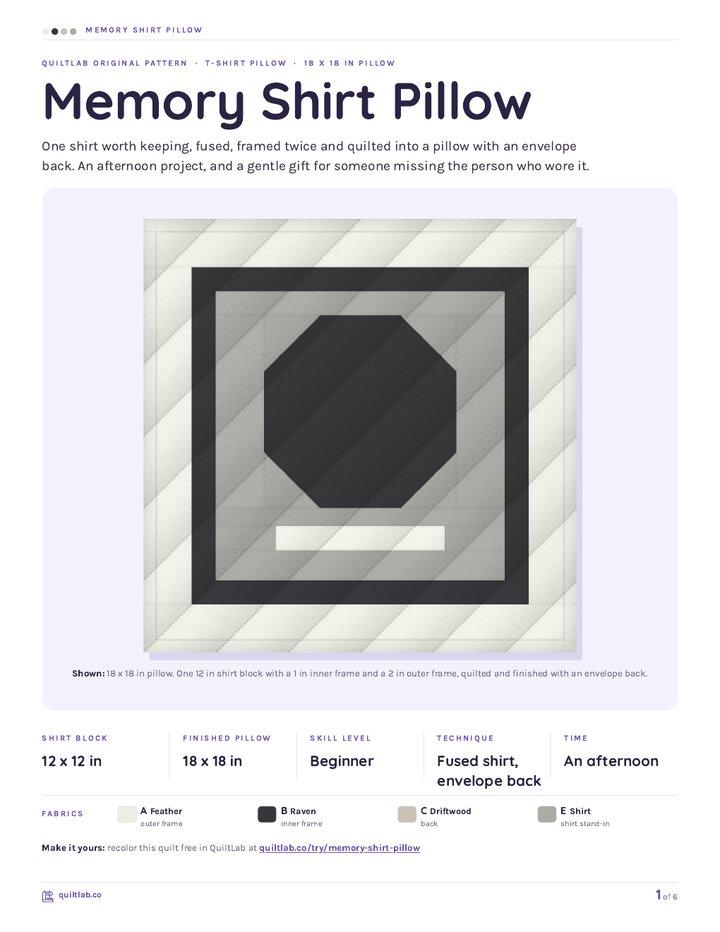
Memory Shirt Pillow
Quilt patternBeginner · 18 x 18 in pillow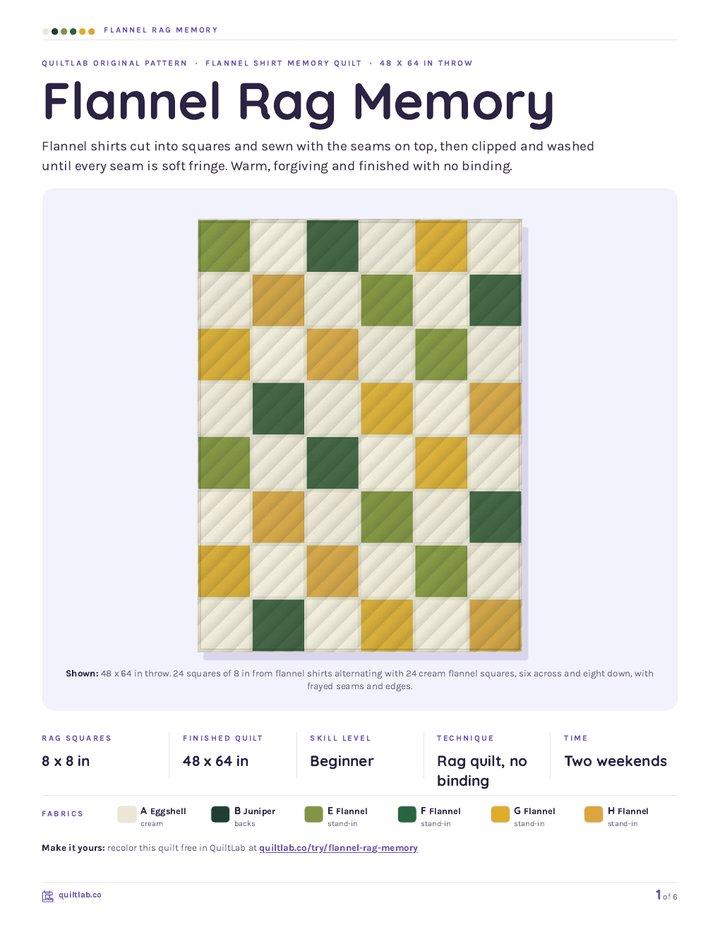
Flannel Rag Memory
Quilt patternBeginner · 48 x 64 in throw
Plan your next quilt
Lay out blocks and try colors in QuiltLab's grid editor before you cut.
Free forever, no card needed.
Get quilting tips by email
QuiltLab updates, tips and quilting inspiration. Unsubscribe anytime.
Related posts
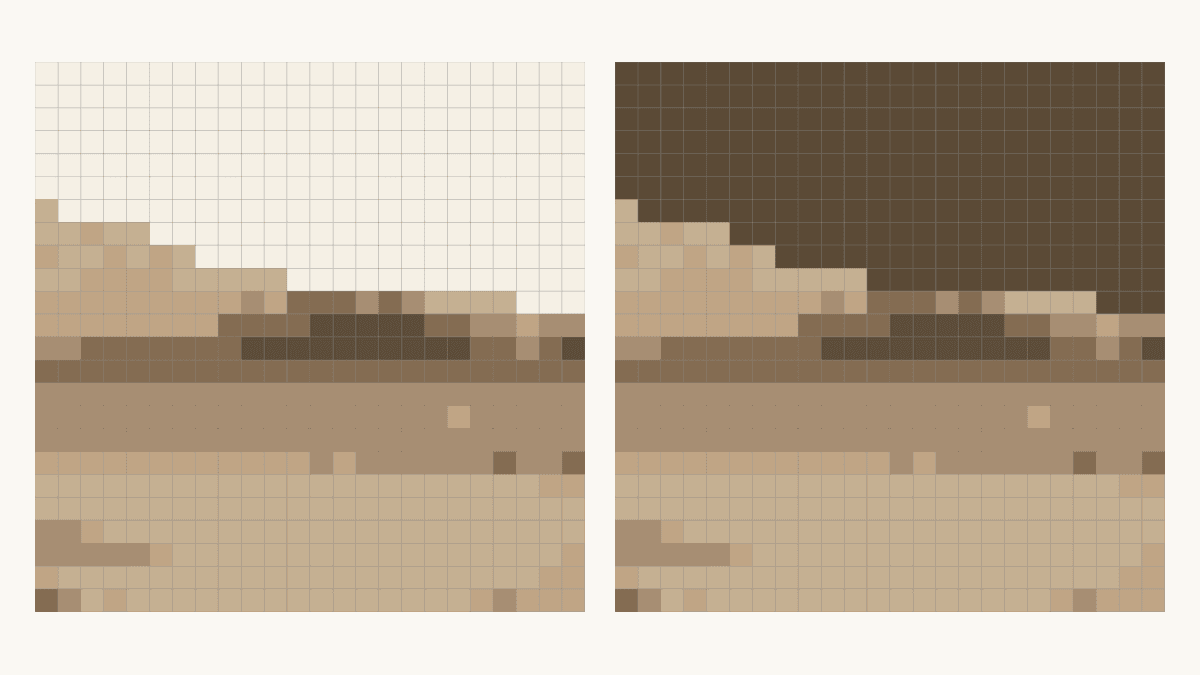
How to Change Photo Quilt Background Contrast
Compare two saved background edits at one fixed grid. Check shared colors, inspect a tree edge and keep the matching PDF guide before choosing cloth.
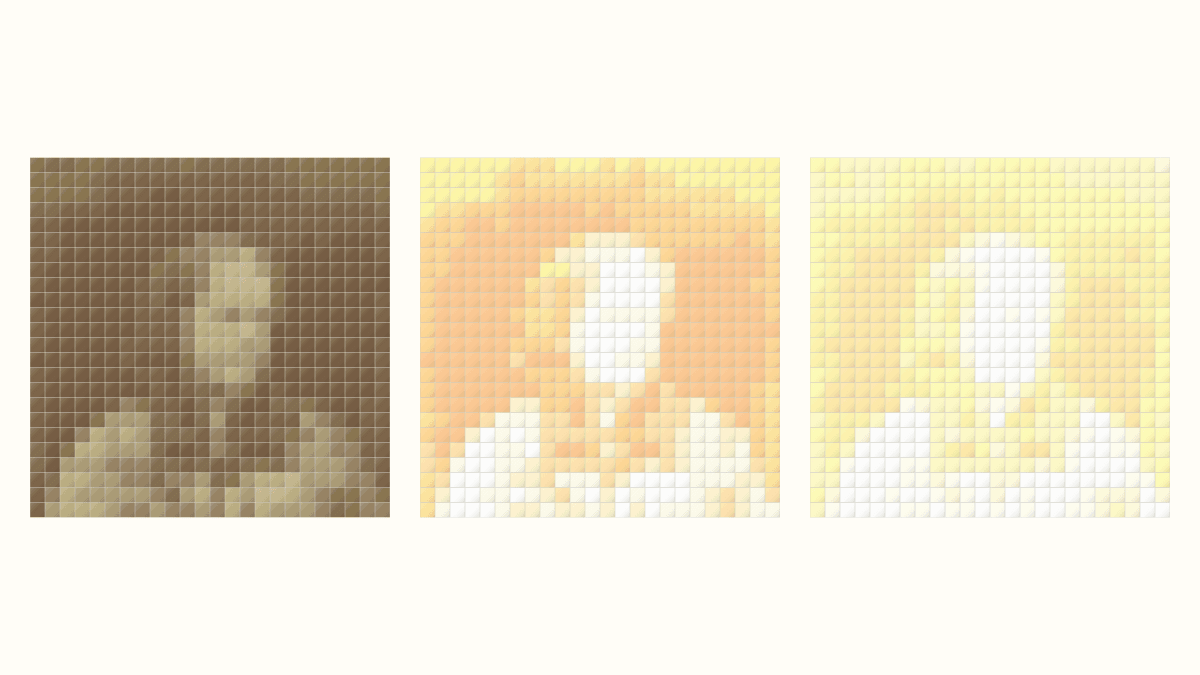
Photo Quilt Contrast: Keep Useful Detail
Compare three source-photo adjustments at one quilt grid. See where highlights disappear and check the applied image before choosing a mosaic.
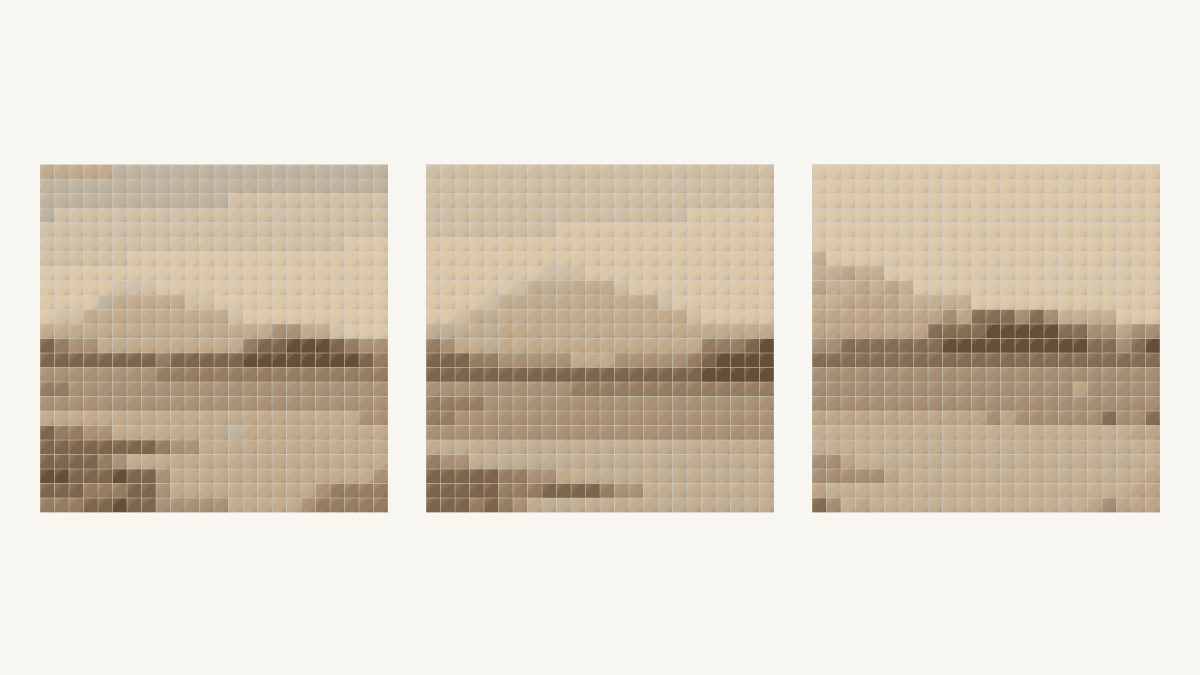
Keep the Main Shapes in a Landscape Photo Quilt
Compare three landscape crops at 576 patches. See which river and tree shapes remain, and separate a cropped-out summit from a faint reduced outline.