Pixel Quilt Fabric Requirements from Square Counts
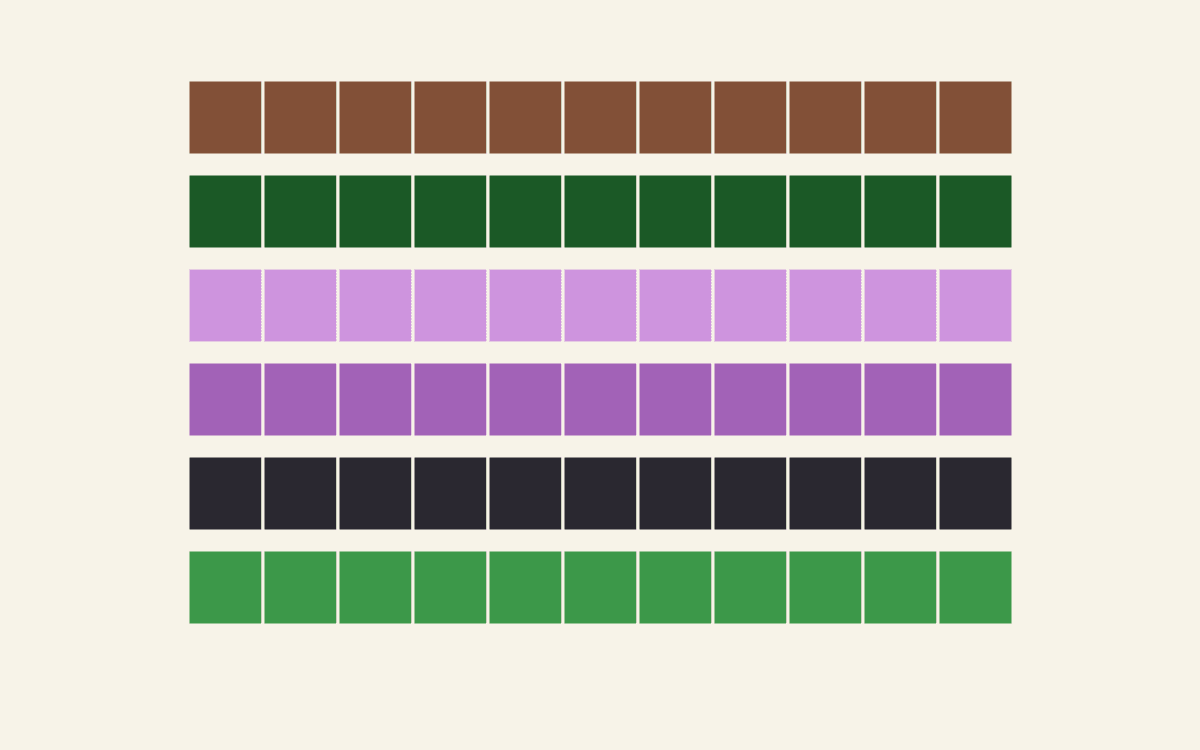
Calculate pixel quilt fabric requirements one color at a time: count its squares, find how many cuts fit across your usable fabric, then round up to whole strips. Add any reserve after that calculation. A color's share of the finished picture doesn't tell you how much fabric to buy.
Start with the final guide and one agreed square size. Keep backing, binding, borders and batting on separate lines. The calculation below covers ordinary square patches for the picture itself.
Keep the counts from one chosen guide
Our example uses a real QuiltLab square-layout guide saved on October 16: 12 rows, 12 columns, 144 patches and six colors. We checked the cells against both pages of its key. The source photograph is Morning Flower, released under CC0. Its current file page credits Velatrix; the original upload and structured creator record name Nicolas M. Perrault.

The saved guide uses 1-inch finished squares. For this calculation, we manually enlarge the same grid to 3-inch finished squares, making a 36-inch-square picture. This changes the dimensions, not the counts. It isn't a new product export or a sewn trial.
For making a guide in the first place, follow our photo-quilt tutorial. Here, the design is already chosen and the question is what each fabric must supply.
Calculate the cut before looking at yardage
With quarter-inch seams, an ordinary square needs an extra half inch across: one quarter on each opposing edge. A 3-inch finished square is therefore cut 3.5 inches square.
Julie Baird's block-drafting lesson separates the finished grid from the cutting dimensions for squares and rectangles. Keep that distinction on your worksheet. The finished picture uses 144 times 9, or 1,296 square inches. Its square cuts use 144 times 12.25, or 1,764 square inches, before the strips' unused ends are considered.
Buying 1,296 square inches of cloth would miss the allowances. Buying 1,764 square inches by area alone would still ignore whether those square cuts fit the fabric's shape.
Write three separate numbers at the top of the page: 3 inches finished, 3.5 inches cut, and 12 squares across. Don't switch back to the guide's original 1-inch size halfway through the purchase calculation.
Find the yield of one strip
Assume the prepared fabric has 40 clean, usable inches across, after excluding selvages and unsuitable edges. That is our planning assumption; measure your own cloth.
One 3.5-inch-wide strip gives:
40 divided by 3.5 = 11 whole squares, with 1.5 inches left across the strip.
The fraction doesn't become another square. Eleven cuts occupy 38.5 inches. A twelfth would need 42 inches, beyond this assumed usable width.
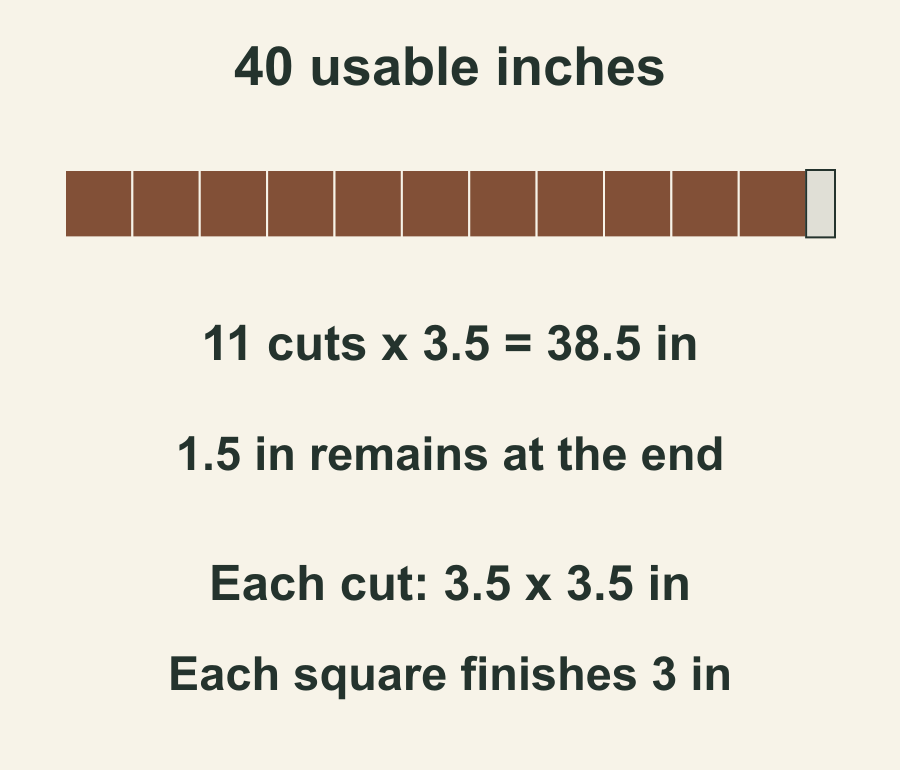
This example's strips are each 3.5 inches deep along the fabric's length. The six colors need their own strips; an unused end from green won't provide a missing purple square.
Round every color up to whole strips
Divide each patch count by eleven, then round upward. The guide's identifiers stay with the colors even though the key begins with Color 2.
| Guide color | Squares needed | Whole strips | Baseline length |
|---|---|---|---|
| Color 2, brown | 45 | 5 | 17.5 in |
| Color 1, dark green | 32 | 3 | 10.5 in |
| Color 5, pale purple | 32 | 3 | 10.5 in |
| Color 4, purple | 16 | 2 | 7 in |
| Color 3, near-black | 11 | 1 | 3.5 in |
| Color 6, green | 8 | 1 | 3.5 in |
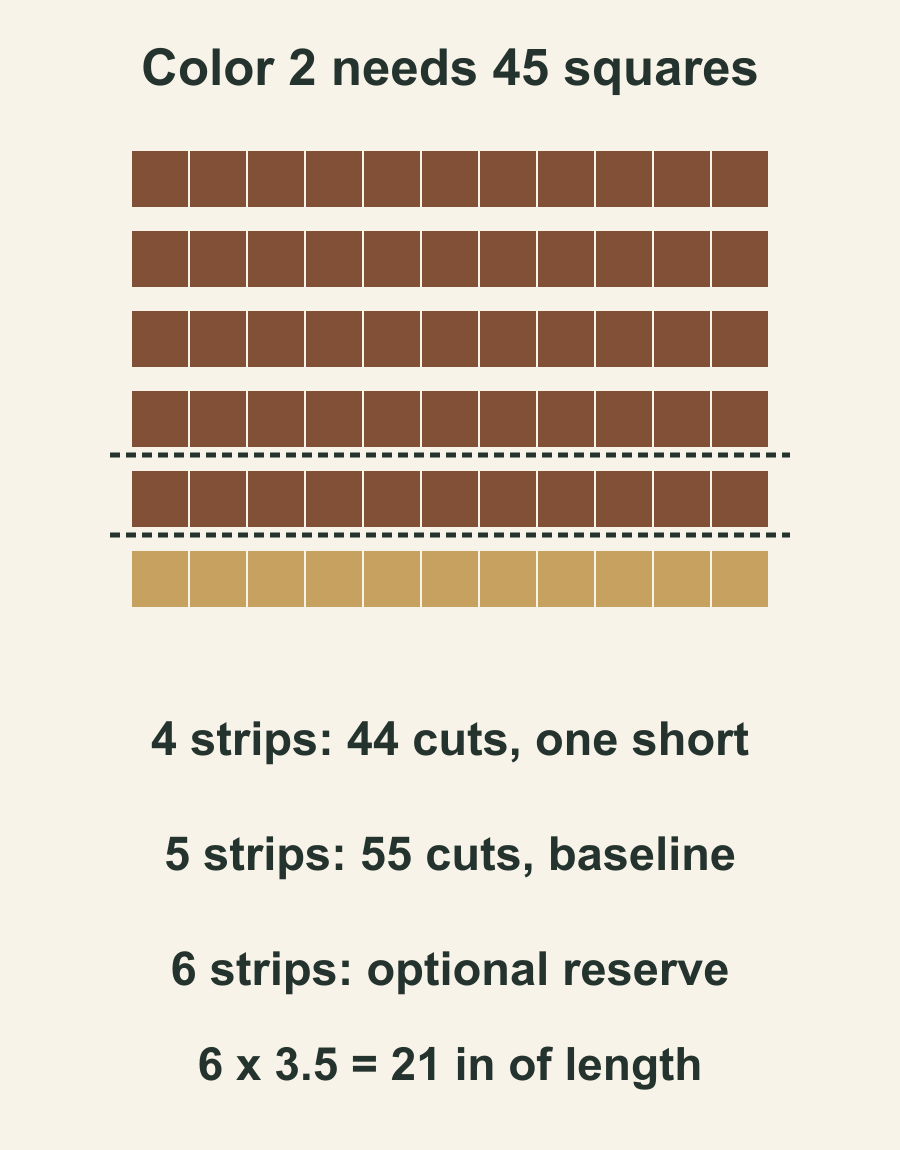
Brown shows why rounding matters. Four strips yield only 44 squares, one short of 45. Five strips yield 55, leaving ten beyond the design's count.
Across all six colors, the baseline is 15 strips, totaling 52.5 inches of fabric length across the separate fabrics. Those strips yield 165 squares; the design uses 144. The remaining 21 squares arise from whole-strip rounding. They are not a guaranteed allowance for every preparation loss or cutting mistake.
Choose a reserve you can explain
For an illustrative reserve, add one whole strip of each color. This is a choice for this worksheet, not a universal waste percentage. It adds six strips, or 21 inches of combined length, before purchase rounding.
Then suppose your retailer sells these fabrics in eighth-yard increments. An eighth yard is 4.5 inches. Round each reserved length upward to the next such increment:
| Guide color | Length with one extra strip | Rounded purchase |
|---|---|---|
| Color 2 | 21 in | 5/8 yd, 22.5 in |
| Color 1 | 14 in | 1/2 yd, 18 in |
| Color 5 | 14 in | 1/2 yd, 18 in |
| Color 4 | 10.5 in | 3/8 yd, 13.5 in |
| Color 3 | 7 in | 1/4 yd, 9 in |
| Color 6 | 7 in | 1/4 yd, 9 in |
Those six purchases total 2.5 yards, distributed among six fabrics. That is not permission to buy 2.5 yards of one fabric. Different shop increments or preparation needs change the purchase column without changing the guide counts.
Recalculate when the fabric changes
Check each actual fabric's clean width. If a prepared fabric has only 38 usable inches, ten 3.5-inch cuts fit across it. Each 32-square color then needs four strips instead of three. The 11-square near-black also needs two strips instead of one: a single strip now supplies only ten squares.
If all six fabrics had that narrower usable width, their baseline would become 5 + 4 + 4 + 2 + 2 + 1 = 18 strips, or 63 inches of combined length. That is 10.5 inches more than the 40-inch-width baseline, before any reserve or shop rounding. When only one fabric is narrower, recalculate that color's line rather than increasing every purchase.
A directional print can change the cutting arrangement too. This ledger assumes square patches cut in one consistent orientation, without finding special motifs. If you need particular printed windows, plan their actual repeat positions separately.
Missouri Star's written pixel-quilt guidance emphasizes keeping the squares and rows organized. Keep each fabric's identifier on its cut stack, so a correct purchase doesn't become the wrong color in the picture.
Check the sewn size before cutting the full set
American Patchwork & Quilting's quarter-inch seam lesson checks a pressed three-strip sample and explains how the fold affects the result. Use your project materials to check the seam before preparing every square.
For this enlarged layout, twelve 3.5-inch cuts joined with eleven half-inch seam losses should make a 36.5-inch raw row. Its outer allowances bring the picture to 36 inches finished. If your sample doesn't meet its intended size, resolve the sewing or cutting issue before relying on the full plan.
Copy the six counts into your own worksheet, measure the usable width of each candidate, and calculate the baseline first. Then choose your reserve and purchase increment deliberately. The patch-size comparison helps if you still need to settle the finished square size.
Free patterns to try
Printable PDF patterns with cutting charts and diagrams, free to download.
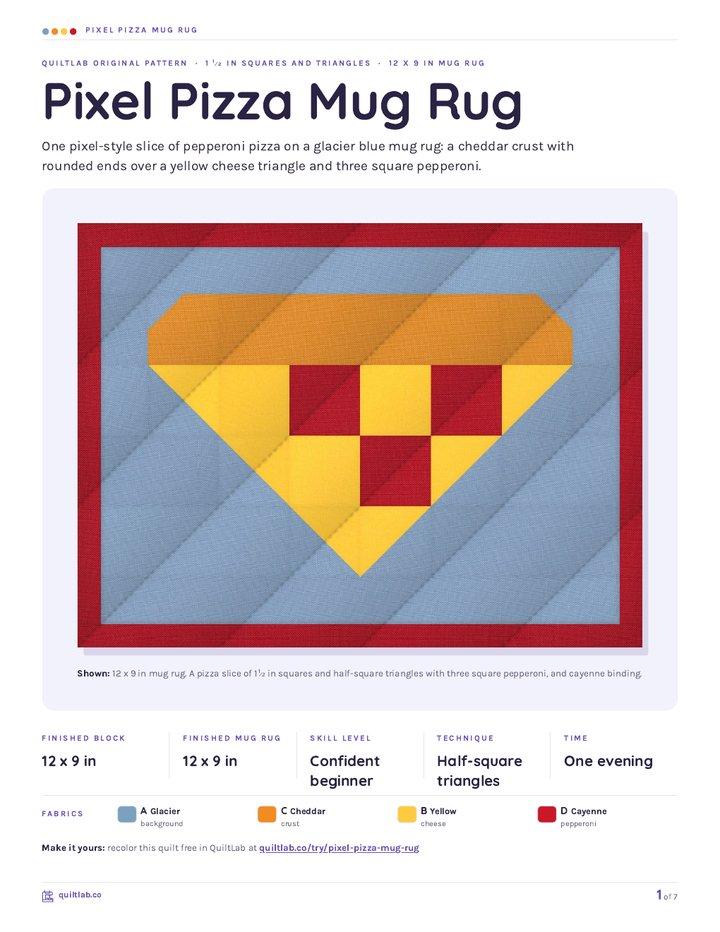
Pixel Pizza Mug Rug
Quilt patternBeginner · 12 x 9 in mug rug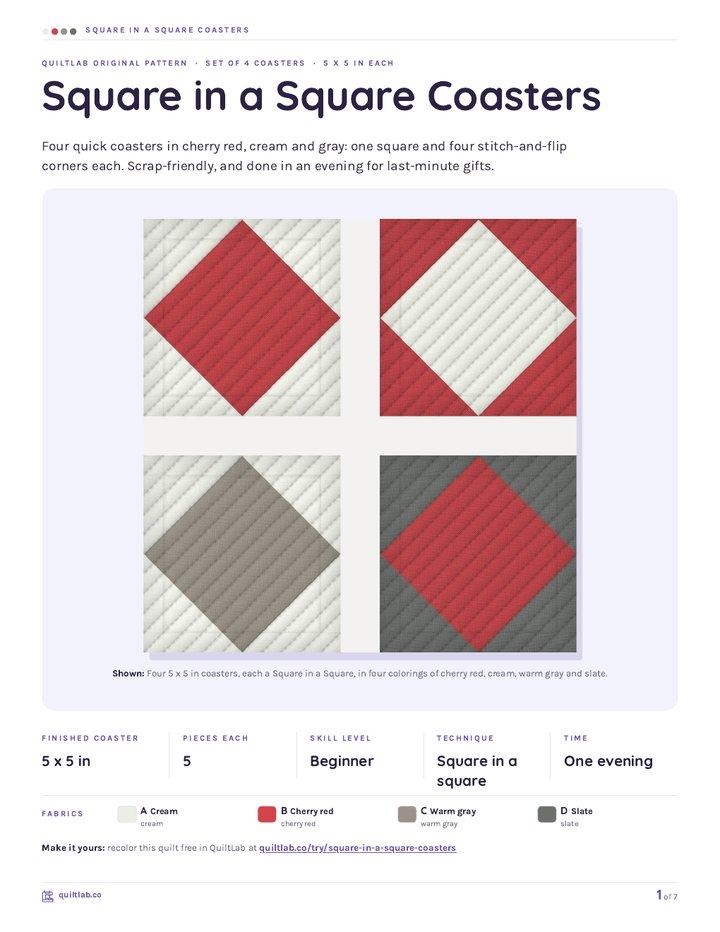
Square in a Square Coasters
Quilt patternBeginner · Four 5 x 5 in coasters
Charm Square Airplanes
Quilt patternBeginner · 76 x 78 in throw
Plan your next quilt
Lay out blocks and try colors in QuiltLab's grid editor before you cut.
Free forever, no card needed.
Explore designing with your fabricsGet quilting tips by email
QuiltLab updates, tips and quilting inspiration. Unsubscribe anytime.
Related posts
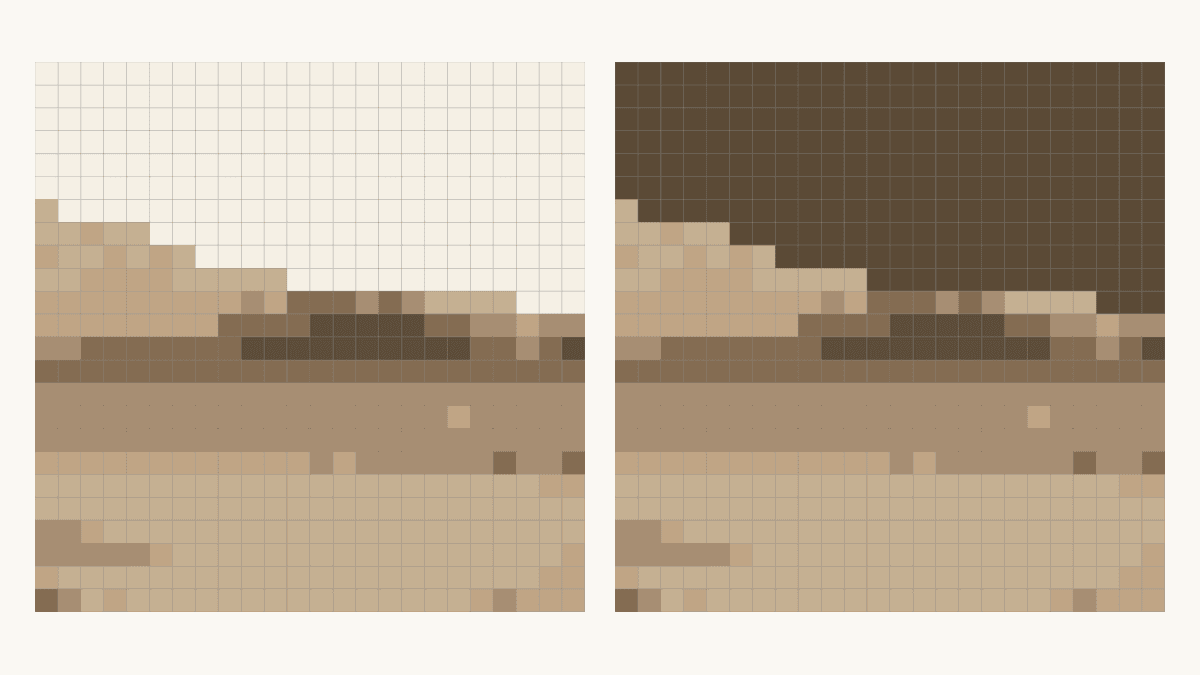
How to Change Photo Quilt Background Contrast
Compare two saved background edits at one fixed grid. Check shared colors, inspect a tree edge and keep the matching PDF guide before choosing cloth.
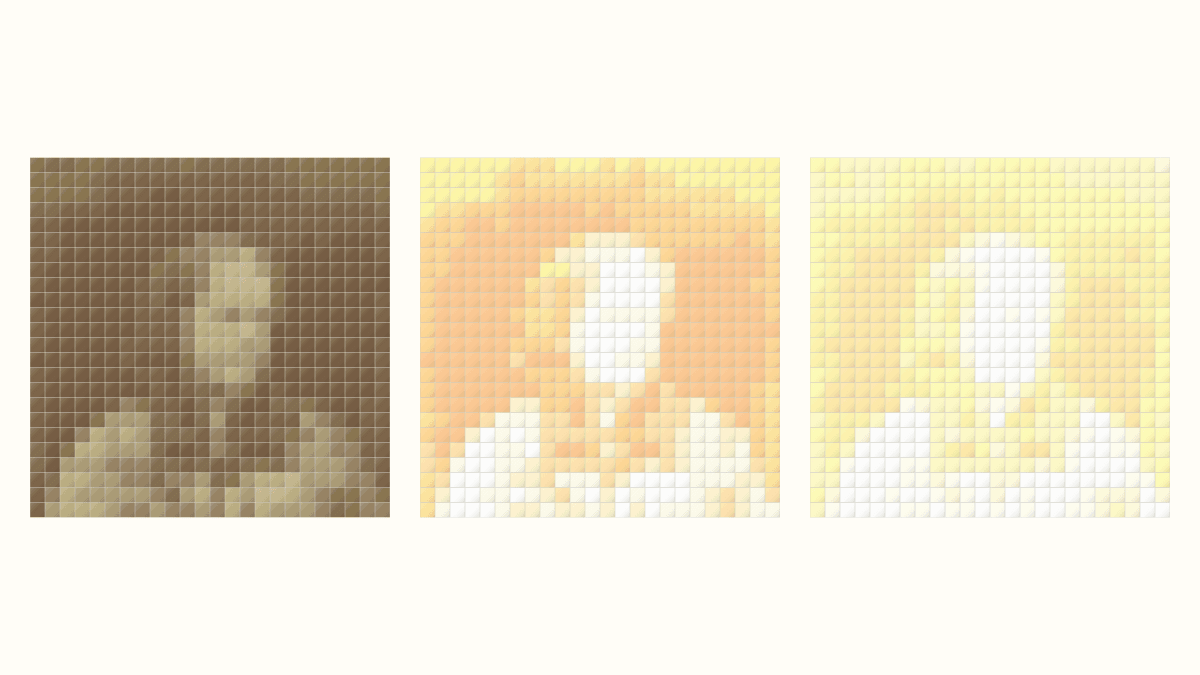
Photo Quilt Contrast: Keep Useful Detail
Compare three source-photo adjustments at one quilt grid. See where highlights disappear and check the applied image before choosing a mosaic.
Plan a Printed Photo Memory Quilt Layout
Give one photo room to lead, add separate captions and compare two measured drawings using provider-listed panel sizes.