How to Choose Your Photo Mosaic Patch Size
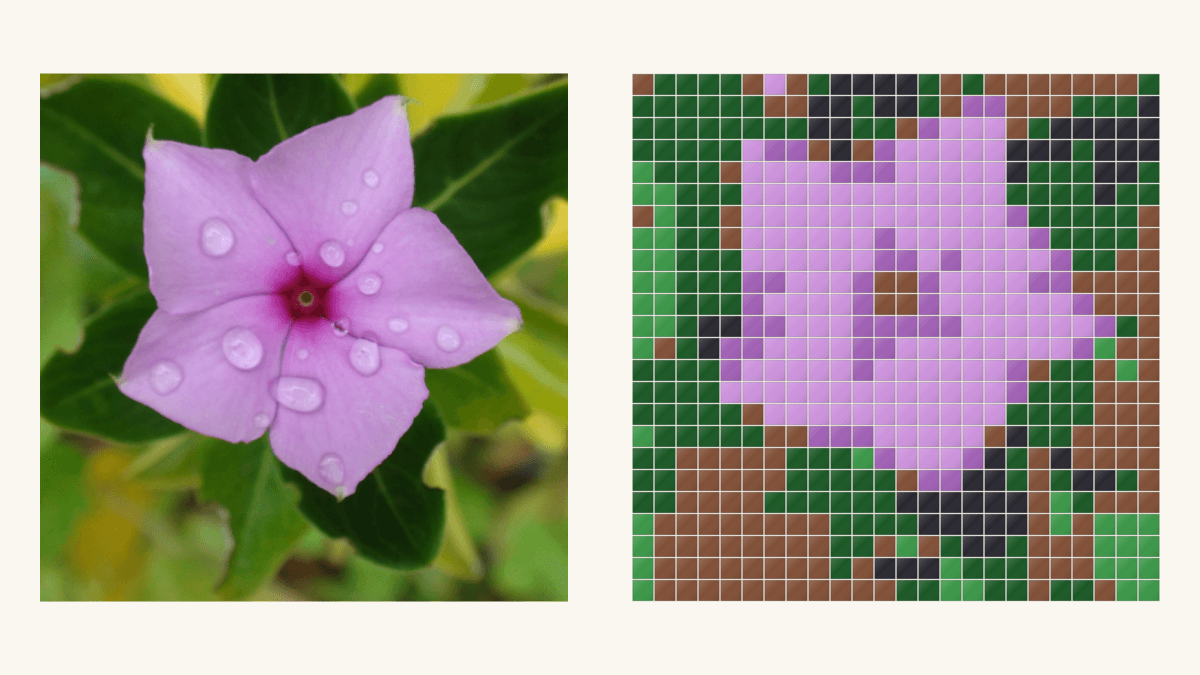
Choose the coarsest photo-mosaic grid that keeps the feature you care about. Compare a few previews at the same finished size, then inspect that feature before accepting the extra squares of a finer grid. If none keeps it, try a tighter crop before committing to more patches.
For the flower below, smaller patches improved the outline, but they didn't restore its maroon center. A tighter crop brought that center back using 144 squares, while losing the outer petal tips. That tradeoff is more useful than a rule that every photo needs a particular square size.
Name the detail that makes the picture yours
Choose one main feature and one feature you can let go. For a flower, that might be the whole petal outline and the tiny water droplets. For a building, it might be the roofline and the individual bricks.
Write the choice beside the photo. Then check it in every preview, including the one that looks appealing at first glance. A larger number of squares is useful only if it gives you something you want to sew.
Missouri Star's pixel-quilt guide describes the usual tradeoff: smaller squares can show more detail and add more seams. Here we'll look at where that advice helps, and where the source crop and chosen colors still control the result.
This study uses Morning Flower from Wikimedia Commons, released under CC0. The current file page credits Velatrix; its original upload and structured creator record name Nicolas M. Perrault. We cropped the photograph square and resized it outside QuiltLab.

The photo gives us three clear inspection targets: the flower's outer silhouette, the maroon area around its center, and the little green eye inside that center. The circular droplet reflections are another detail to watch, rather than a requirement for every interpretation.
Keep the footprint and settings steady
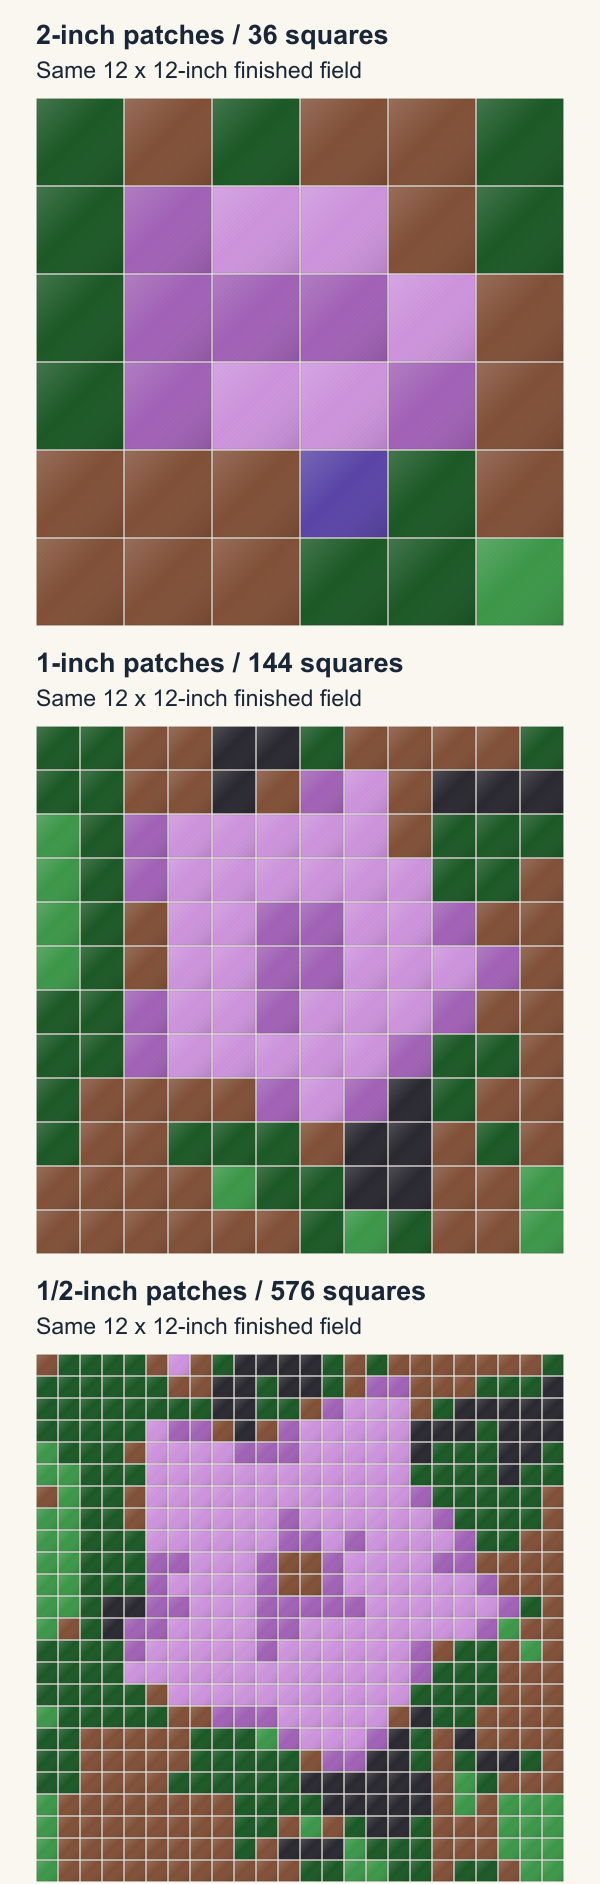
Our October 16 production comparison used a 12 x 12-inch finished field for every result. We kept Squares, Fidelity, Stretch and Maximum colors: 6, with 4-inch blocks arranged three across and three down. Only the finished patch size changed for the first three outputs.
For the complete setup, use our photo-mosaic tutorial and the Quilt Editor guide. Sign in, create a Photo mosaic in the Quilt Editor, upload the source and make each comparison deliberately. Wait for generation to finish before inspecting or exporting it.
| Finished patch | Actual grid | Total squares | Finished field |
|---|---|---|---|
| 2 x 2 inches | 6 x 6 | 36 | 12 x 12 inches |
| 1 x 1 inches | 12 x 12 | 144 | 12 x 12 inches |
| 1/2 x 1/2 inch | 24 x 24 | 576 | 12 x 12 inches |
Maximum colors is a limit, not a locked set of six identical colors. QuiltLab recalculated the actual palette for each analysis. We held the settings steady, but the resulting hues changed too. Read this as a practical preview comparison, rather than proof that patch size alone caused every difference.
To compare palette limits separately, our photo-quilt color-reduction study keeps a different 576-patch flower layout fixed while trying four, six and eight colors. It follows the center's changing boundary before choosing fabric.
Check what the extra squares actually recover
The 36-square version gives a broad pink area against green and brown. It may suit an abstract color study, but it doesn't give us a clear flower center. Much of the outer shape has become a coarse step.
The 144-square version separates the petal shape more clearly. Its center remains purple, so the feature we wanted still isn't distinct. This is a useful stopping point if a simplified flower silhouette is enough.
The 576-square version gives the petal edges more room to turn. Yet the center becomes brown, rather than its own maroon area. None of these three full-photo palettes contains the maroon used in our later close-up. The small green eye and recognizable circular droplets are also missing.
That last result matters. We could accept four times as many squares as the middle option and still miss the center's character. Before cutting 576 pieces for that goal, it makes sense to change the framing.
Look at the previews close up, then from your intended viewing distance. Check both: a field of attractive colors can blend into a convincing outline farther away while losing the detail you hoped to keep. Record what you actually see instead of assigning an invented accuracy score.
Try a tighter crop at the same patch count
We made a second source image outside QuiltLab. From the 768 x 768-pixel square, we kept a 384 x 384-pixel area, starting 192 pixels from the left and 144 from the top. We resized that crop back to 768 pixels square before uploading it to a separate study.
The crop keeps one quarter of the source area. Each retained feature is twice as large across the new image. We then used the same 12-inch field, 1-inch finished patches and six-color maximum: 12 x 12 = 144 squares again.
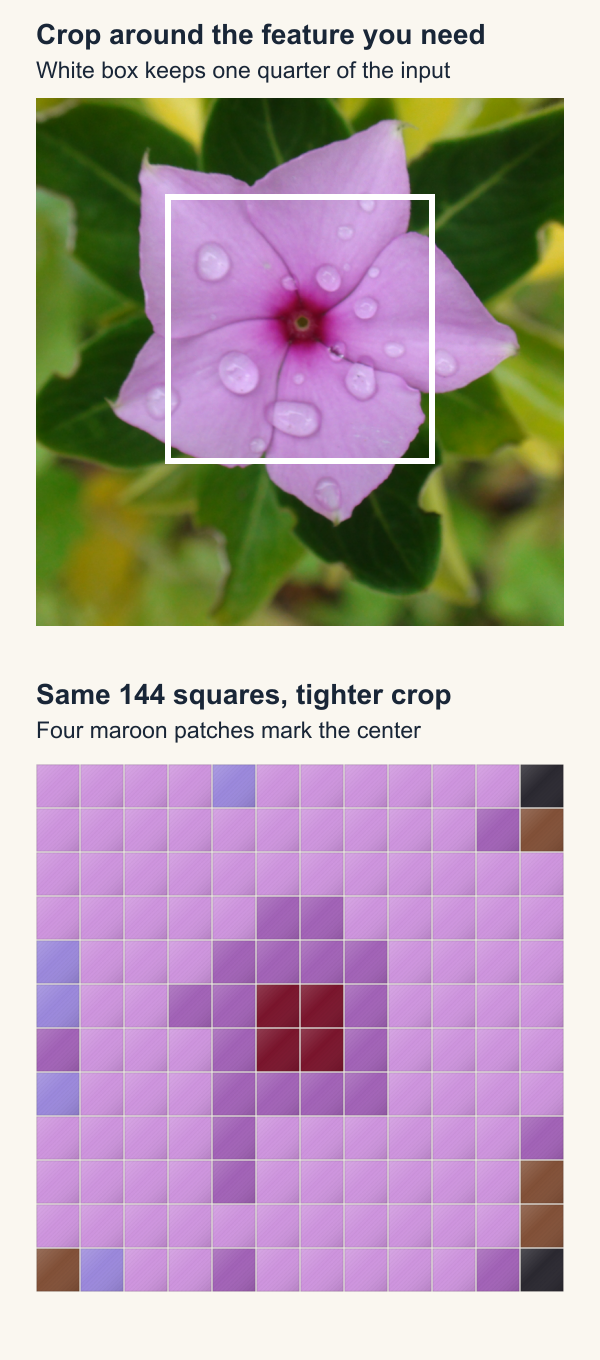
This time, four maroon patches form a two-by-two group at the center, in rows 6 and 7, columns 6 and 7. The maroon is a separate color in the downloaded key. The tiny green eye still disappears, and the water droplets don't become distinct circles.
We also gave up something: the crop cuts off the outer petal tips and most of the green surroundings. Choose it if the center is your subject. Keep a wider view if the whole flower's shape is the reason you chose the photograph.
Compare that change with your stated goal before you increase the number of pieces.
For a landscape, our three-frame crop comparison checks whether the mountain remains inside the source frame and whether its boundary stays clear in the mosaic. Those are separate reasons to accept or reject a crop.
Make the guide agree with the preview
In Settings, choose Preview & export block guide. In Block guide preview, choose Export to PDF. Check every page against the result you selected, then save and reopen the quilt; our saving guide explains those checks. See current access and allowances before planning uploads or exports.
All four of our guides had two pages and nine blocks. Their six color counts summed to 36, 144, 576 and 144 patches respectively. The color key continued onto page two. The close-up's key included four maroon patches; the whole-photo guides didn't include that color.
Keep the chosen photo crop, preview and guide together. A guide from the whole flower and an image from the close-up describe different designs even when both have 144 squares. The PDF overview is scaled for reference; follow the listed cut dimensions rather than measuring its picture.
Shirley at Mystery Bay Quilt Design's value-grid study shows the same useful order for a manual mosaic: assign a value to each grid position, then select and organize the cloth. The checked map, rather than the original photograph alone, tells you which fabric belongs where.
Choose the version you want to make
For this study, we'd keep the 24 x 24 whole-flower grid if the petal outline were the main goal and 576 pieces were acceptable. We'd choose the 12 x 12 close-up if a separate maroon center mattered more than the complete silhouette. Neither keeps all the photographic detail.
If your requirement is both a whole subject and a tiny feature, you can reject these settings and choose a clearer source. If you're starting from deliberate cell artwork instead of a photograph, our pixel-art quilt guide covers checking exact chart details.
Set your own limit in pieces before choosing the finest grid. Sew and measure a small section using your planned cloth and seam setup before cutting the whole batch. Then keep the preview whose important feature you can point to, whose compromises you accept, and whose squares you want to sew.
Free patterns to try
Printable PDF patterns with cutting charts and diagrams, free to download.
Nine Patch Hot Pads
Quilt patternBeginner · Two 9 x 9 in hot pads
Double Four Patch
Block patternBeginner · 12 in block, makes a 68 x 68 in quilt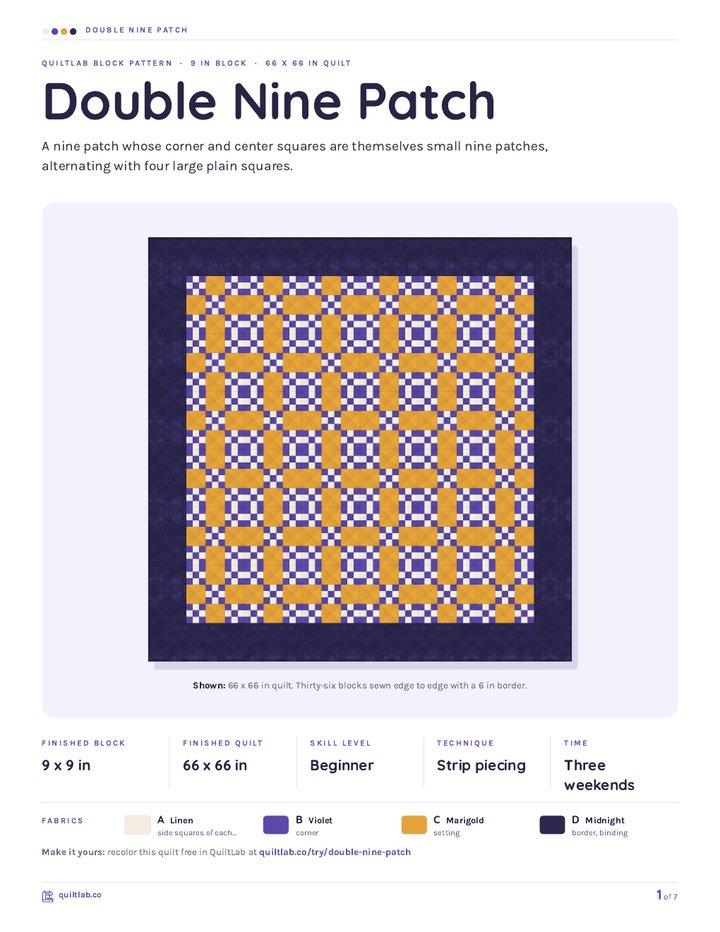
Double Nine Patch
Block patternBeginner · 9 in block, makes a 66 x 66 in quilt
Plan your next quilt
Lay out blocks and try colors in QuiltLab's grid editor before you cut.
Free forever, no card needed.
Explore photo quilt designGet quilting tips by email
QuiltLab updates, tips and quilting inspiration. Unsubscribe anytime.
Related posts
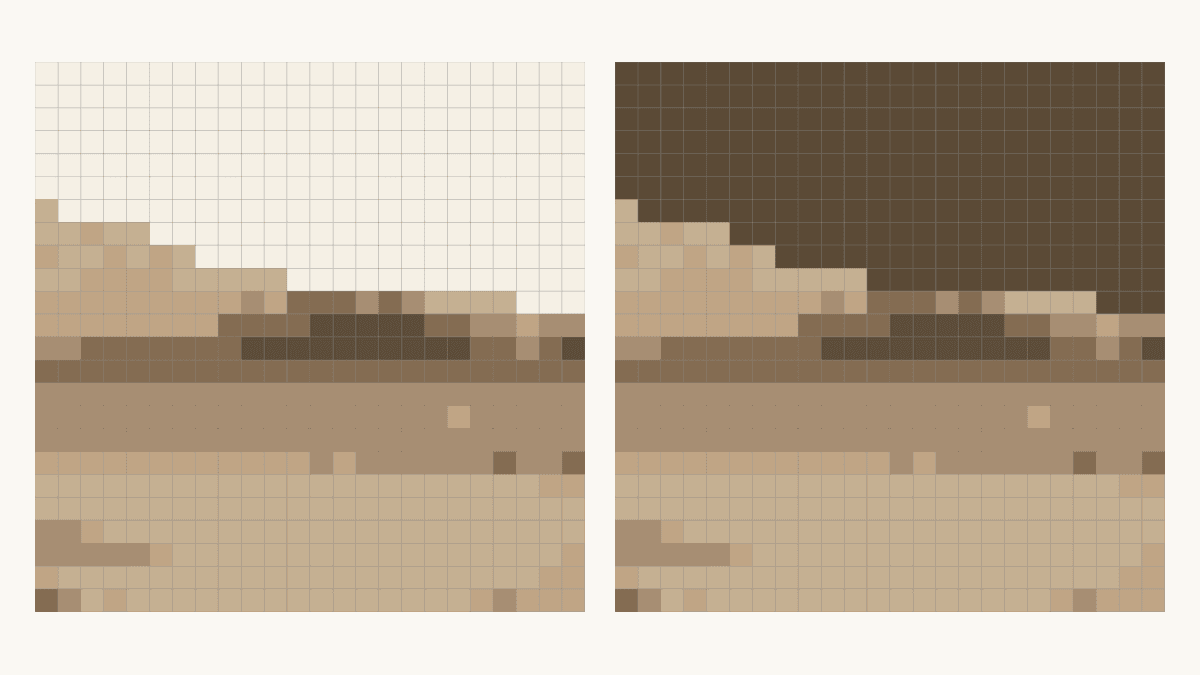
How to Change Photo Quilt Background Contrast
Compare two saved background edits at one fixed grid. Check shared colors, inspect a tree edge and keep the matching PDF guide before choosing cloth.
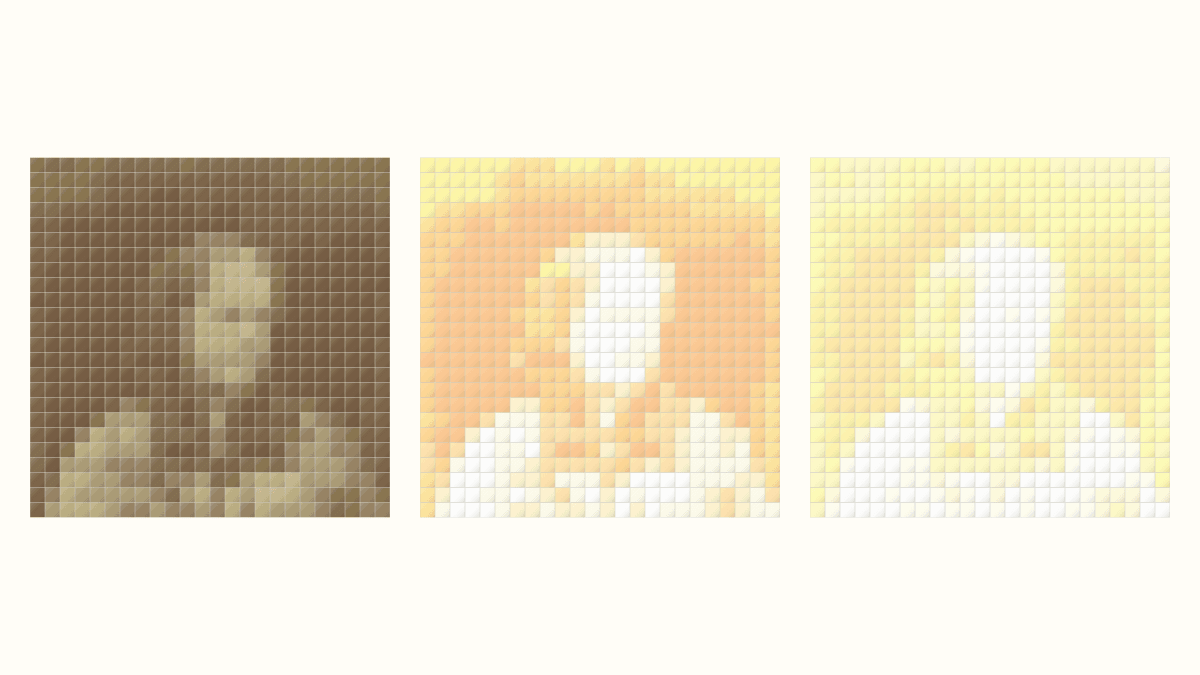
Photo Quilt Contrast: Keep Useful Detail
Compare three source-photo adjustments at one quilt grid. See where highlights disappear and check the applied image before choosing a mosaic.
Plan a Printed Photo Memory Quilt Layout
Give one photo room to lead, add separate captions and compare two measured drawings using provider-listed panel sizes.