Make Your Quilt Pattern PDF Fit Letter and A4
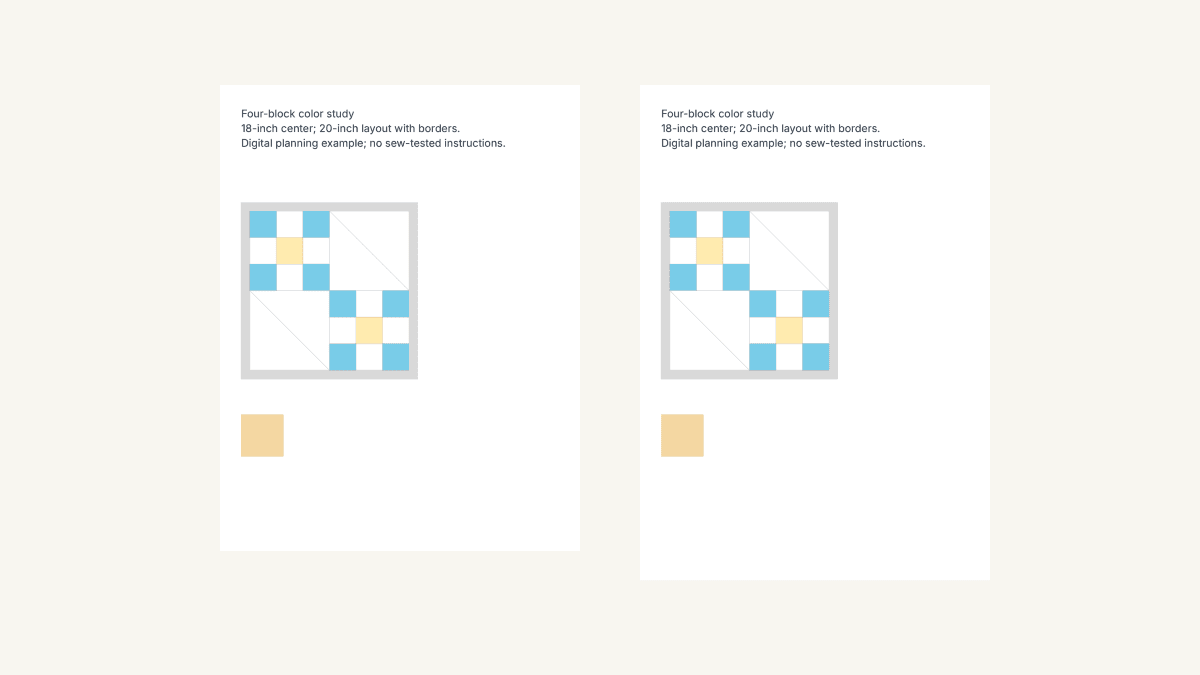
Choose the quilt pattern PDF page size before polishing the layout, then open an export for each paper format you intend to support. If one file must serve Letter and A4, keep its content within the narrower A4 width and shorter Letter height. A correct test square does not prove that the last instruction or footer fits.
With half-inch margins, the shared area is about 7.27 inches wide by 10 inches high. That is a layout calculation, not a promise about every printer. Leave room for the printer's unprintable edges and check a paper copy before releasing a document with measured templates.
Compare the content area, not just the sheet name
Letter measures 8.5 by 11 inches. Standard A4 measures 210 by 297 mm, or about 8.27 by 11.69 inches. Microsoft's paper-size guidance identifies those formats and recommends designing for the intended paper size.
A4 is taller but narrower. Changing from Letter to A4 can give a footer more room while pushing a wide diagram or table past the right margin.
For this example, subtract half an inch from each side:
| Nominal format | Sheet width | Content width | Content height |
|---|---|---|---|
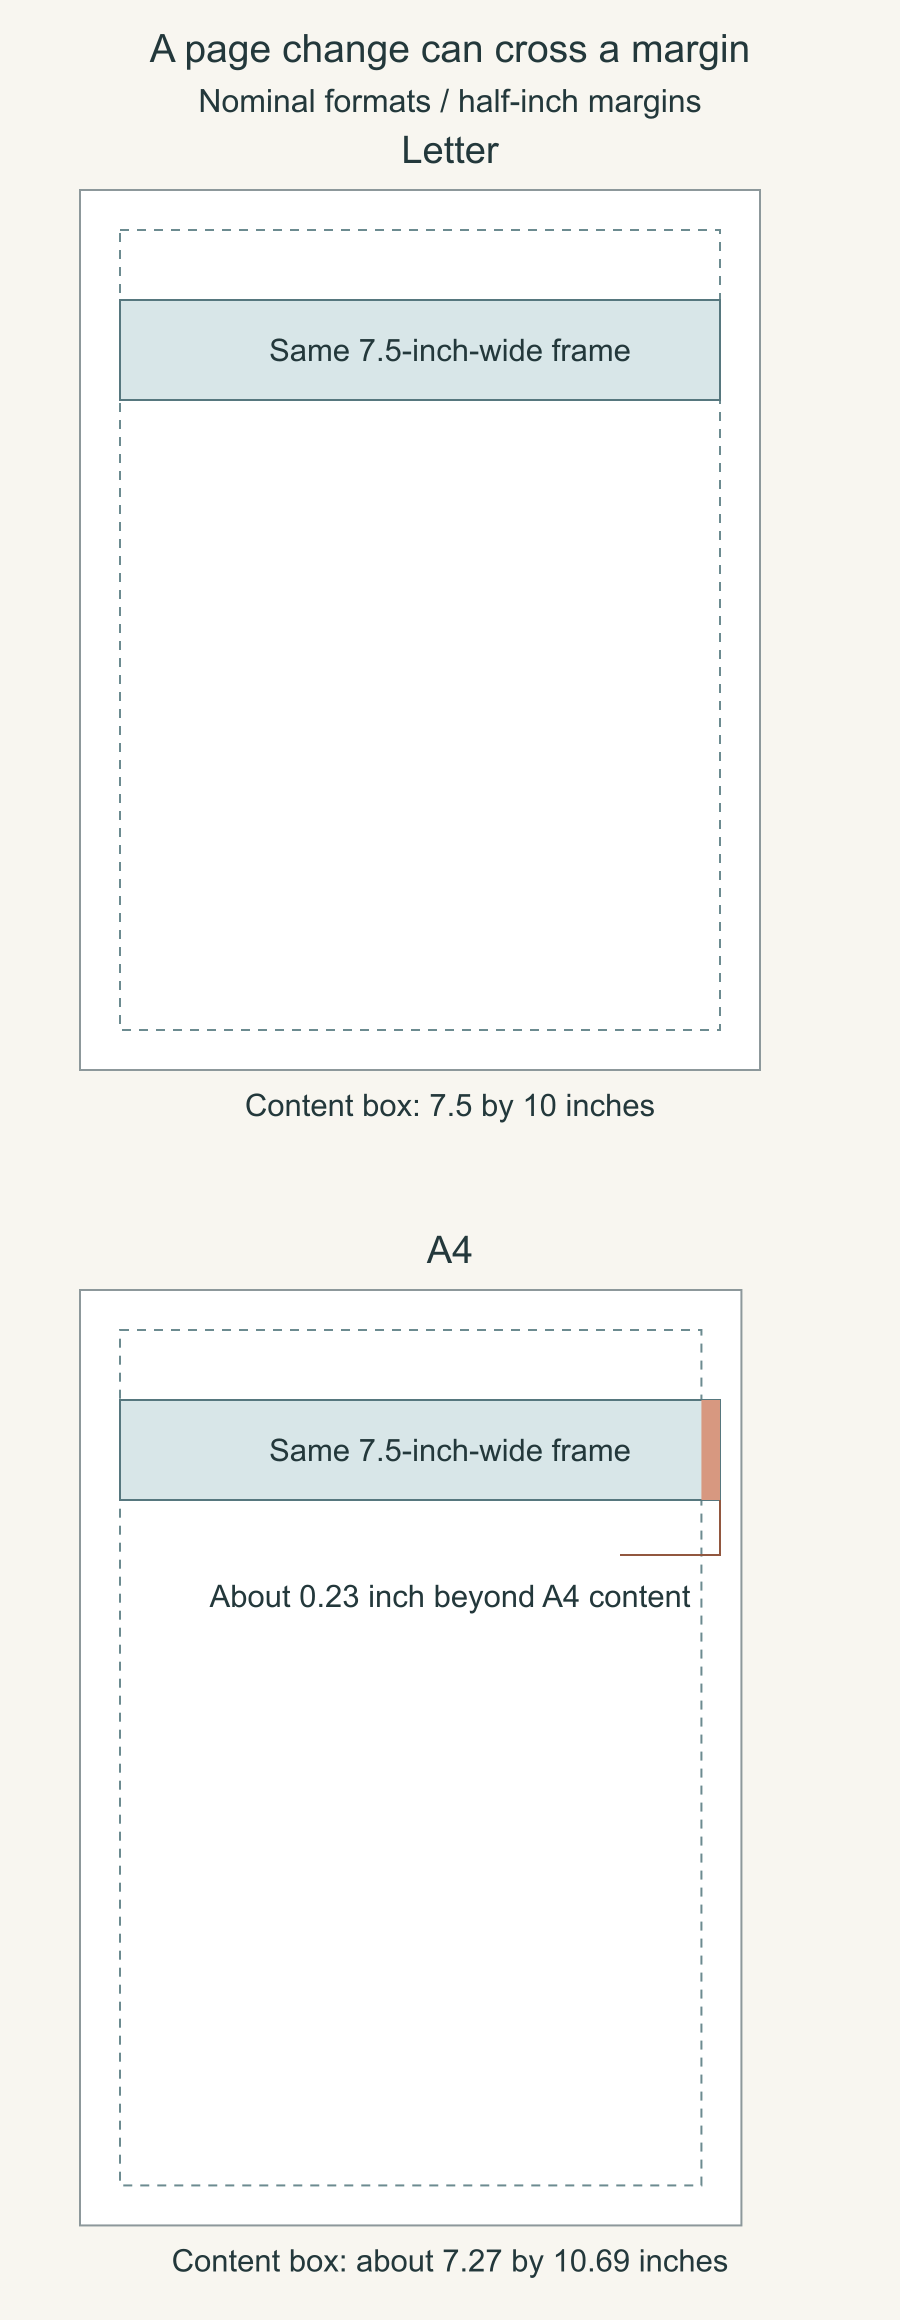
| Letter | 8.5 inches | 7.5 inches | 10 inches |
| A4 | About 8.27 inches | About 7.27 inches | About 10.69 inches |
The shared content box takes the smaller measurement in each direction: A4's width and Letter's height. If your margins differ, do the subtraction again. The page format alone does not tell you the usable content area.
Follow a wide frame across the format change
Imagine a fixed 7.5-inch-wide frame placed at the left half-inch margin. It fits exactly inside the Letter content width above. On nominal A4, the same frame exceeds the content width by about 0.23 inch.
The arithmetic is 7.5 - (210 / 25.4 - 1), approximately 0.2323 inch. That is enough to cross the chosen margin even though the frame remains on most of the sheet.
Shortening that frame, moving content to another page or supplying separately checked formats are document decisions. Selecting a smaller print percentage can make a page fit, but it also changes any full-size template on it.
Check the opposite direction too. An A4 layout that uses its extra height may lose bottom content when printed on Letter. Looking only at the first diagram misses that problem.
Set the format and margins deliberately in Pattern Builder
Our October 24, 2026 check used a new, owned two-page Pattern Builder document. Page 1 had a short color-study description, an image from an actual saved quilt export and a filled calibration square. Page 2 held printing and page-check notes. It was a layout proof, rather than a complete sewing pattern.
The Pattern Builder guide covers adding pages and frames, saving and downloading the PDF. For the format check:
- Choose File > Page size and select the intended format.
- Read the dialog's notice that it applies to all pages, including master pages, and that content keeps its size and position.
- Choose Apply to all pages, then inspect the frames on every page.
- In Pages, set and check all four margins. Our example explicitly used 0.5 inch at top, right, bottom and left.
- Choose Save Now and wait for Saved before exporting.
Changing the format keeps the text and diagrams in place. Check long tables, captions and measurement labels against the new margins. If you use a theme or master page, inspect its running header and footer too. Check frame borders: a stroke can extend beyond the frame's stated boundary.
Open both actual downloads
For the October 24 proof, we exported All pages, first for Letter and then after selecting A4. Both downloads contained two pages. We also reopened the saved document and inspected both pages.
You can inspect the Letter layout proof (PDF) and A4-selected layout proof (PDF). They contain the simple study and check notes described here.
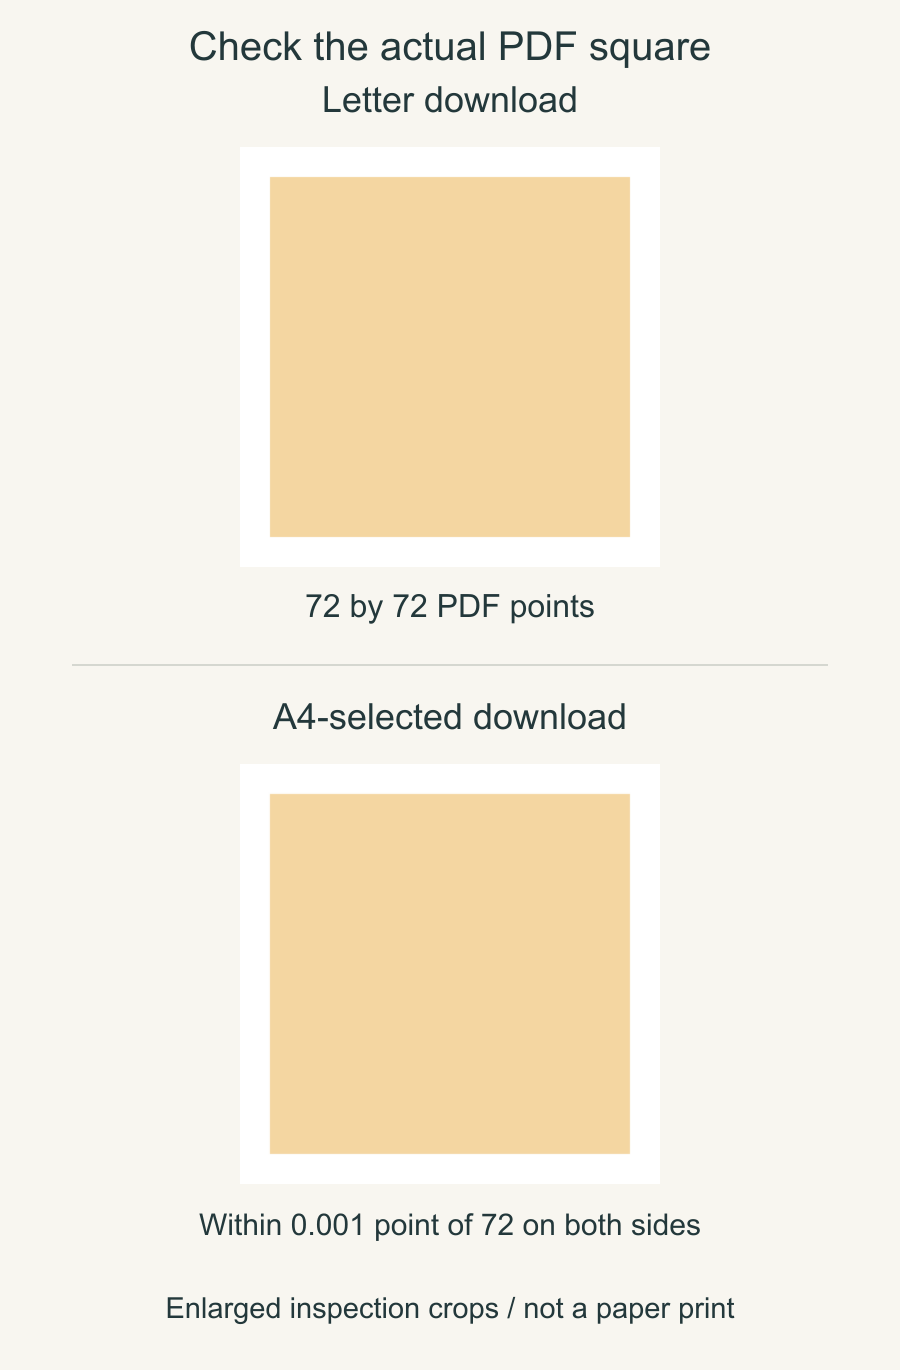
Our digital inspection found the same text, line breaks, embedded font and quilt-image pixels in both files. The image stayed at the same position. All text and image-frame boxes fit the selected margins; the image frame's border extended half a PDF point beyond its left boundary.
| Download | Pages | Measured page box, PDF points | Check-square sides |
|---|---|---|---|
| Letter | 2 | 612 by 792 | 72 points |
| A4 selected | 2 | About 594.96 by 841.92 | Within 0.001 point of 72 |
One inch is 72 PDF points. The A4-selected file has small export rounding compared with the nominal paper dimensions. Reporting the actual file matters more than copying the format's expected numbers from a settings list.
We repeated the format change, save, reopen and download check on November 5 with a fresh two-page document containing text and a one-inch square. Both downloads kept two pages, the page boxes above and square sides within 0.001 PDF point of 72. We opened and inspected all four exported pages; the text stayed inside the selected half-inch margins.
Keep the file-specific result with the source document. A successful save and a layout status with no issues are useful milestones, but the downloaded pages are what your reader receives.
Separate fitting the page from preserving scale
Adobe's current Acrobat instructions distinguish Actual size, which prints without scaling but can crop content that does not fit, from Fit, which resizes to the printable area.
For a file containing full-size templates, give a clear scale instruction and a known measurement reference. Then print one page and measure that reference across and down. Our applique-template printing guide covers the complete two-axis check and the difference between clipping and scaling.
Inspect the rest of the page as well. A square near the middle can measure correctly while an edge label, page number or piece of a diagram is missing. If it does not fit at the intended scale, revise the layout or provide the correct format before asking readers to print the whole file.
Some designers intentionally make one download compatible with both papers. Julia Wachs' Alcove listing, for example, states that its Letter-sized file prints the templates correctly on A4 at 100%. That statement belongs to her particular pattern. Decide and check what your own document supports before making the same promise.
Review the document a reader will use
Check the final export from beginning to end. Look for a table that lost its last column, an instruction separated from its diagram, a changed line break, a missing page and a footer outside the printable area. Repeat that review after changes to format, fonts or frame sizes.
Keep the format in each download's filename and pair it with the source version you reviewed. If you revise the document, replace the old proof in your working notes so an earlier passing check does not stand in for the new file.
Our pattern-writing guide covers the separate content, calculation and sewing reviews a complete pattern needs. Here, start with one format and its margins, export every page, then repeat for the second format. Finish by checking the actual paper copy before telling readers that both formats are ready to print.
Plan your next quilt
Lay out blocks and try colors in QuiltLab's grid editor before you cut.
Free forever, no card needed.
Get quilting tips by email
QuiltLab updates, tips and quilting inspiration. Unsubscribe anytime.
Related posts
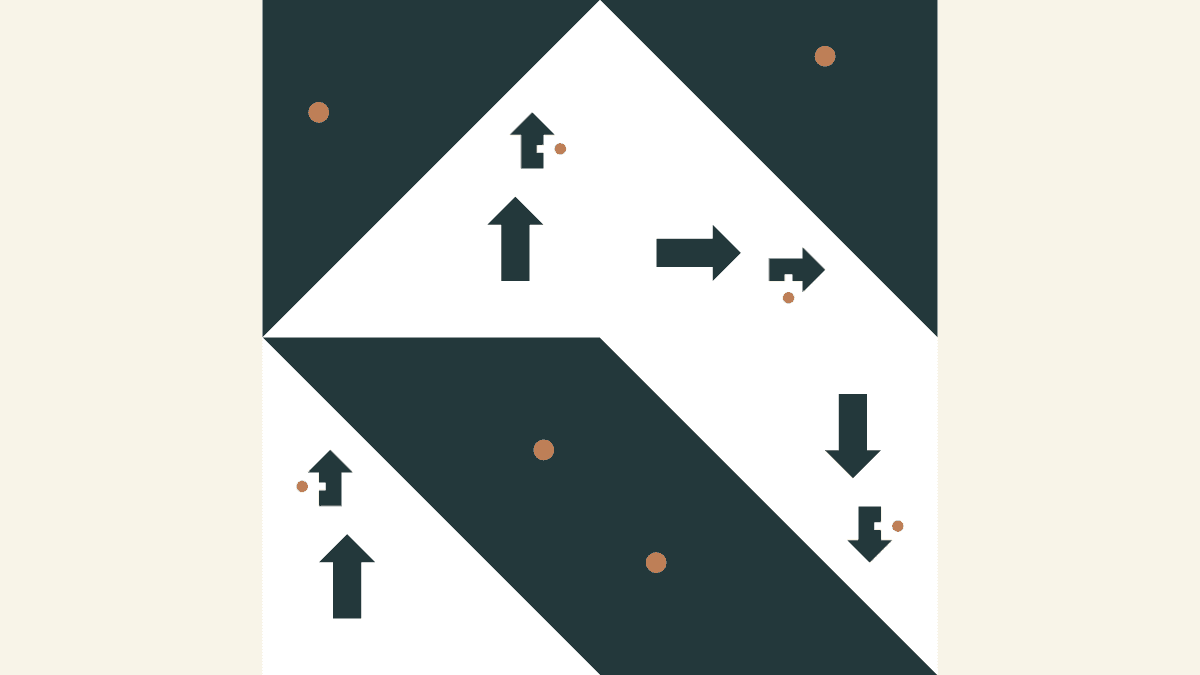
How to Rotate and Flip Quilt Blocks
Compare a quarter-turn with horizontal and vertical flips using four saved six-inch blocks, a directional arrow and a checked point map.
How to Sell Quilt Patterns as PDFs Without Mix-Ups
Start with PDF downloads. List exactly what buyers get, test the download as a buyer, and keep one place for corrections, with a three-file worked example.
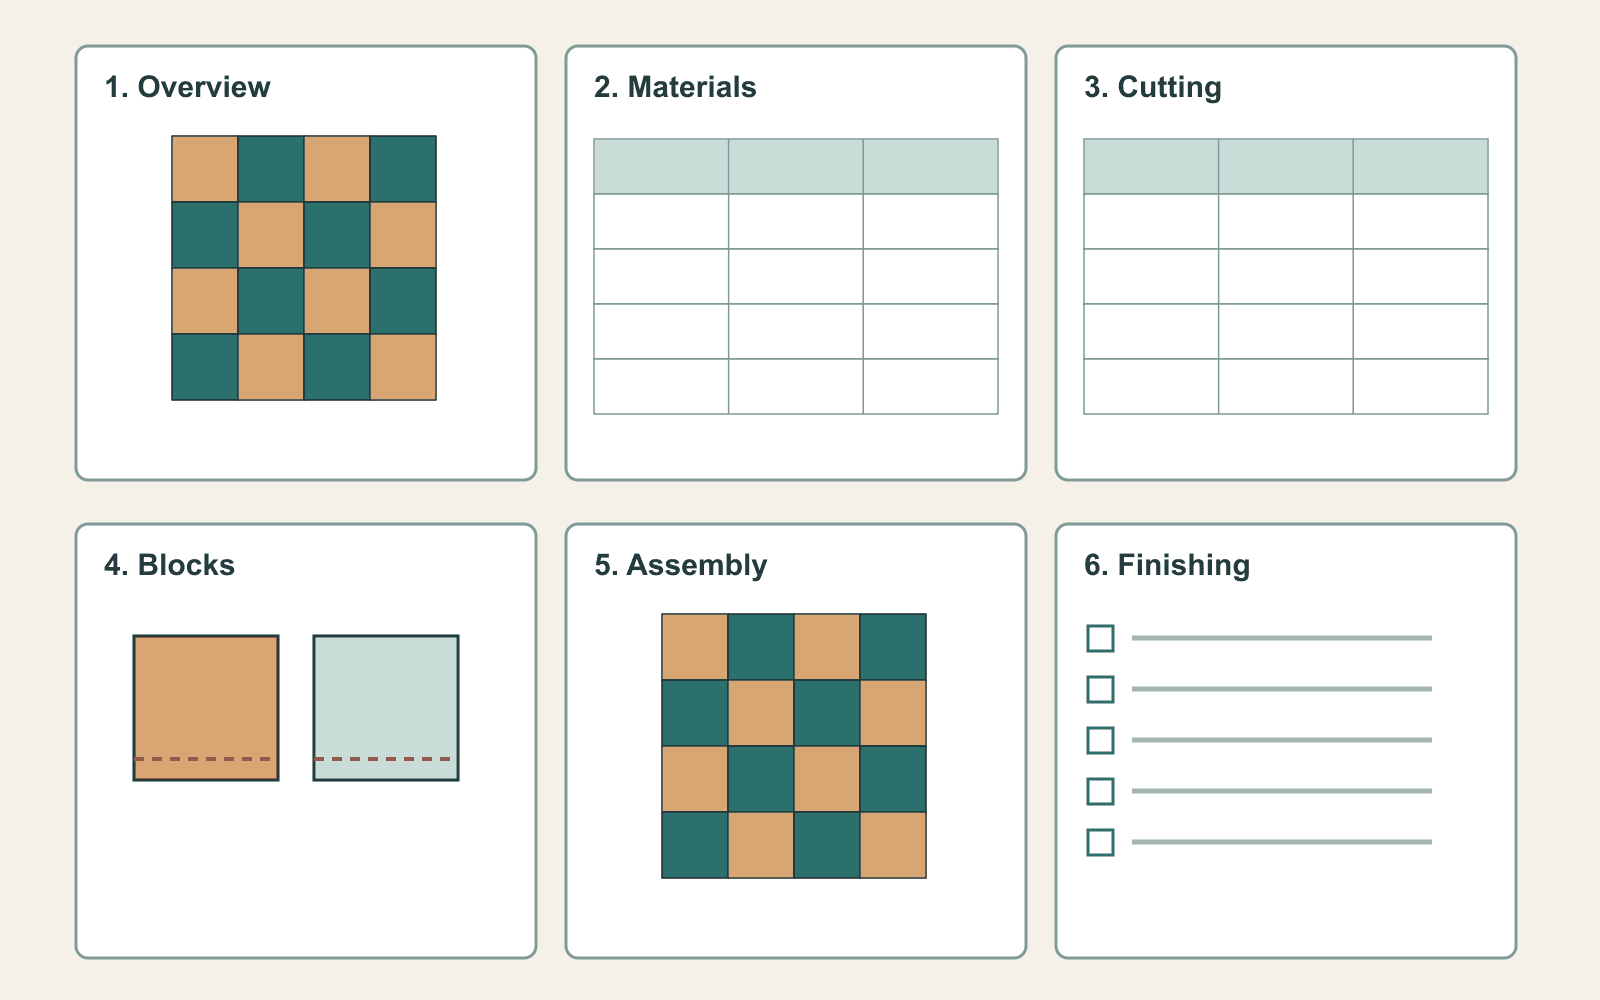
How to Write a Quilt Pattern Someone Else Can Sew
A pattern needs a finished size, materials, cutting, block steps and assembly. Plan the pages, check the math, draw each step and test it before release.