Plan a Wall Hanging Quilt Design for Your Space
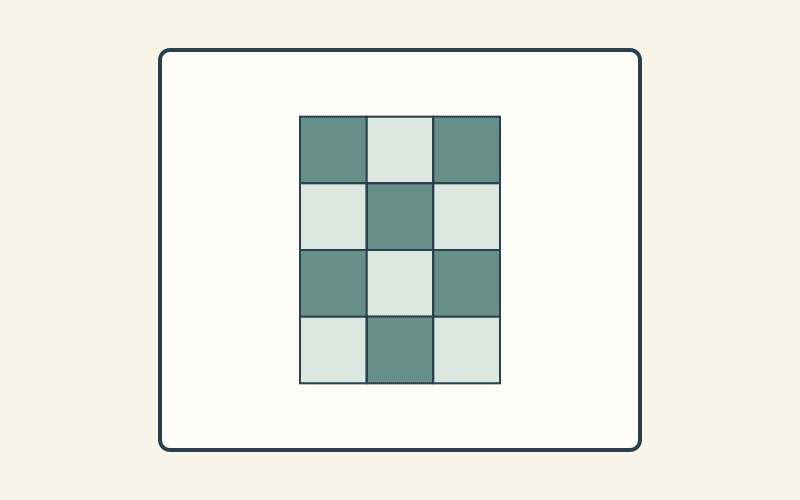
Start with the space you can actually use: measure the clear wall, choose a finished quilt footprint, and try a paper version there before making the quilt. Plan how the textile will be supported at the same time. A design can fit the wall beautifully and still need a different finishing plan to hang well.
For a first wall hanging, settle three things before choosing blocks: the available rectangle, what you want to notice from across the room, and a support method suited to the finished textile. The example below turns those decisions into a short display brief.
Measure the clear wall, including what moves
Measure the area between the things that must stay: furniture, trim, switches, shelves and nearby artwork. Open doors and cabinets fully. Note where people walk or sit, and where a chair back or moving object might touch the hanging.
Write the usable width and height separately from the entire wall's dimensions. A 10-foot wall may offer only a 6-foot clear area above a cabinet. The smaller measurement is the one your design must fit.
Check the location at different times of day. Mark direct sunlight, nearby heat sources and places exposed to splashes or frequent handling. These observations may change the location before they change the quilt.
Keep a photograph and a simple measured sketch together. The photograph records the room's colors and visual clutter; the sketch records dimensions without the distortion of a camera angle. Add the places from which you expect to see the quilt, such as the doorway and your usual chair.
Work out the footprint before the patchwork
Suppose the clear wall area is 72 inches wide by 60 inches high. You are considering a portrait quilt that finishes at 30 inches wide by 40 inches high.
Centering it horizontally leaves:
(72 - 30) / 2 = 21 inches on each side.
Centering it vertically leaves:
(60 - 40) / 2 = 10 inches above and below.
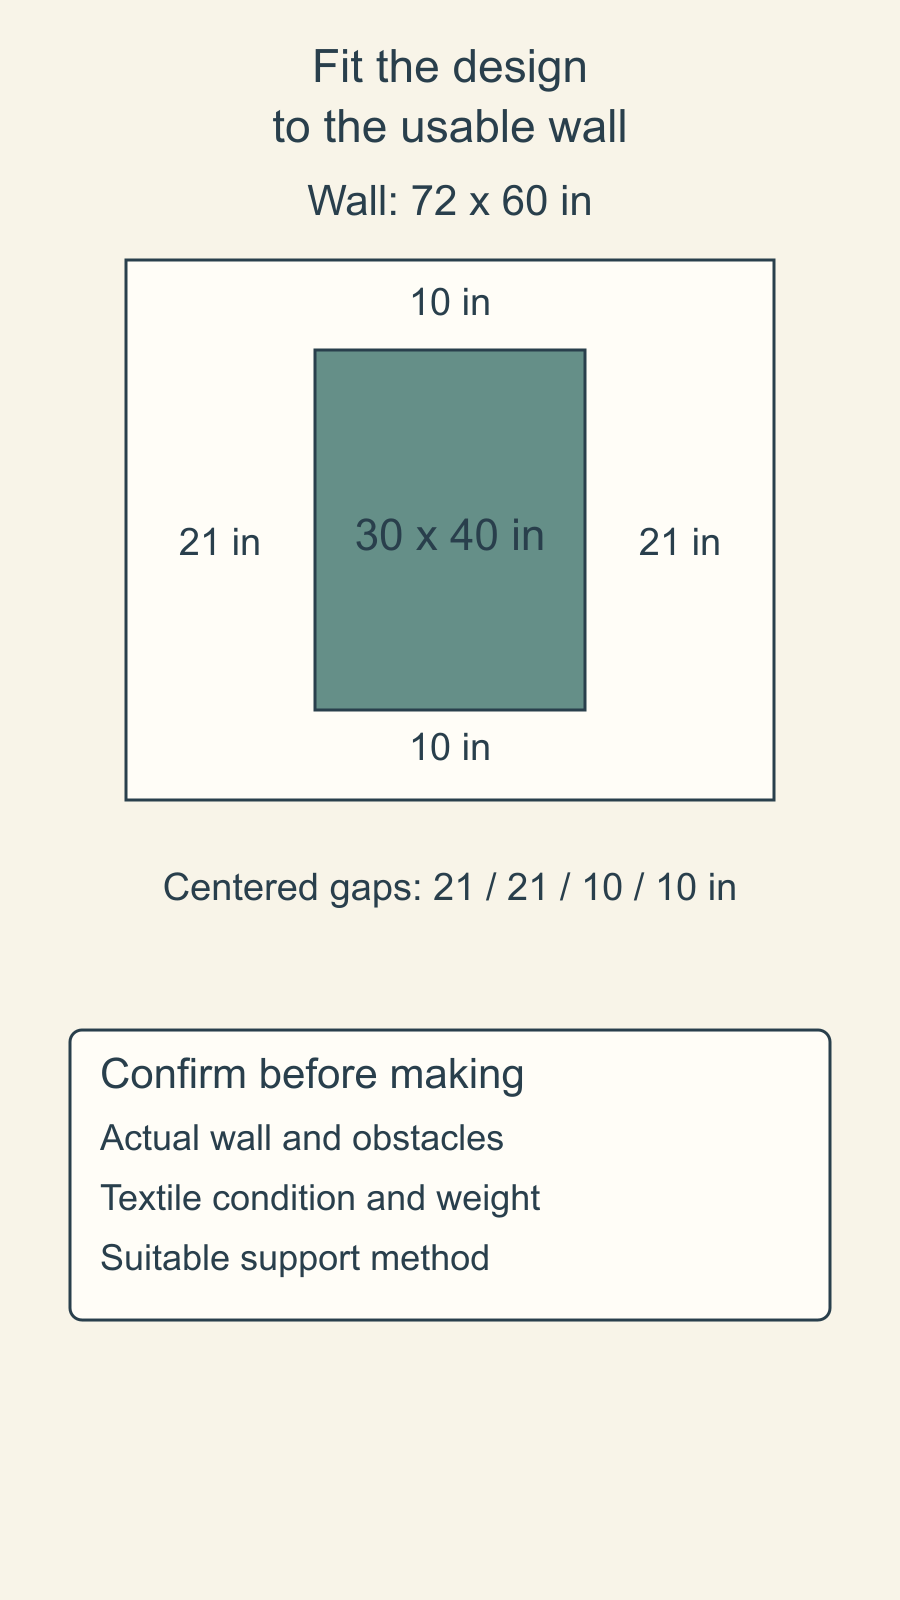
The checks add back to the wall dimensions: 21 + 30 + 21 = 72, and 10 + 40 + 10 = 60. Centering gives you an easy starting arrangement; you can then move the paper footprint to relate it to the furniture or surrounding work.
Compare that portrait footprint with a new landscape composition finishing at 40 inches wide by 30 inches high. Centered on the same wall, it leaves (72 - 40) / 2 = 16 inches at each side and (60 - 30) / 2 = 15 inches above and below. Both quilts cover 1,200 square inches, but the landscape version reaches farther across the wall and leaves more room vertically. Try both paper footprints before choosing which shape suits the space and your intended design.
At a scale of 1 inch on paper to 10 inches on the wall, draw a 7.2-by-6-inch wall rectangle. The portrait quilt is 3 by 4 inches on paper; the landscape version is 4 by 3. Keep the same scale for nearby objects. Otherwise, a tiny drawing of a large cabinet can make the available space look more generous than it is.
Use the quilt's intended finished outside dimensions here. Block measurements alone leave out any sashing, borders or edge treatment. If an existing pattern is too large, our guide to making a quilt pattern smaller covers the separate construction decisions.
Choose what should read from your viewing places
Write one visual goal: "The central leaf should be the first shape I notice from the doorway," for example. That gives you something useful to compare when choosing a layout.
For the 30-by-40-inch footprint, sketch two arrangements inside the same rectangle. One might use a single large leaf silhouette. Another might use many small leaves. Keep the overall size and fabric roles fixed while comparing the amount of detail.
Then make a full-size paper footprint. Use paper or another temporary mockup that can be placed without damaging the wall. Add the largest shapes with paper pieces or a rough drawing. Look from your actual standing and seated positions.
Ask three specific questions:
- Can you pick out the intended focal shape?
- Does the space around it feel like part of the composition?
- Do nearby objects compete with it or hide an edge?
Record what you see before changing several things. If the leaf disappears, try a larger silhouette or more contrast before enlarging the whole quilt. If the hanging crowds the cabinet, reconsider its footprint or position. You are checking your own room and preferences rather than following a universal viewing-distance formula.
Our block-size comparison helps when the question becomes the size of the patches within a chosen footprint. That is a different decision from how much wall the quilt occupies.
Decide how the textile will carry its weight
Choose the support approach before finalizing the back and upper edge. Ask how the quilt's weight will reach the support, what will touch the textile, and how the hanging can be removed for inspection or storage.
The Canadian Conservation Institute's guidance on displaying quilts says temporary suspension suits structurally sound quilts that can support their own weight. It emphasizes spreading support evenly along the hanging edge and describes both hook-and-loop support and a fabric sleeve with a sealed dowel.
That makes condition a design question. A sturdy new quilt, a fragile inherited quilt and a piece with heavy beads may need different approaches. The Textile Museum's display guidance bases the choice on size, weight and condition. It specifically excludes fragile textiles and heavily embellished pieces from its general hook-and-loop recommendation and describes other mounts for weaker textiles.
For a fragile or valuable quilt, consult a textile conservator about the mount. For the wall attachment, have the actual wall, hardware and total supported weight assessed by someone qualified for that installation. A textile-support description does not establish which anchors your wall needs.
Keep the planning brief practical: "Confirm support method and required back finishing before binding" is useful. Guessing a sleeve size before choosing the support can create rework.
Let the display plan inform the finish
Mark the top edge on the sketch, especially if the design could be mistaken for a landscape orientation. Note any surface decoration, dimensional elements or delicate edges that affect handling and support.
Before choosing batting, use the wall-quilt requirements sheet to check relief, quilting gaps and questions needing real materials.
If a sleeve is suitable, confirm its requirements with whoever will prepare or display the work. The National Quilt Museum explains that it often displays quilts using a slat through a fabric sleeve on the back. That is an example of a complete display approach, not a universal specification for every quilt.
If you are considering framing, discuss the whole textile with a conservator or framer before designing around a particular frame. The Textile Museum's guidance considers location, dust, the textile's drape and glazing. A quilt's soft surface and irregularities can be part of what you want to show.
Plan access as well as appearance. Leave a way to inspect the textile and remove it without dragging it past furniture. Record the display location and when you intend to check its condition. Revisit the plan if sunlight, room use or the quilt itself changes.
For an existing quilt, compare light exposure and condition-based support before setting its display period.
Keep one brief with the project
Use the measurements and decisions together. A short record makes it easier to notice what is settled and what still needs an answer.
| Decision | This design study | What to confirm |
|---|---|---|
| Clear wall | 72 by 60 inches | Measure the actual site |
| Finished quilt | 30 by 40 inches, portrait | Include the planned edges |
| Initial position | 21-inch sides; 10-inch top and bottom gaps | Check the full-size footprint in the room |
| Visual priority | One large leaf reads from the doorway | Compare two paper arrangements |
| Support and finish | Open decision | Confirm textile suitability, mount and wall attachment |
Start by measuring your usable rectangle and putting up a paper footprint. Choose the arrangement you prefer from your usual viewing places, then confirm the support before finishing the quilt's back and edges.
Free patterns to try
Printable PDF patterns with cutting charts and diagrams, free to download.
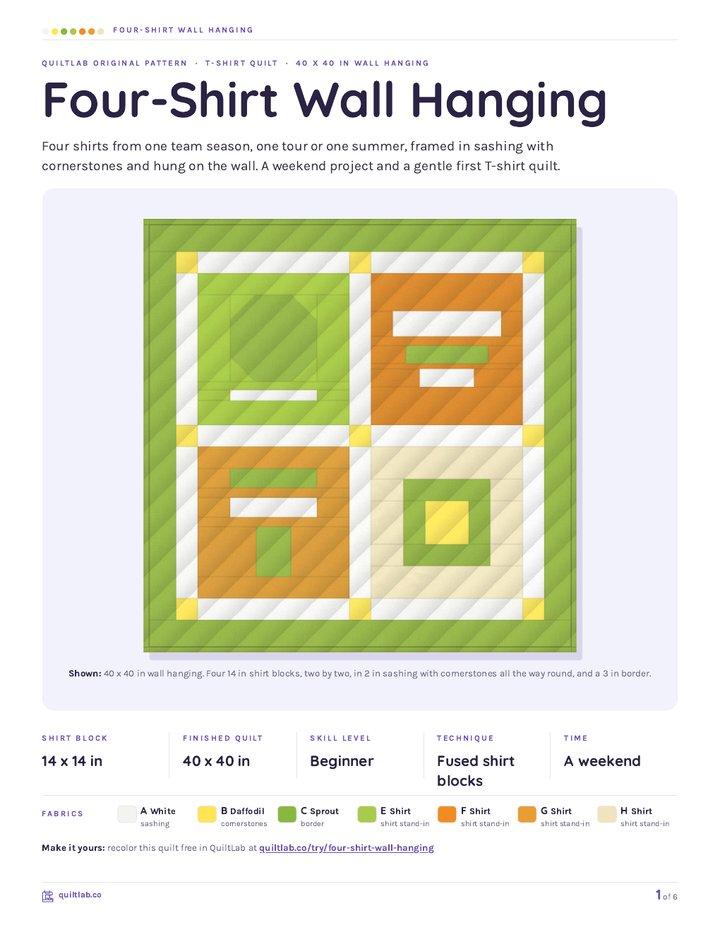
Four-Shirt Wall Hanging
Quilt patternBeginner · 40 x 40 in wall hanging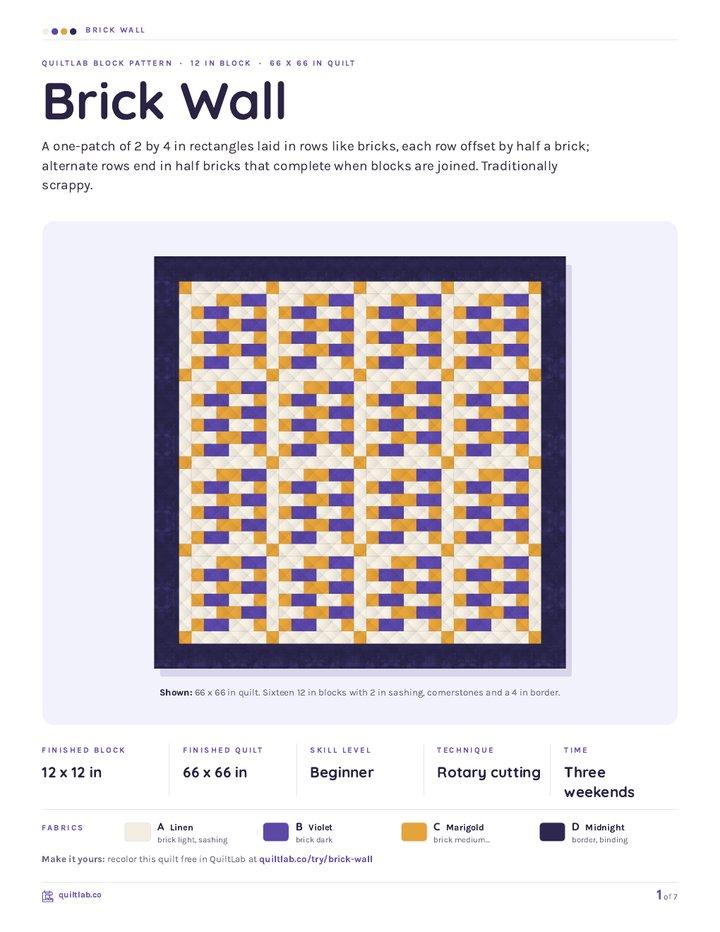
Brick Wall
Block patternBeginner · 12 in block, makes a 66 x 66 in quilt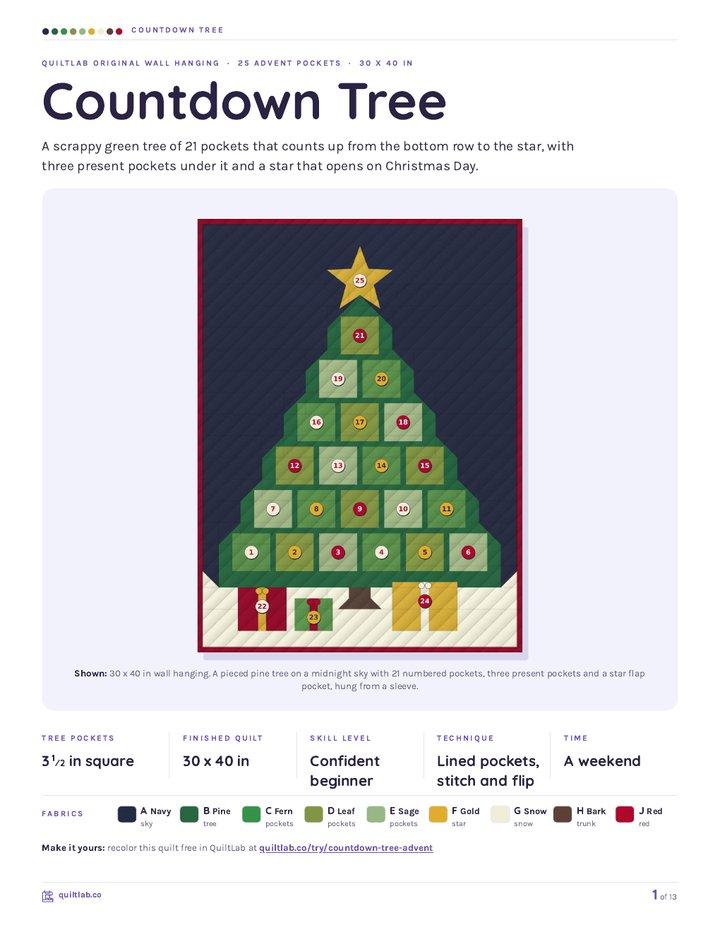
Countdown Tree
Quilt patternBeginner · 30 x 40 in wall hanging
Plan your next quilt
Lay out blocks and try colors in QuiltLab's grid editor before you cut.
Free forever, no card needed.
Get quilting tips by email
QuiltLab updates, tips and quilting inspiration. Unsubscribe anytime.
Related posts

When Is an Improv Quilt Finished?
Stop changing a composition when it answers your current design question. A before-and-after study helps separate necessary fixes from new ideas.

Build an Abstract Quilt Design from Three Shapes
Turn a sketch you own into a clear patchwork plan. Three colored rectangles show how to preserve a composition while extending a few straight seams.

Start a Damaged Quilt Assessment Before Repair
Record what you see, what you were told and what remains unknown before changing a damaged quilt. A simple condition map organizes the questions.