Domestic Machine Quilting Setup Before You Sew

Choose the foot, stitch and feed settings from your exact machine manual, then check the setup on a small sandwich made with the intended fabrics, batting and thread. Decide whether you are using a walking foot or free motion before changing the machine. The two approaches need different setups.
The worked reference here is the JUKI HZL-F600/F400 manual. Use it only for those models and the named attachments. On another machine, start with that model's manual rather than copying these settings.
Choose how the sandwich will move
A walking-foot setup uses the machine's feed system while the attachment helps move the layers together. In free motion, your hands guide the sandwich in different directions with the feed lowered according to the manual.
Our walking-foot and free-motion comparison helps you choose the approach. For a first setup session, choose one and keep its record separate from the other.
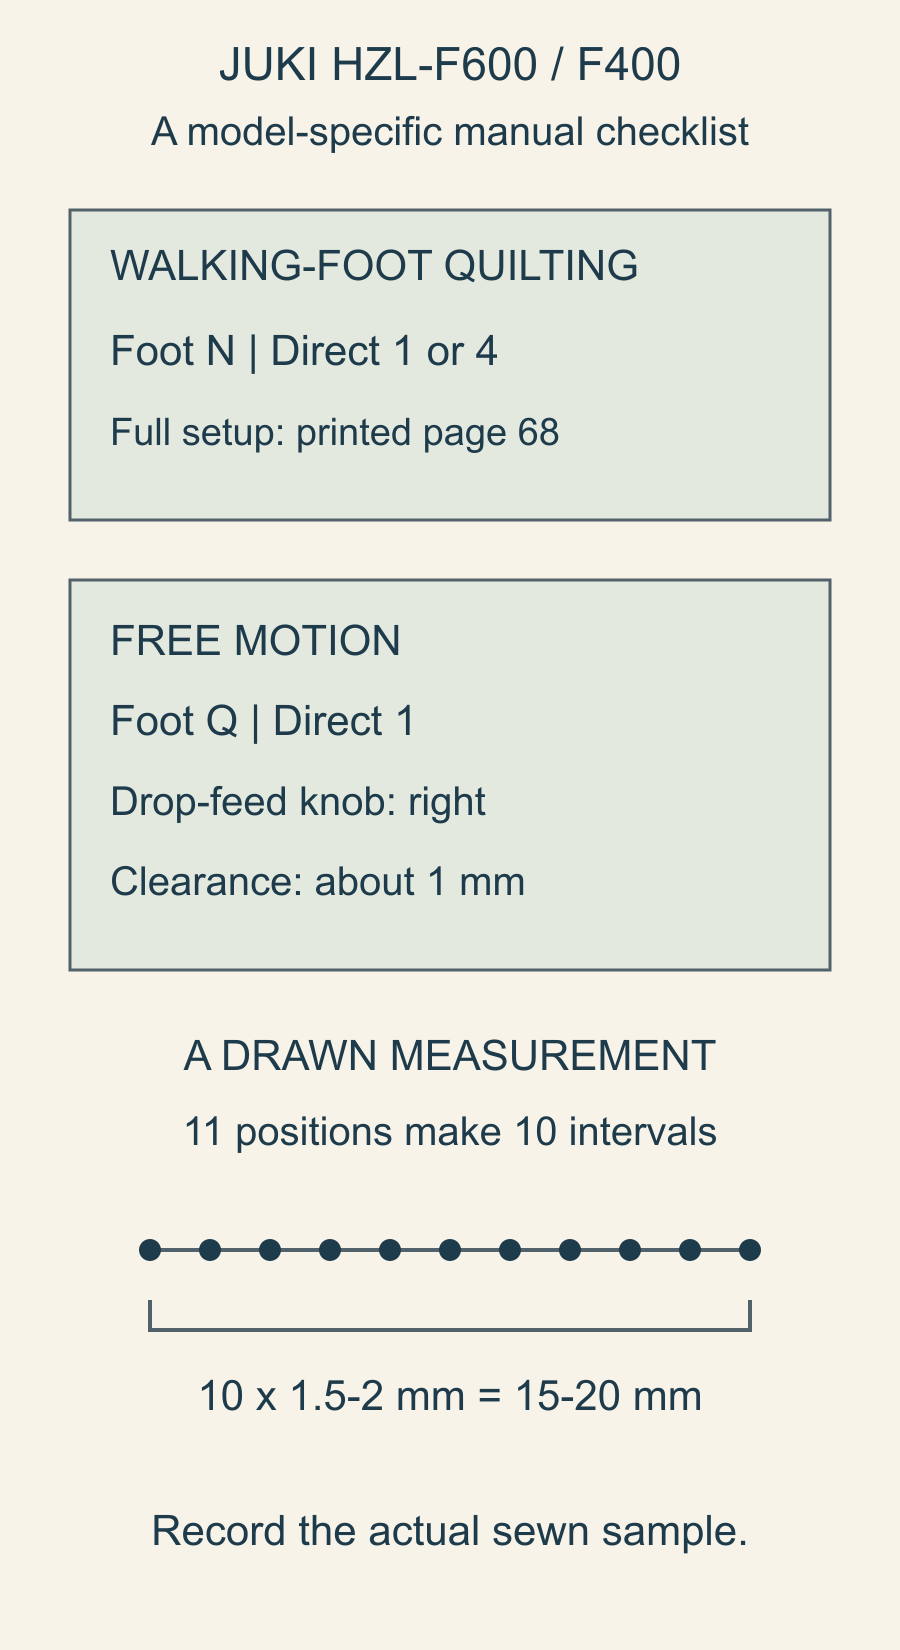
Find the quilting section in the official JUKI instruction manual. Its printed page 68 covers straight-stitch quilting; pages 69-70 cover free motion. These appear as PDF pages 69-71 in a viewer because the PDF includes its cover.
We reviewed those manual pages for this checklist. The drawings and blank log below aren't results from a machine or quilt sandwich we tested.
Find the exact setup in the manual
Turn off the power before replacing the presser foot, as the JUKI manual requires. Read its complete attachment drawings and steps rather than installing a foot from the abbreviated table here.
| Approach | Named foot | Stitch selection | Additional manual reference |
|---|---|---|---|
| Straight-stitch quilting | Walking foot N | Direct 1 or 4 | Printed page 68; slow to medium speed |
| Free motion | Quilt presser foot Q | Direct 1 | Printed pages 69-70; drop-feed knob right and about 1 mm foot clearance above fabric |
Keep the removed attachment and its related parts together. Our walking-foot compatibility guide explains why appearance alone doesn't establish that a foot fits a machine.
Record the selected mode on your sample card before sewing. A walking-foot record and a free-motion record should have different starting lines, because their feeding method and your handling change together.
Prepare a sample that answers one question
Use the fabrics, batting and thread intended for the quilt. Prepare its layers with the basting method you plan to use and mark the top and back outside the area you'll inspect.
Choose a small, clear question for the first line: are the layers feeding without an unwanted fold, are both surfaces forming acceptable stitches, or can you guide a simple free-motion path at a useful stitch size?
Leave enough open space beside the line for a second attempt. If you change a setting, identify that new line before sewing it. Otherwise, two useful trials can become two similar marks you can't explain later.
Support the sandwich on the table so its weight isn't pulling at the needle area. Keep that support consistent when comparing lines. If you improve the support between trials, give that change its own note.
Check free-motion stitch size as intervals
The JUKI manual gives a free-motion target of about 1.5-2 millimeters per stitch. With the feed lowered, the sewn spacing depends on fabric movement and machine speed; a stitch-length number alone doesn't establish the result.
You can make the measurement easier to record by counting several intervals together. Ten stitch intervals at 1.5-2 millimeters each span 15-20 millimeters. Count from the first needle position to the eleventh for ten intervals, rather than mistaking ten holes for ten spaces.
Two hypothetical records show how to use that span:
| Distance across ten intervals | Divide by | Average interval |
|---|---|---|
| 18 millimeters | 10 | 1.8 millimeters |
| 24 millimeters | 10 | 2.4 millimeters |
The first average falls within this manual's target; the second is longer. An average can hide one oversized stitch, so inspect the individual gaps too. On your actual line, record its distance, interval count and how you measured. Choose a reasonably straight section rather than measuring across the inside of a curve.
If the sample needs a change, follow the manual's speed-and-hand-movement guidance and try a fresh line. Don't change the thread, needle and setup simultaneously while trying to learn which adjustment matters.
Match the needle and thread to the actual materials
Check the needle system your machine accepts, the point/type suited to the fabric, and the size recommended for the exact thread. SCHMETZ's needle-selection guidance connects these choices to the material being sewn.
For one specific thread example, Aurifil Cotton 50wt currently lists 80/12 domestic needles in Microtex/Sharp, Universal, Quilting or Denim types. Reconcile that product recommendation with your machine's accepted needle system and the actual fabric. The number 50 alone doesn't establish a universal thread diameter or needle choice.
Record the spool, bobbin thread and needle's full description. "Cotton thread" and "quilting needle" are too broad to recreate a setup later. Include the batting and the top/backing materials as well.
Inspect the needle and threading before changing tension to correct a stitch problem. Our tension troubleshooting guide separates upper-thread and bobbin clues and shows how to keep one change per sample line. Its named Brother settings remain specific to that model.
Make a record you can use again
Mark the sample's top and back and give the first line an ID. Write what stayed the same as well as what changed. Leave the observation column empty until you have actually stitched and inspected both sides.
| Line | Setup or one change | Keep the same | What to record |
|---|---|---|---|
| A | Starting foot, stitch, thread and needle | Intended sandwich | Front and back observations |
| B | One manual-permitted adjustment | Other settings and materials | Difference from A |
| C | Next change only if needed | The corrected setup | Whether the issue remains |
Skip a later row when the first setup works. If a needle change or rethreading solves a problem, record that fact rather than adding an unnecessary dial adjustment.
Keep the sample and its note with the project. Repeat the check if you change a meaningful part of the setup, such as the batting, thread or foot. A useful record describes the actual combination you tried.
Restore the feed before ordinary sewing
The JUKI free-motion section says to move the drop-feed knob back to the left when finished. It explains that the feed rises and engages when the machine starts sewing. Remember that behavior if the feed doesn't appear raised immediately after moving the control.
Restore the appropriate foot and stitch using the manual, then check normal feeding on a scrap before beginning another task. Keeping a short restoration note beside the setup record helps prevent the next sewing session from starting with an unexplained lowered feed.
Open your exact manual now and write three things on a sample card: the attachment, the selected stitch and the feed setting. Add the actual materials, prepare one small sandwich and inspect the first line before making another change.
Free patterns to try
Printable PDF patterns with cutting charts and diagrams, free to download.
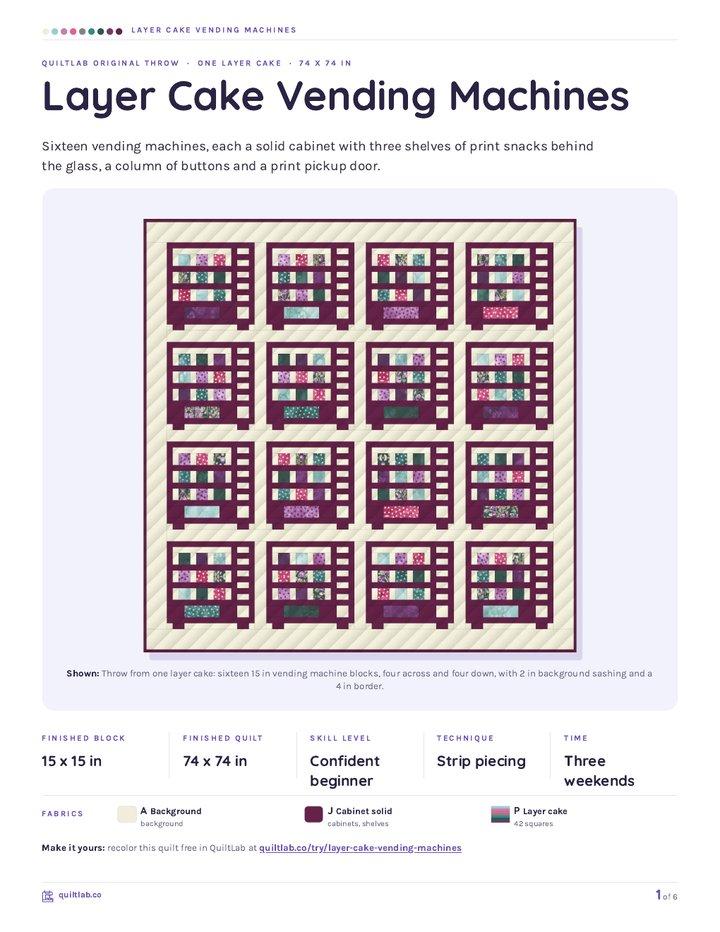
Layer Cake Vending Machines
Quilt patternBeginner · 74 x 74 in throw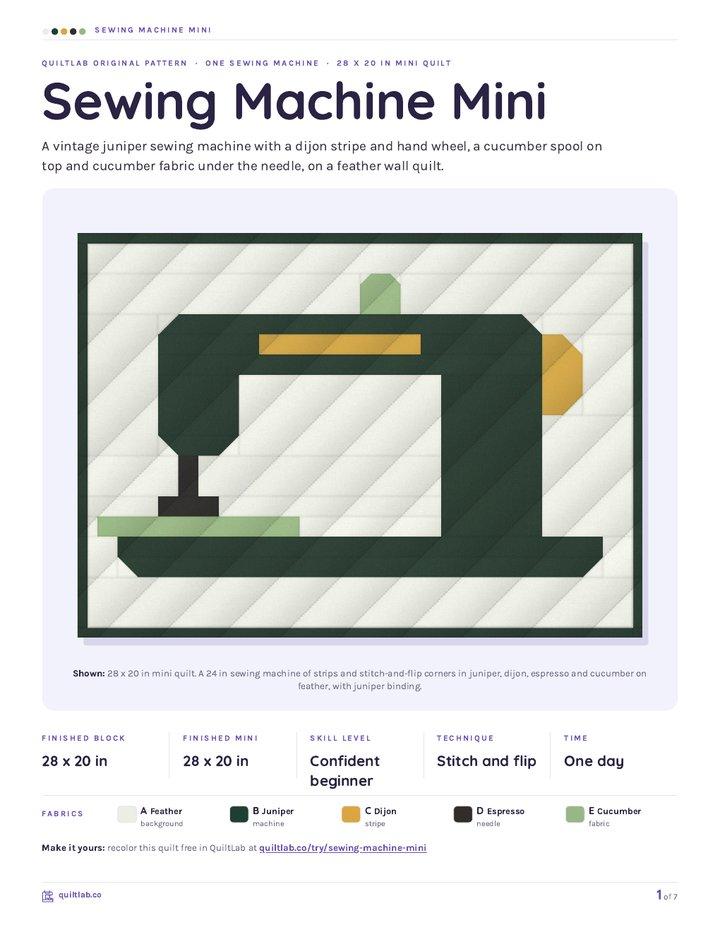
Sewing Machine Mini
Quilt patternBeginner · 28 x 20 in mini quilt
Gumball Machine
Quilt patternBeginner · 24 x 30 in mini quilt
Plan your next quilt
Lay out blocks and try colors in QuiltLab's grid editor before you cut.
Free forever, no card needed.
Get quilting tips by email
QuiltLab updates, tips and quilting inspiration. Unsubscribe anytime.
Related posts

Why Is Your Rotary Cutter Skipping Threads?
Stop adding pressure. Use the cutter's exact instructions and a short scrap-check record to decide whether the blade, assembly or cutting surface needs attention.
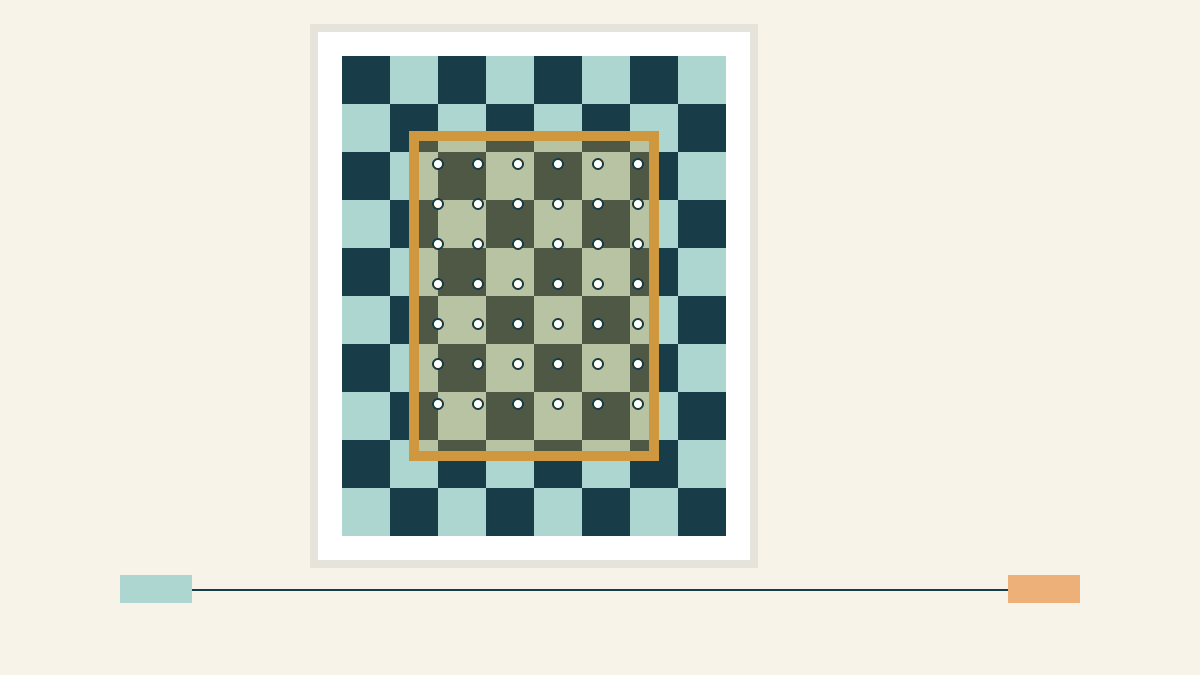
Basting a Quilt on a Small Table, One Section at a Time
Keep a pinned overlap while you move the layers. Follow a five-position plan for a 48 x 60-inch top on a 30 x 40-inch table.

How to Stop a Quilting Ruler Slipping While You Cut
Check the reference edge, ruler line and holding position before cutting another strip. Compare a tapered cut with a consistent width error.