Make Photo Mosaic Quilt Assembly Easier in Sections
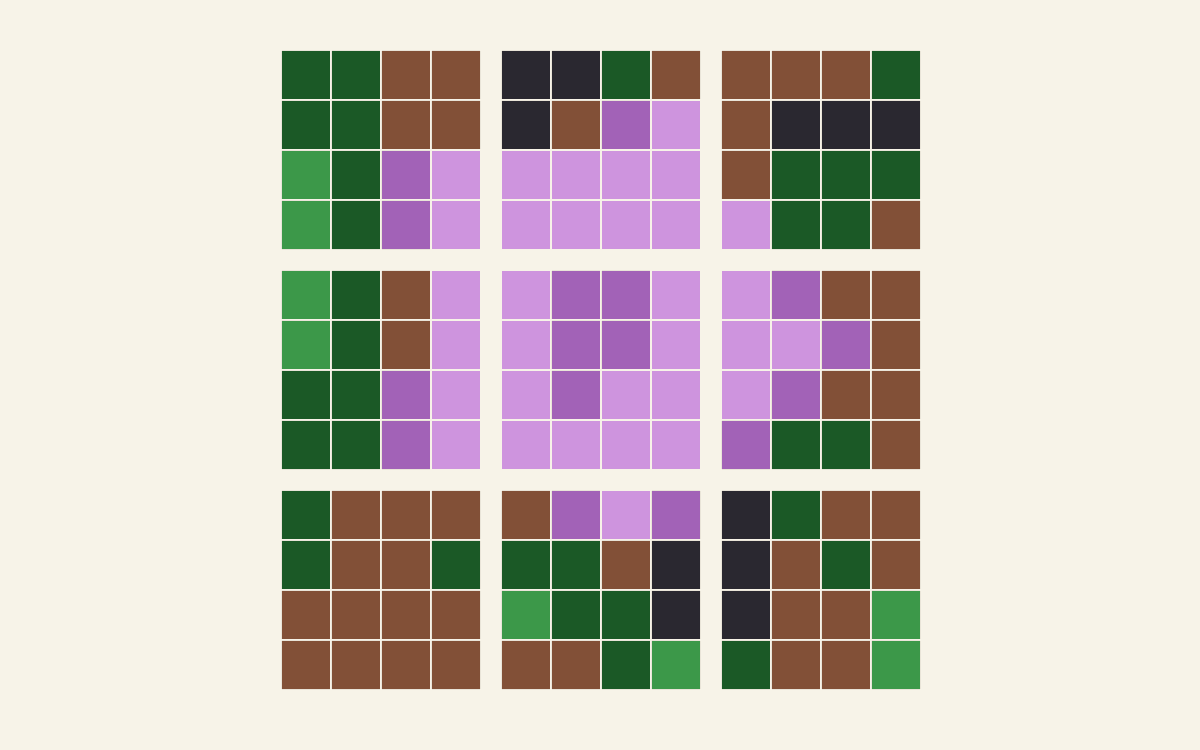
Join a photo quilt in small, labeled sections, check each section against the picture, then sew the sections into rows. Keep the same top edge throughout. For your first project, use equal rectangular sections so their sizes and seam intersections are easy to compare.
Jenn Thorsen's pixel-quilt section-joining lesson follows that order: lay out completed panels, check their orientation, join panels into rows, then join the rows. Her article also covers fusible-grid construction. The worked plan here uses ordinary pieced squares, with no fusible grid.
Keep one complete picture beside the sections
Before joining anything, choose one guide as the master. Mark its top edge and give it a version name. A screenshot of an earlier color choice can look almost right while sending one section into the wrong place.
Our example uses the real square-layout guide saved from QuiltLab on October 16. It has 12 rows, 12 columns and 144 patches, with six colors. Each patch finishes at 1 inch, making a 12-inch-square picture. We added the section labels and joining diagrams for this article; we haven't sewn this study.
The source photograph is Morning Flower, released under CC0. Its current file page credits Velatrix; the original upload and structured creator record name Nicolas M. Perrault. The recorded conversion used a square crop prepared outside QuiltLab.

Our photo-quilt tutorial covers making and checking that kind of guide. Here we begin with the chosen guide and plan how its completed sections will meet.
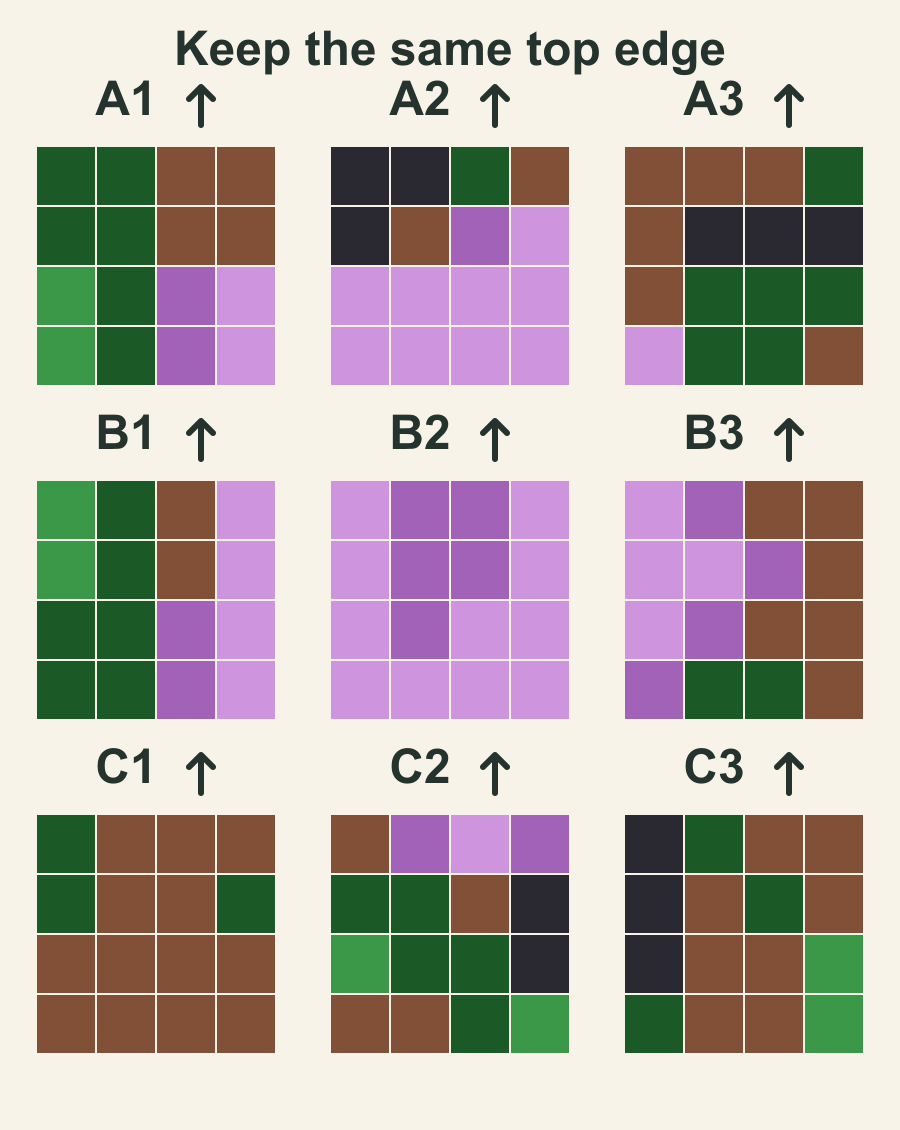
Give each section an address and a top edge
Divide the 12-by-12 map into nine sections, each containing four rows and four columns of patches. Call the section rows A, B and C, and the columns 1, 2 and 3:
| Section row | Left | Center | Right |
|---|---|---|---|
| A: picture rows 1-4 | A1 | A2 | A3 |
| B: picture rows 5-8 | B1 | B2 | B3 |
| C: picture rows 9-12 | C1 | C2 | C3 |
Put the address and a top arrow on a paper label beside each section. Keep the label with that section whenever you carry it to the machine or pressing surface. Pin labels away from the stitching path, and remove pins before the needle reaches them.
Missouri Star's written pixel-quilt organization tips recommend numbered row labels and preserving the left-to-right order. At the section stage, an address plus a top arrow does the same useful job: it tells you both where the unit goes and which way it faces.
Check the raw section size before joining
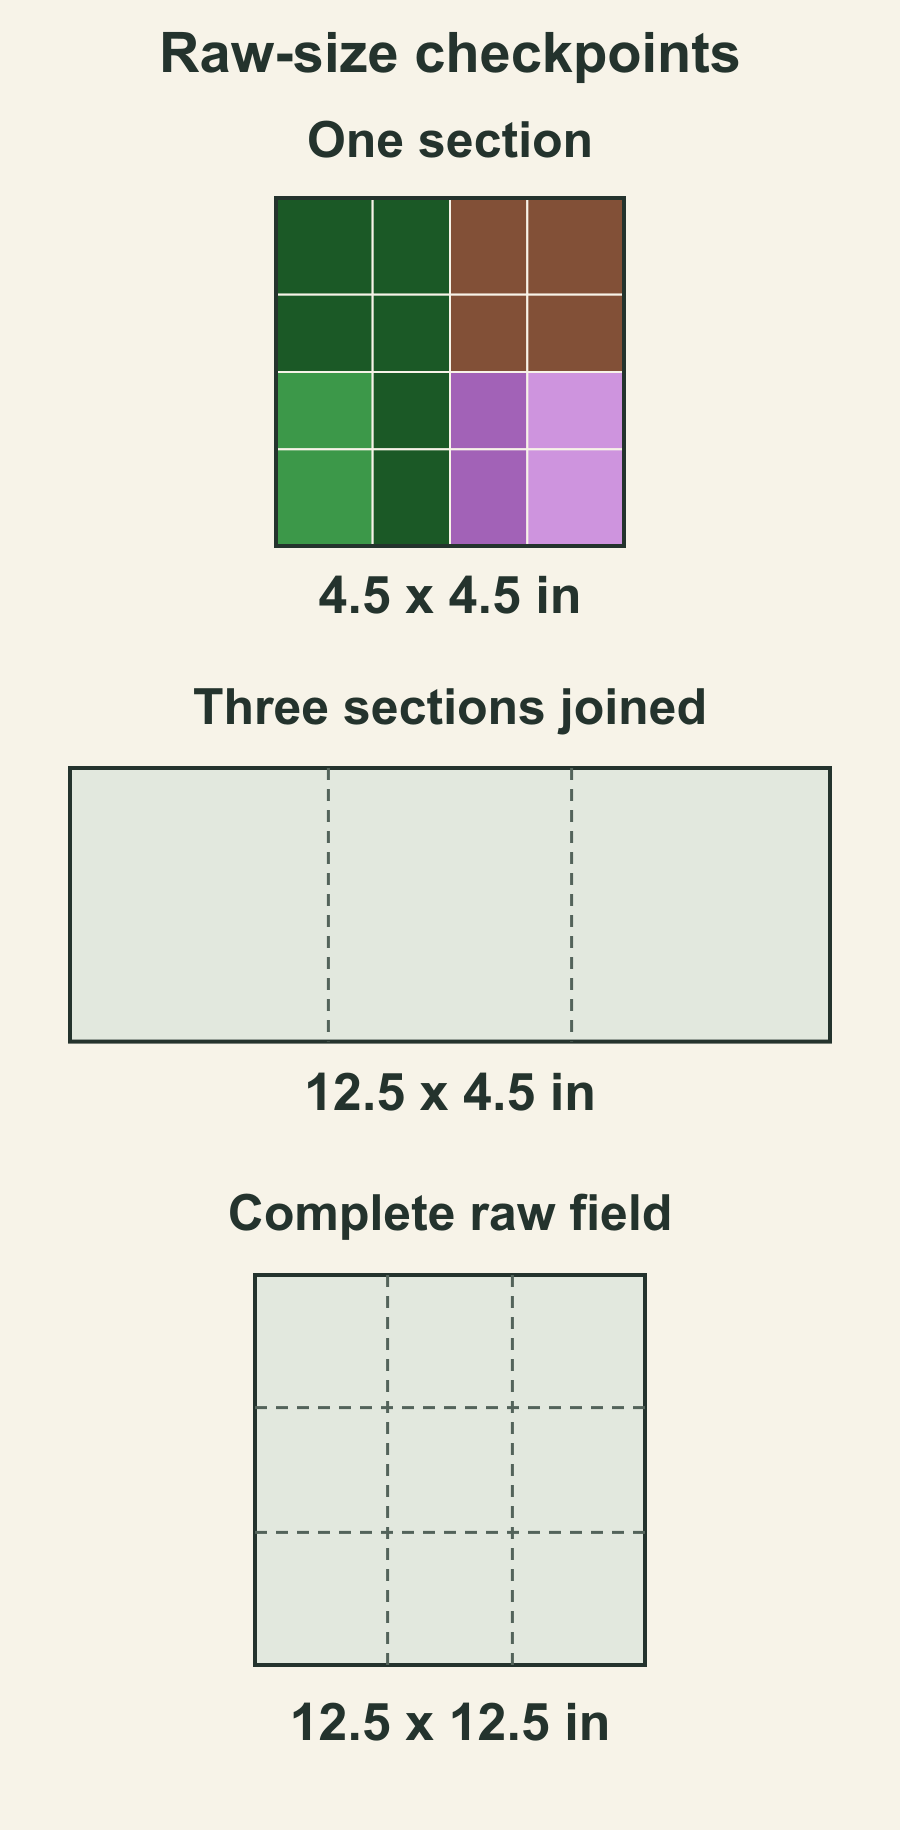
With ordinary quarter-inch seams, a 1-inch finished square starts as a 1.5-inch cut square. Four cut squares laid side by side span 6 inches. Joining them takes up half an inch at each of three seams, leaving a row 4.5 inches long.
Four such rows make a section that should measure 4.5 by 4.5 inches raw. The outer quarter-inch allowance remains on every side. That section occupies 4 by 4 inches within the finished picture after its outside edges are sewn.
Write both dimensions beside the master: 4 inches finished; 4.5 inches raw. Otherwise, a correctly sized raw section can look half an inch too large when compared with the finished grid.
The American Patchwork & Quilting editors' quarter-inch seam lesson explains why measuring the sewn, pressed unit matters: the fold of the cloth takes up some space. Their sample test joins three 1.5-inch strips and checks that the center strip measures 1 inch after pressing. Our scant quarter-inch seam check walks through reading that result.
Use the proposed section measurements as checkpoints. If a section comes out short, check its patch cuts, seams and pressing before joining it to the next one. Pulling it to fit can hide the cause while disturbing the picture's straight rows.
A small repeated difference can add up across a row. As a hypothetical calculation, suppose all three sections measure 4 3/8 inches raw instead of 4 1/2 inches. Three sections total 13 1/8 inches; subtracting 1 inch for the two quarter-inch joins leaves 12 1/8 inches, or 3/8 inch short of the planned 12 1/2-inch raw row. Those are calculated dimensions, not measurements from a sewn sample. Checking the first section gives you a chance to investigate before repeating the same discrepancy across the picture.
Match the picture across the first joining edge
Lay A1, A2 and A3 right side up in their assigned places. Compare the whole top section row with the master before placing pieces right sides together.
The first join lies between picture columns 4 and 5. On the top picture row, those two patches are brown and dark gray. The next join, between columns 8 and 9, has two brown patches on that same row. These are checked cells in this export, so they make useful starting references for this particular picture.
Also inspect the next three picture rows along each joining edge. One correct corner cannot prove that a section is upright. A section turned halfway around may put a plausible color at the corner while reversing everything below it.
Place A1 and A2 right sides together, keeping track of their top edges. Match the patch-seam intersections along their shared edge, secure them as your method requires, and join the sections. Press using the approach chosen for the project. Open them out and check the picture again before adding A3.
Measure each completed section row
Three raw sections measure 13.5 inches when placed edge to edge. The two joins take up 1 inch in total, so the completed row should measure 12.5 by 4.5 inches raw.
Repeat for B1-B2-B3 and C1-C2-C3. Keep A above B and B above C on your layout surface. Check their labels, colors and raw dimensions before joining those three long rows.
| Checkpoint | Nominal raw size | What to inspect |
|---|---|---|
| One completed section | 4.5 x 4.5 inches | Sixteen patches, top edge and address |
| One completed section row | 12.5 x 4.5 inches | Three sections, two joins and picture continuity |
| All three section rows joined | 12.5 x 12.5 inches | Nine sections, aligned rows and outer allowances |
Join the rows and inspect the whole image
Place section row A against B, match the patch-seam intersections, and join them. Check the opened picture before adding C. The last two long joins each take up half an inch in height: 13.5 minus 1 gives the same 12.5-inch raw height as the width.
The finished image area is 12 by 12 inches after accounting for the outer allowances. Any border or finishing method needs its own plan around that area.
Step back and compare the assembled picture with the master. Then inspect the joining lines close up. Check that every patch row continues across the sections, the labels still describe the intended positions, and no section was rotated or exchanged with another.
If something looks wrong, find the first incorrect joining edge. Compare the section addresses and their top arrows before removing stitches. A correct section in the wrong place needs a different fix from a section containing misplaced patches.
Choose your first section now, mark its address and top edge, and write its expected raw size beside the guide. Complete and check that one section before repeating the method across the picture. The Quilt Editor guide explains the design modes if you still need a photo-mosaic starting point; keep the chosen export beside your fabric as the assembly master.
Free patterns to try
Printable PDF patterns with cutting charts and diagrams, free to download.
Family Photo Quilt
Quilt patternBeginner · 54 x 62 in lap quilt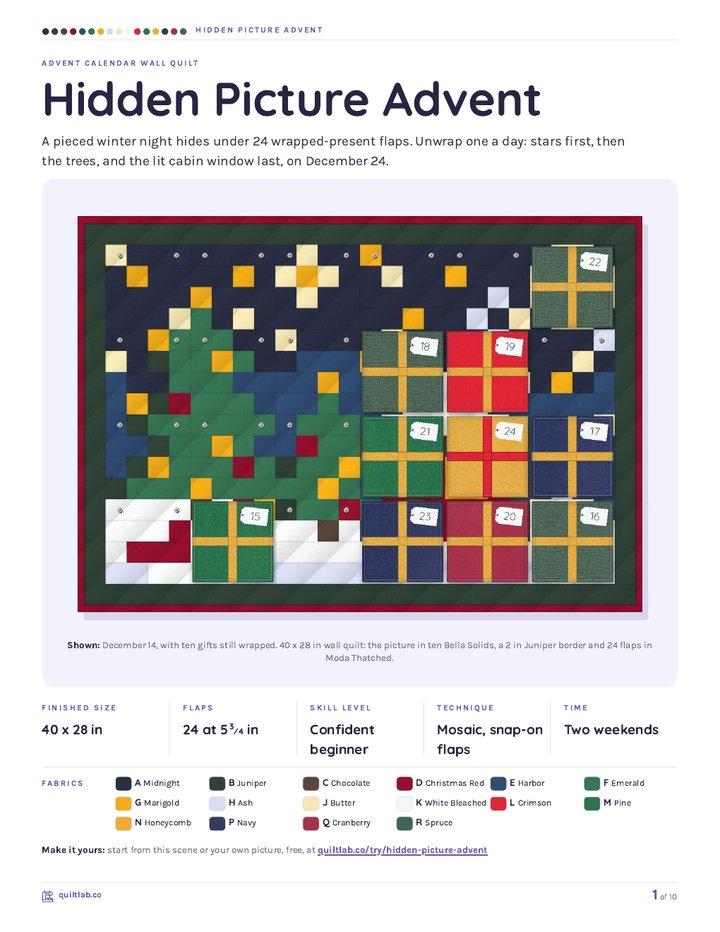
Hidden Picture Advent
Quilt patternBeginner · 40 x 28 in wall quilt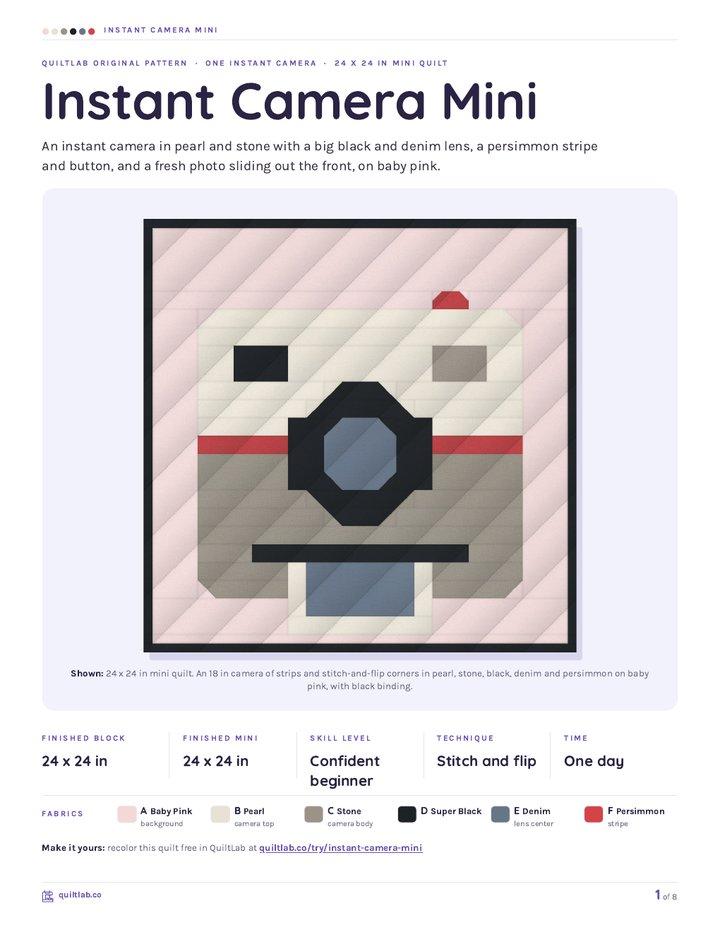
Instant Camera Mini
Quilt patternBeginner · 24 x 24 in mini quilt
Plan your next quilt
Lay out blocks and try colors in QuiltLab's grid editor before you cut.
Free forever, no card needed.
Explore photo quilt designGet quilting tips by email
QuiltLab updates, tips and quilting inspiration. Unsubscribe anytime.
Related posts
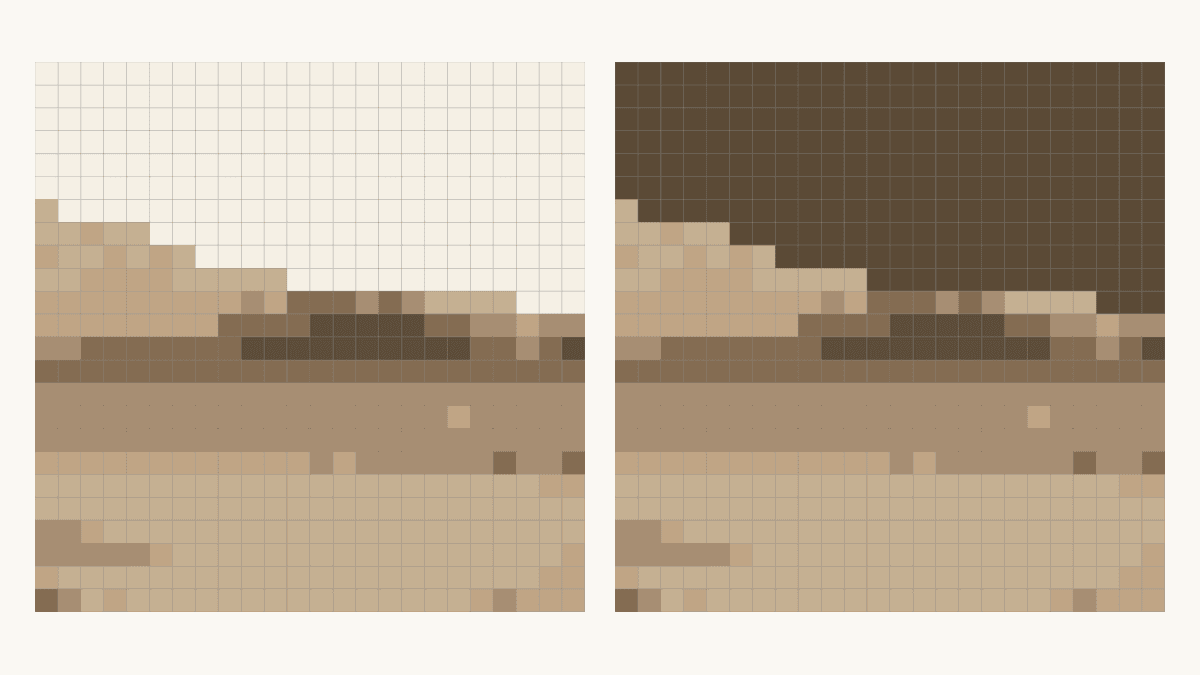
How to Change Photo Quilt Background Contrast
Compare two saved background edits at one fixed grid. Check shared colors, inspect a tree edge and keep the matching PDF guide before choosing cloth.
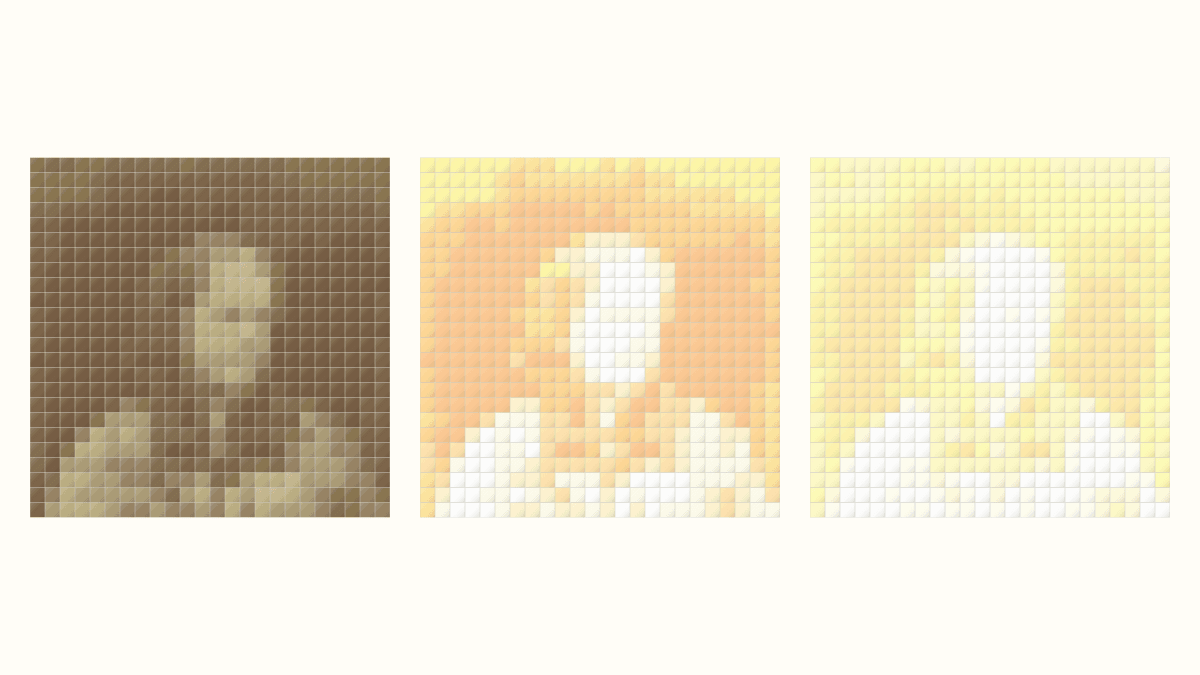
Photo Quilt Contrast: Keep Useful Detail
Compare three source-photo adjustments at one quilt grid. See where highlights disappear and check the applied image before choosing a mosaic.
Plan a Printed Photo Memory Quilt Layout
Give one photo room to lead, add separate captions and compare two measured drawings using provider-listed panel sizes.