Build a Quilt Inspiration Board You Can Reopen
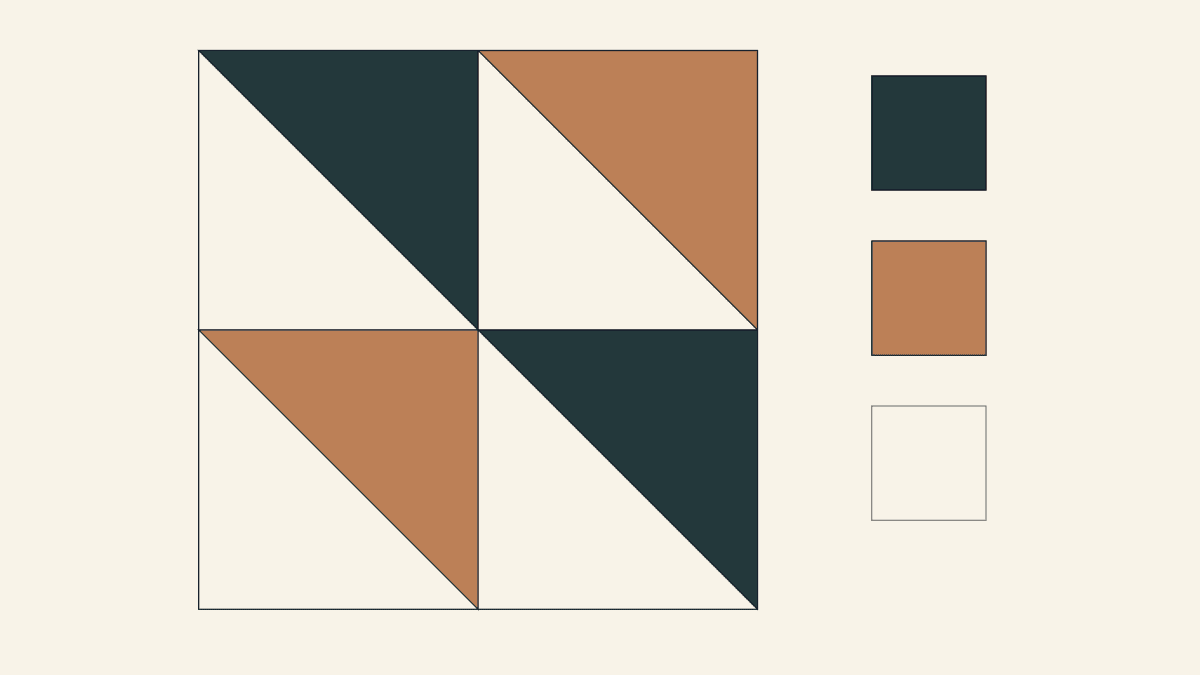
Start a quilt inspiration board with one sketch, three color roles and a note naming your next decision. In QuiltLab, keep those pieces on a personal Canvas, then reopen it and inspect an export. A small board you can return to is more useful than a large collection whose choices you have to remember.
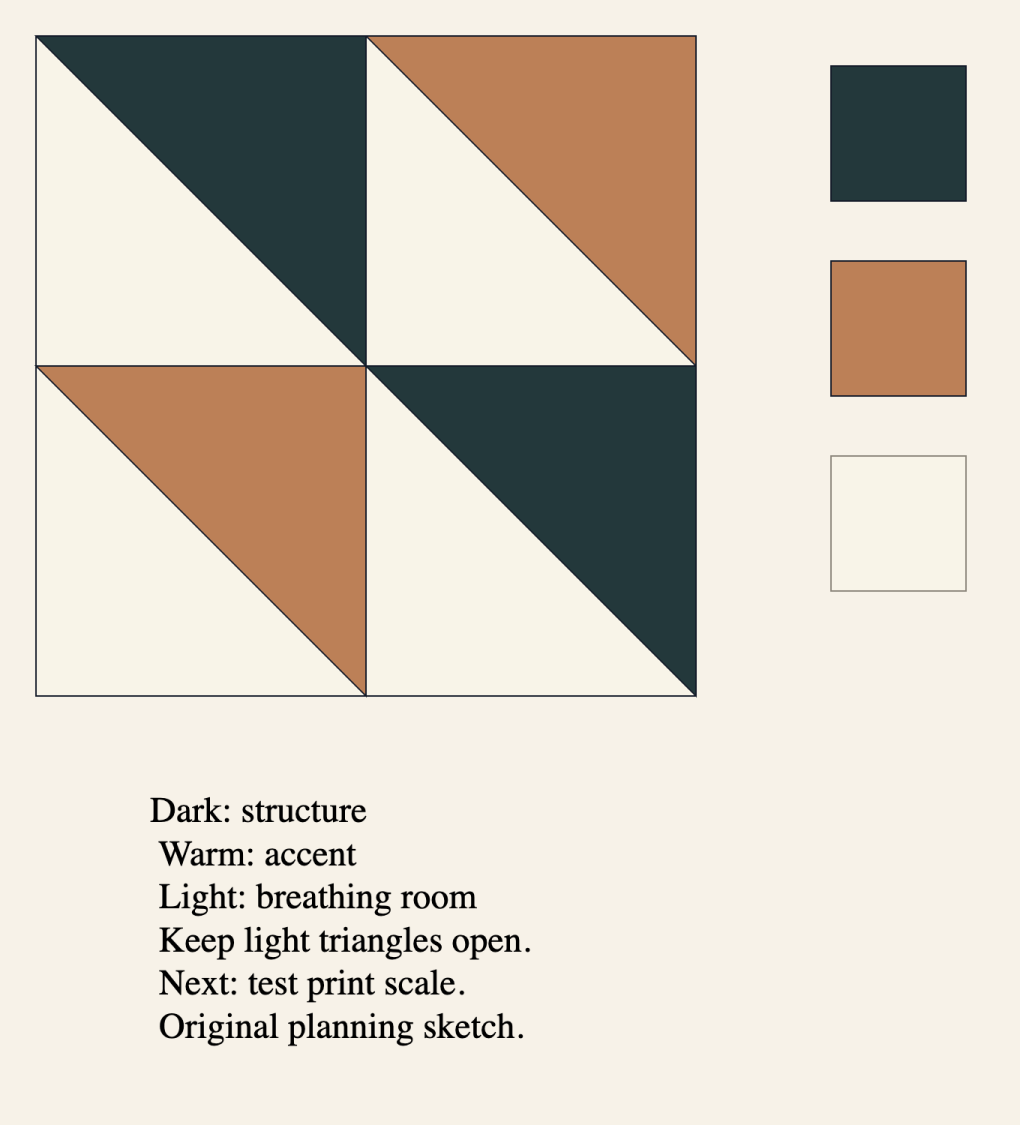
For a first board, use a sketch you made yourself. Our October 24, 2026 example combines four triangle-block sketches, three color chips and a separate editable note. We made and reopened it in the running Canvas Editor. The images show that digital planning work; we haven't sewn or printed this design.
Choose one relationship to explore
Give the board a short question: "Can dark and warm triangles alternate while the light triangles stay open?" That leaves you something specific to look for as you move between the drawing and palette.
Rebecca Bryan's graphic-design lesson for quilters describes studying grids, color schemes and linework, then collecting ideas on a mood board or in a sketchbook. Look for the relationship that interests you, rather than trying to collect every appealing image.
Shannon Brinkley's design-process article starts with a palette, shape, texture or pattern, often from outside quiltmaking. Your own sketch or photograph can give the board a clear starting point. Add a note about where an idea came from and what caught your attention.
Our starting artwork is our own vector drawing. No photograph of someone else's finished quilt is needed for this exercise.
Open a personal canvas and name the decision
Start from My Canvases and choose New canvas. Give it a name you can recognize later, such as "Triangle study - dark, warm and light." The Canvas Editor guide explains the workspace and its personal and project destinations. These steps use a personal canvas.
Plan three parts of the board:
| Part | Keep here | Question it answers |
|---|---|---|
| Sketch | One arrangement | How do the shapes relate? |
| Palette | A few color chips | What job does each color do? |
| Notes | A decision and next check | What should happen next? |
Leave enough room below the artwork for notes you can read without covering the sketch. You can adjust that space after adding the text.
Canvas writes changes automatically. Watch Saving and Saved beside the name; there is no manual Save button. The saving guide explains what those messages mean and what to do if a write fails.
Import a sketch, then compare what arrived
In the October 24 study, our artwork was an SVG containing a square layout, three palette chips and eight text labels. We chose File > Import SVG/image... and selected it.
The result reported 8 items with 8 warnings. All eight text labels were absent. The shapes and color chips appeared, but the divider also acquired an unwanted connecting segment. We compared the imported board with the source drawing before treating the import as finished.
We removed that divider through its canvas context menu's Delete command. The adjacent triangle edges already showed the divisions, so we didn't need to replace it. The corrected board kept the same colored triangles and palette chips.
Inspect your own import the same way: check the text, outlines, fills and arrangement against the source. An item count tells you how many items arrived, not whether the picture and labels match. Keep the source drawing while you settle any differences.
Read the palette beside the actual arrangement
Our notes give the chips three jobs: dark for structure, warm for accent and light for breathing room. The chips are equal-size samples, but the sketch uses different amounts of those colors.
The square drawing contains four equal blocks. Each has one colored triangle covering half its block. Two triangles are dark and two are warm. Across the square, dark therefore covers 25%, warm covers 25%, and light covers 50%.
That comparison catches a common board problem: equal-size chips can make three colors look equally important even when the layout gives one twice the area. Read the chips beside the sketch, then decide whether their roles still describe what you see.
The Canadian Quilters' Association's design-elements reference discusses repeated shapes, relative color value and the spaces around forms. Use those ideas to describe your choice. Here, the repeated light triangles separate the alternating dark and warm ones.
These percentages describe the square sketch alone. The palette chips and the surrounding board aren't part of that calculation, and colored drawing area doesn't supply a cutting list or yardage.
Add notes as editable Canvas text
Because the imported labels were missing, we added a new text item. Right-click the canvas and choose Insert > Text, then double-click the text to edit it. The Details panel also offers Edit text and explains that clicking outside saves the edit.
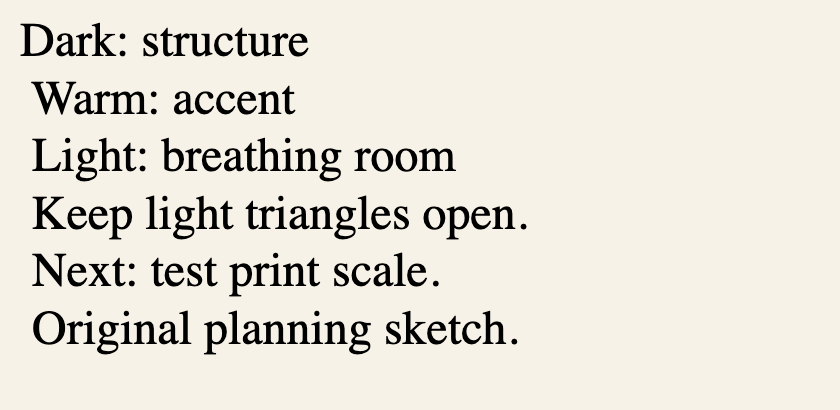
We entered six short lines:
- Dark: structure
- Warm: accent
- Light: breathing room
- Keep light triangles open.
- Next: test print scale.
- Original planning sketch.
Resize the text box until every line is visible, then move it below the artwork. In our check, enlarging the box and moving it were separate actions. A note can contain the right words while its box still hides the last lines, so inspect the whole note after leaving text editing.
Reopen the board and open its downloads
Wait for Saved, leave the editor, then reopen the same named canvas. Check the sketch, chips and complete note together. We reopened this board and found the corrected artwork and all six lines still present.
For that study, we also used File > Export SVG... and File > Export PNG.... In the PNG dialog, we chose High-resolution (2x) and Download PNG. The downloaded PNG measured 2,496 by 2,120 pixels; the SVG's view box measured 1,248 by 1,060 drawing units. The second saved-board SVG matched the corrected first export byte for byte.
Open your own downloads rather than stopping at the export command. Look for complete edges and all the notes, including the last line. A larger image file still needs that readback; its pixel dimensions don't set the quilt's finished size.
Give the board one next action
Our note ends with checking print scale. Before choosing cloth, we would need to decide the actual block size and audition the print within that space. The board keeps that question visible instead of quietly treating the screen palette as a settled fabric purchase.
On your own board, make the next check specific enough that you can tell when it is done. For a print-scale decision, record the intended block size, then compare fabric candidates within that same space. Keep the arrangement fixed while you compare the prints so you can see what changed.
When you return to the board, ask three questions:
- What stays? Name the relationship you want to preserve, such as the open light triangles.
- What is still open? Name one choice, such as the size of the warm fabric's motif.
- What will settle it? Choose an observable check, such as comparing that motif with a physical swatch at the intended block size.
Update the note after the check. A result such as "the large motif hides the triangle edge" gives your next session more direction than adding another unexplained image.
When you can explain what you want to preserve, carry the choice into a one-page quilt design brief. That separate worksheet records purpose, finished size, construction and checks before cutting.
Start with your sketch and three role chips. Add one decision note, reopen the board and inspect a download. Keep the version that tells you what to try next.
Free patterns to try
Printable PDF patterns with cutting charts and diagrams, free to download.
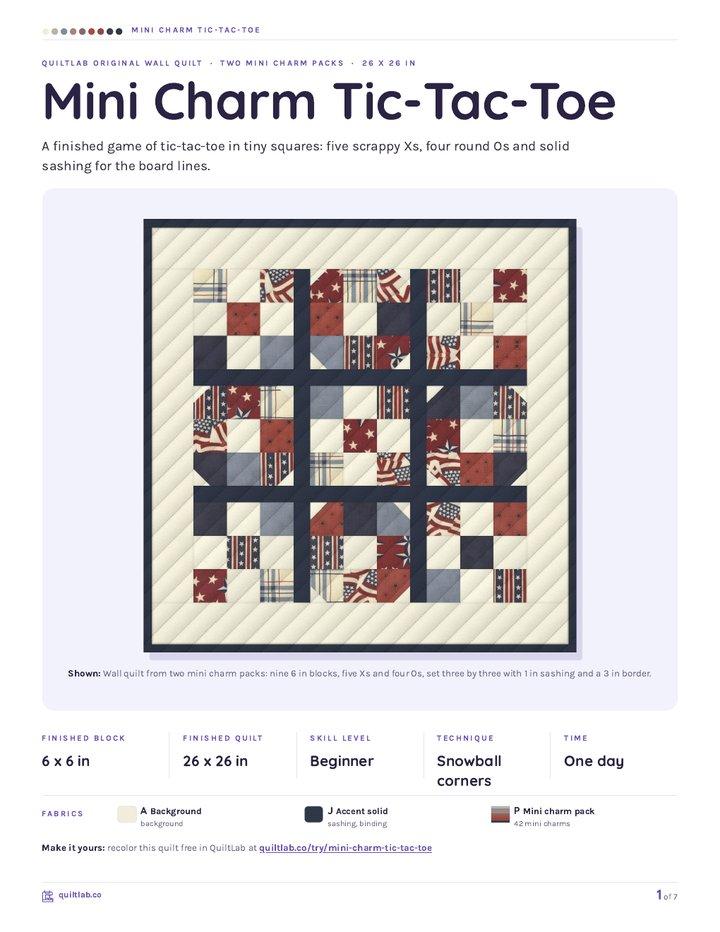
Mini Charm Tic-Tac-Toe
Quilt patternBeginner · 26 x 26 in wall quilt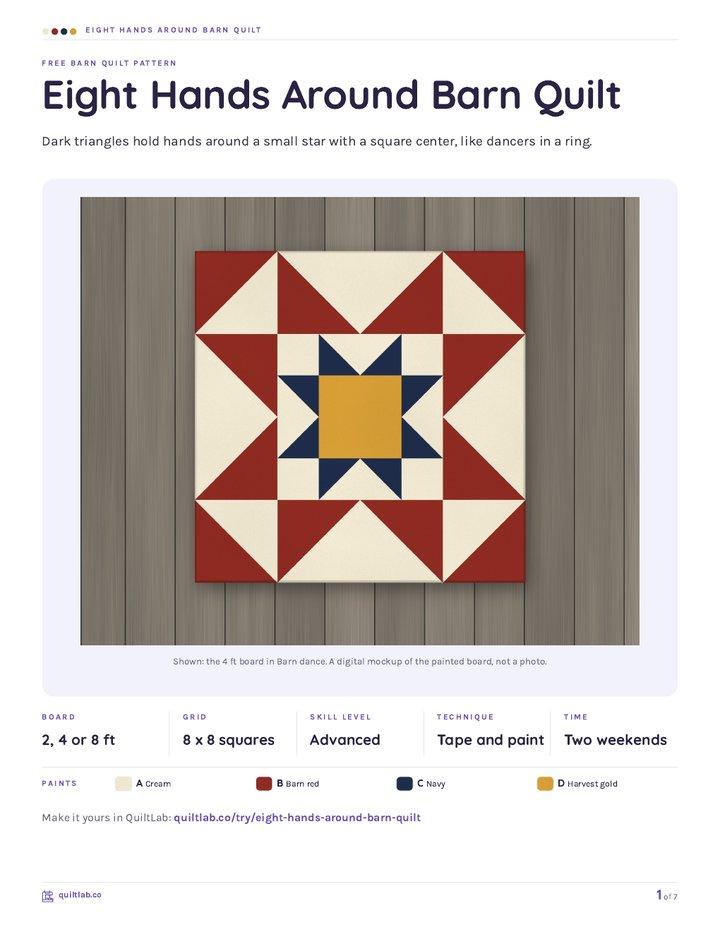
Eight Hands Around Barn Quilt
Barn quilt patternAdvanced · 2, 4 or 8 ft barn quilt board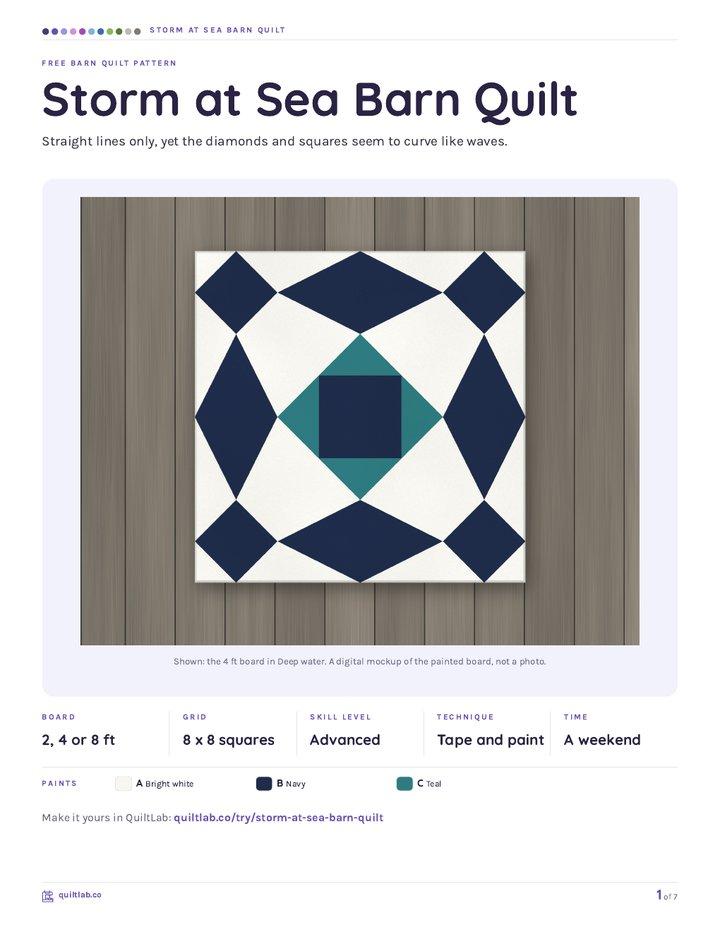
Storm at Sea Barn Quilt
Barn quilt patternAdvanced · 2, 4 or 8 ft barn quilt board
Plan your next quilt
Lay out blocks and try colors in QuiltLab's grid editor before you cut.
Free forever, no card needed.
Get quilting tips by email
QuiltLab updates, tips and quilting inspiration. Unsubscribe anytime.
Related posts
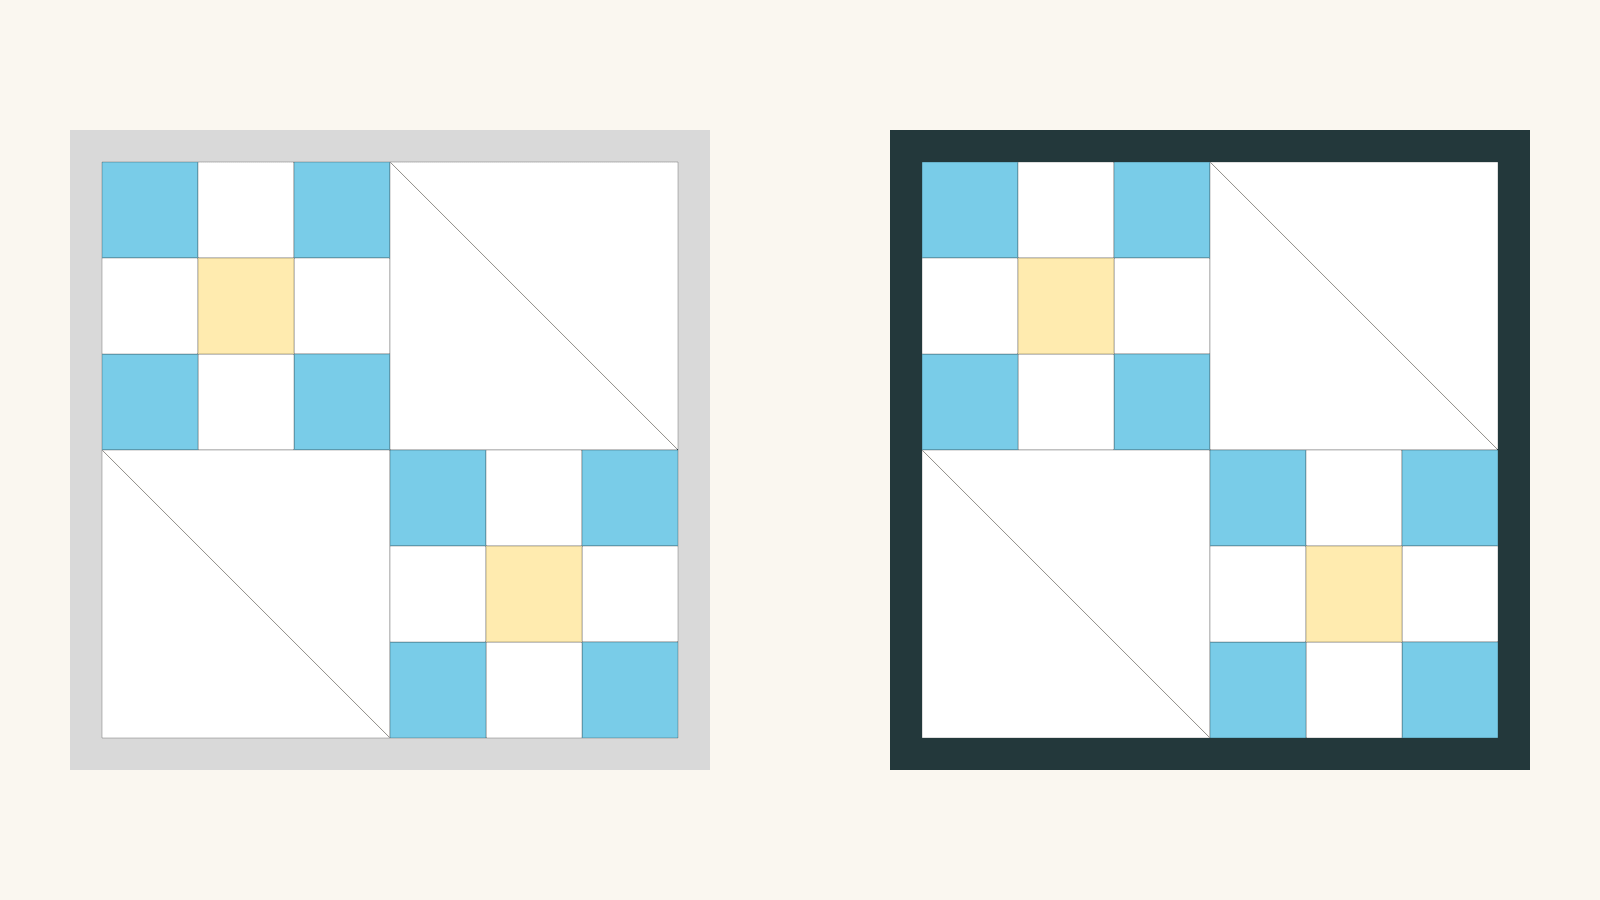
How to Save Quilt Colorways as Separate Quilts
Save a personal quilt copy before changing colors, then reopen both versions. Follow an actual border-color comparison that kept the original.
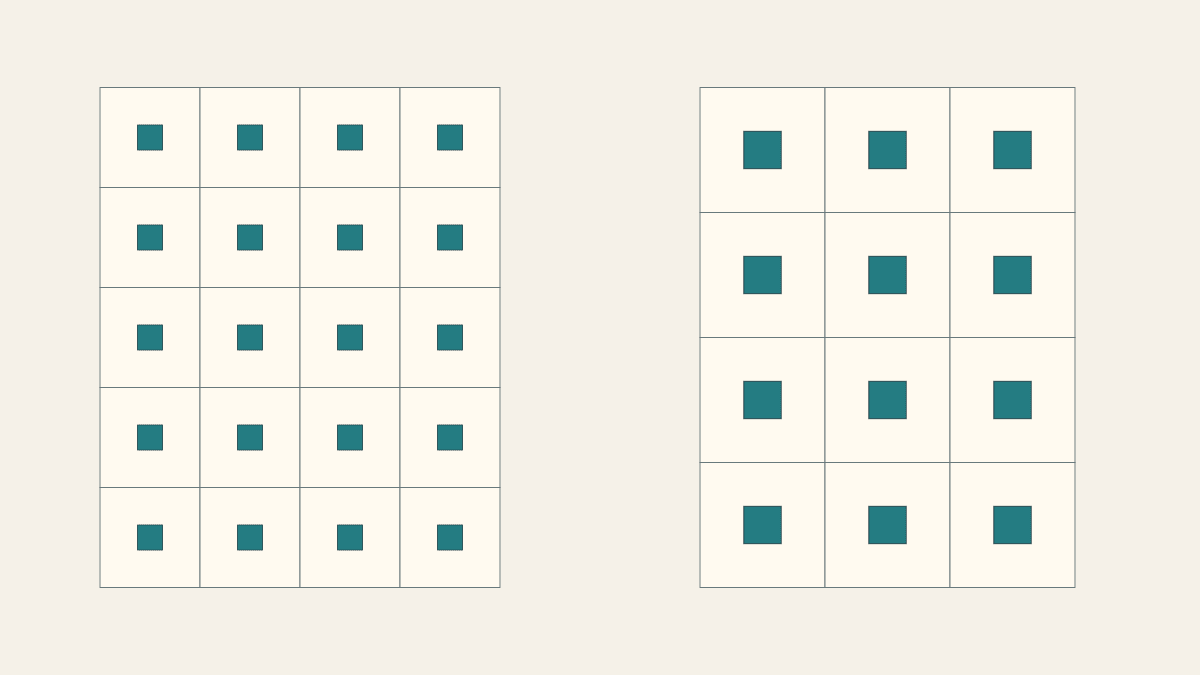
How to Plan a Quilt with Limited Fabric
Compare two quilt layouts from one small focal fabric piece, with checked cut maps, frame sizes and an untouched reserve.
Choosing Quilt Block Size: Which Size Fits Your Quilt?
Compare three Nine Patch scales for one quilt footprint, count the joining work for a stated method, and audition prints at patch size.