Move a Quilt Layout to Pattern Builder
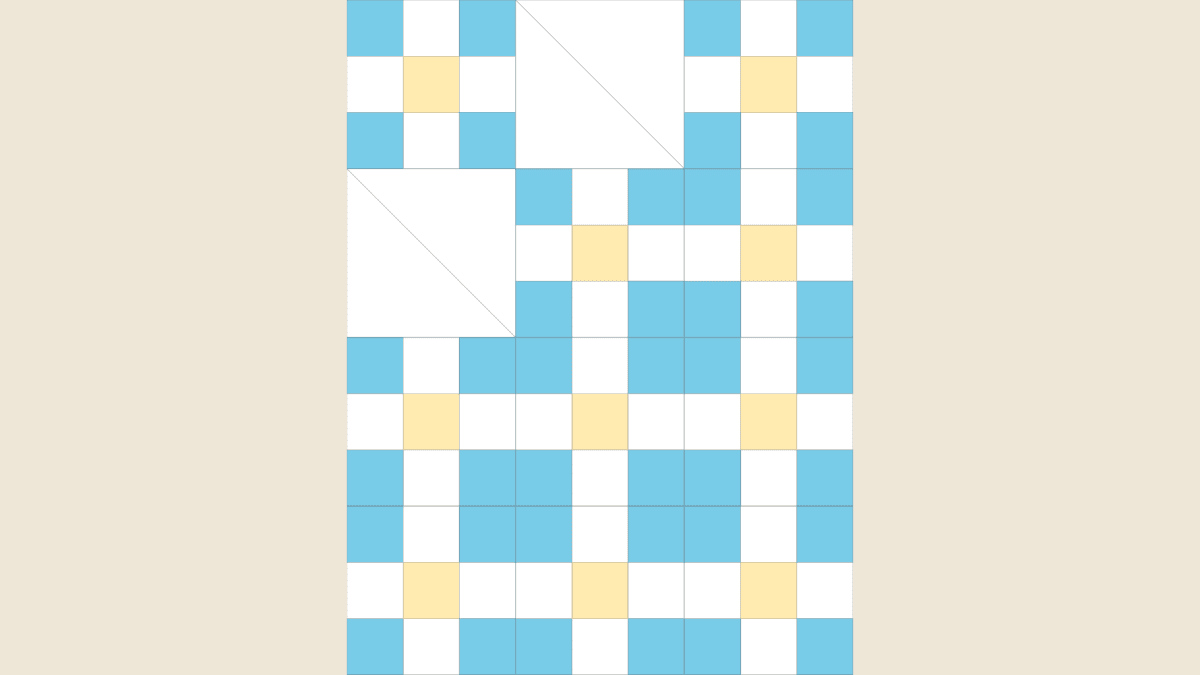
Carry over the finished dimensions, a checked block inventory and one clear layout image. Then write the block order and assembly notes in the document. A quilt picture gives the reader a destination; it doesn't supply the instructions for getting there.
Start with one saved design and make a separate pattern document for it. Our October 24, 2026 example transfers an actual 24 by 32-inch layout into a two-page Pattern Builder document. It's a digital handoff study; cutting, fabric requirements and sewing have not been verified.
Freeze the layout you want to explain
Name the quilt before you export its image. Check the finished block dimensions, grid, borders and number of occupied positions. Otherwise, an attractive picture can reach the document while its description still belongs to an earlier version.
Our saved quilt has three columns and four rows of eight-inch blocks, with no borders or sashing. The field dimensions follow directly:
- Width: 3 x 8 = 24 inches.
- Height: 4 x 8 = 32 inches.
- Blocks: 3 x 4 = 12.
Those are finished design dimensions. They don't describe a block with its outside seam allowances still attached.
Sherri McConnell's pattern-writing guidance includes finished quilt and block sizes, cutting requirements, block instructions and quilt assembly as separate parts. Use that distinction here: carry over the sizes you checked, then identify which instructions still need writing.
Keep the saved quilt and its export together in your working notes. If you change the grid later, update the document's image, quantities and row map together.
Count the actual blocks, then check their positions
Grid capacity and placed blocks are different things. A three-by-four grid has room for twelve blocks, but that doesn't prove all twelve cells contain the intended design.
We reopened the quilt and checked its twelve placements. Its actual exported SVG contains ten Nine-Patch blocks and two squares divided into triangles:
| Block in this layout | Quantity | Position check |
|---|---|---|
| Nine-Patch | 10 | Every position except R1C2 and R2C1 |
| Two-triangle square | 2 | R1C2 and R2C1 |
| All blocks | 12 | Four complete rows of three |
Here, R1C2 means the first row, second column, viewed from the top left. Both divided squares have a diagonal from upper left to lower right. Their two regions are white in this export, so inspect the dividing line as well as the color.
A second count checks the drawing: 10 x 9 = 90 square regions, plus 2 x 2 = 4 triangular regions, giving 94 drawn regions. That inventory is not a cutting list. A strip-pieced Nine-Patch, for example, needs a chosen construction and cutting method before you can turn the finished drawing into fabric quantities.
Bring the image into a separate document
Open your pattern document, or use File > New pattern to start one, as described in the Pattern Builder guide. Name it so you can distinguish it from the quilt and from later revisions.
For this check, we used File > Save a copy on our own two-page practice document. The action opened a new pattern directly. We checked its new document address before editing and named it Catalog Oct24 DG07 layout handoff. The earlier practice pattern stayed separate.
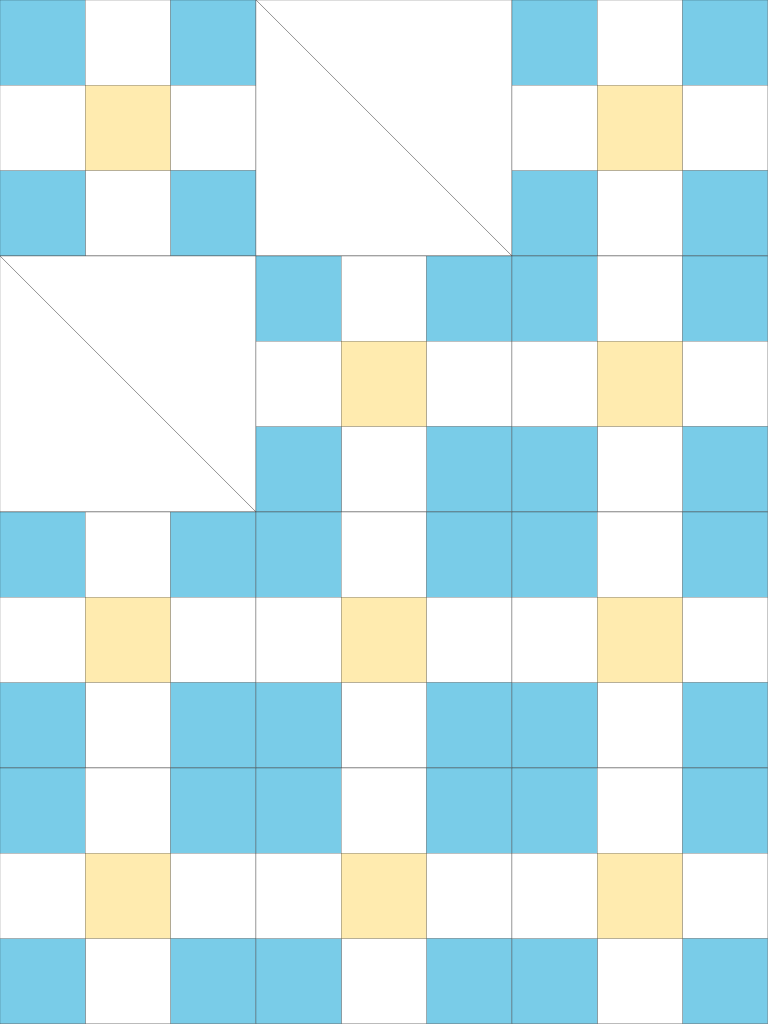
We made a PNG image from the saved quilt's SVG export and kept both files. The PNG preserves that saved drawing.
In the pattern copy, we selected the old image frame and used Replace image with that PNG. We set the frame to 300 by 400 points and used Fit inside. Its three-to-four proportions match the quilt's 24-to-32 proportions, so the complete field stays visible without stretching or cropping. Those points size the picture on the document page. Keep the finished quilt measurements in the text beside this reduced overview.
We also replaced the image description and removed an unrelated calibration square from the copied document. Copying saves page setup work; it also carries old content forward. Inspect every inherited frame before treating the copy as your new document.
If you start with a blank page, Insert provides image and text content. Select the frame to adjust it in the sidebar. The exact placement matters less than keeping the overview large enough to distinguish the blocks and leaving room for its measurements.
Write the quantities beside the picture
Our first page has three data lines: the 24 by 32-inch field; the three-by-four arrangement of eight-inch finished blocks; and the ten-plus-two block inventory. A fourth line labels the draft's cutting and sewing as unverified. A reader can compare those numbers with the picture before moving to the instructions.
That text was entered manually. Pattern Builder arranges the content you provide; this transfer did not generate cutting instructions or yardage from the quilt.
Give your images stable names in your working folder. Make Modern's submission template asks contributors to name image files and identify where they belong in the instructions. That is useful handoff practice even when you are laying out your own document: the image, its description and the numbers should refer to the same design version.
Avoid adding a fabric-purchase amount just to make the page look complete. A finished field size and a picture don't tell you usable fabric width, cutting losses, directional needs or the chosen triangle method.
Give the second page a row map
A row map turns the picture into an order someone can check. Define the reading direction and keep the same labels throughout the document. Our notes read from top to bottom, then left to right within each row. N means Nine-Patch; T means the two-triangle square.
| Row | Left | Center | Right |
|---|---|---|---|
| 1 | N | T | N |
| 2 | T | N | N |
| 3 | N | N | N |
| 4 | N | N | N |
The second page tells the author to label blocks R1C1 through R4C3 before joining and keep both T diagonals facing as shown. These labels help catch a misplaced block even when two adjacent regions have the same color.
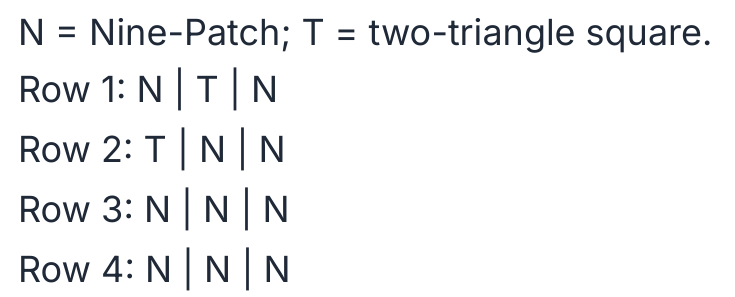
Below the map, we left clearly labeled fields for the block method, seam allowance, cut sizes, unfinished checkpoints, pressing, fabric requirements, finishing materials and sample testing. Leaving those decisions visible is more useful than filling them with plausible-looking measurements.
Check a revision against the image and row map
For a future revision, suppose you replace the T at R1C2 with a Nine-Patch. The quilt could still have twelve eight-inch blocks and measure 24 by 32 inches. Its inventory would change to eleven Nine-Patch blocks and one divided square, and the first row would become N | N | N. Checking the overall size alone would miss that change.
Update the image, inventory and row map together, then recount each block type from the picture. Check the written finished dimensions separately. This small comparison helps keep a revised layout from being paired with an older set of instructions.
Save, reopen and inspect the actual PDF
Use Save now, wait for Saved, then reopen the same named document. Check every page. We reopened both pages of the new pattern and confirmed that the image, four-line header and full notes remained.
Open Print preview and review the document's Layout and Review feedback. A clean layout result helps find document problems; it does not check the fabric calculations or prove that a sewing sequence works.
Choose File > Export PDF and select All pages. Our download used both pages. Then open the file itself. The two-page layout handoff PDF shows the exact draft used here.
Our digital inspection confirmed the complete image, matching row map, all checklist fields and readable text on both pages. The embedded quilt image has the same pixels as the source PNG. We found no old practice text or calibration square in the new export. Those checks establish what reached the document, rather than relying on a saved badge or an export notification alone.
Cheryl Brickey's pattern-testing article at Meadow Mist Designs distinguishes a person who sews from the instructions from someone reviewing text and math. She also asks testers about crowded pages, illustration size and legibility. Use those separate reviews when you complete the construction instructions.
Next, fill one open construction section, check its calculations and follow it while making a sample. Our complete pattern-writing guide covers that larger process. Keep the saved layout, the instructions and the exported PDF together so the next revision has one clear source to check.
Free patterns to try
Printable PDF patterns with cutting charts and diagrams, free to download.
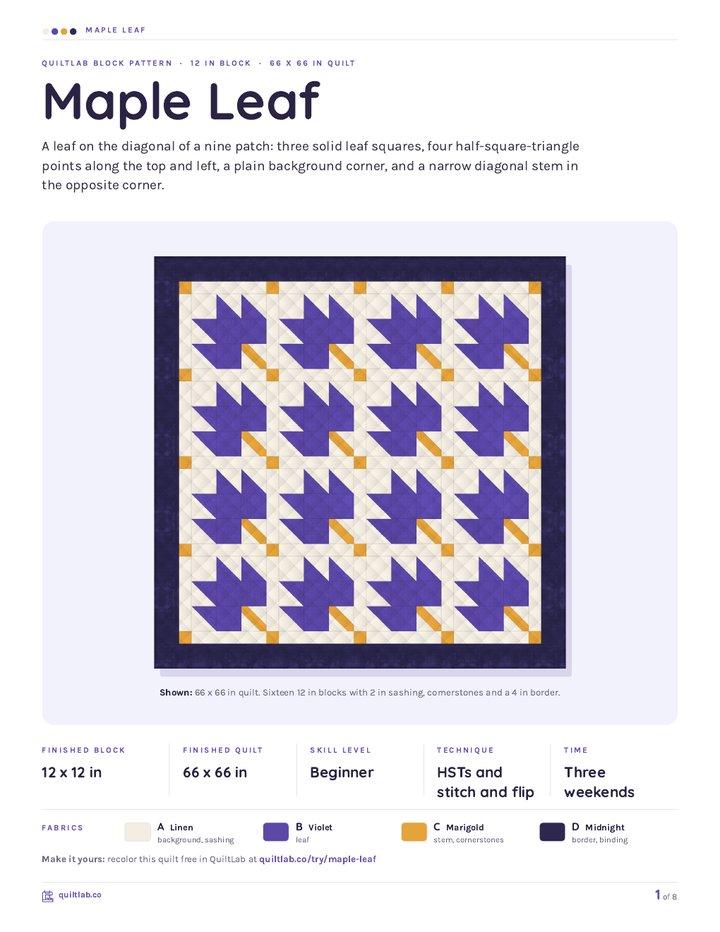
Plan your next quilt
Lay out blocks and try colors in QuiltLab's grid editor before you cut.
Free forever, no card needed.
Explore making your own quilt patternsGet quilting tips by email
QuiltLab updates, tips and quilting inspiration. Unsubscribe anytime.
Related posts
How to Review a Collaborative Quilt Design
Compare one proposed group-quilt change, check its size and actual block placements, then keep the private draft separate from the shared result.
Check an EQ8 Quilt Import Into QuiltLab
Check blocks, fabric choices, finished size and downloads after importing an EQ8 project into QuiltLab. A small project shows what to inspect.
Make Your Quilt Pattern PDF Fit Letter and A4
Check both paper formats, margins and every exported page. A real two-page example shows why changing page size differs from shrinking the print.