Seasonal Quilt Design Ideas from Simple Shapes
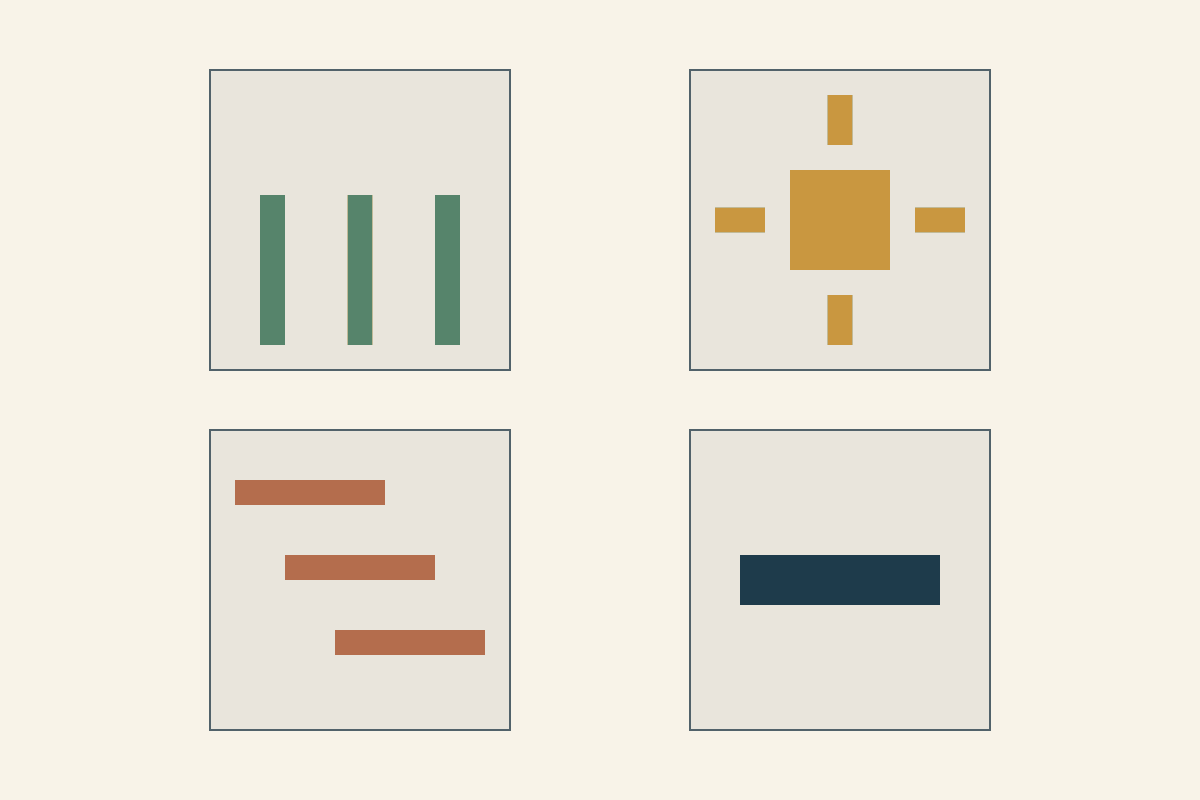
Choose a word that describes the season to you, then turn that word into a few shapes and a placement rule. "Shoot" might become rising narrow bars; "drift" might become offset horizontal bands. Color can support the idea after the arrangement starts to say something.
This gives you seasonal quilt design ideas without needing a literal pumpkin, snowflake or novelty print. Your seasons may look different from ours. Start with a place, activity or memory you know rather than a palette someone says a season must have.
Find one seasonal quality you want to keep
Write three observations from your own experience: a low winter sky, the spacing of new stems, bright midday light or leaves gathering along a path. Choose one that suggests a shape or movement.
Keep the brief short. "Long, quiet winter intervals" is enough to guide a small study. "Every winter thing I love" gives you many subjects to solve at once.
Rebecca Bryan's discussion of graphic design and quilts connects form, function and the ideas behind an arrangement. Use that connection to ask what a shape is doing for this particular brief.
You can draw from an observation without tracing another maker's finished quilt. Keep inspiration notes with the study so you remember where the thought began and which choices you made.
Turn the word into a placement rule
A word becomes useful when it changes a decision on the page. For "rise," you might repeat three tall rectangles and leave room above them. For "pause," you might use one broad shape with generous space around it.
The Canadian Quilters' Association's design-elements guide describes line, form, rhythm and proportion. Those terms help you name the relationship you want to explore. They don't require every quilt to have the same kind of balance or a single focal point.
Choose a simple outside shape for the first studies. Our four drawings each use a 24-by-24-inch square, an area of 576 square inches. Their colored areas differ because each brief asks a different question.
We drew these composition studies for the article and haven't sewn them. All measurements below describe finished space; internal seams and cutting sizes come later.
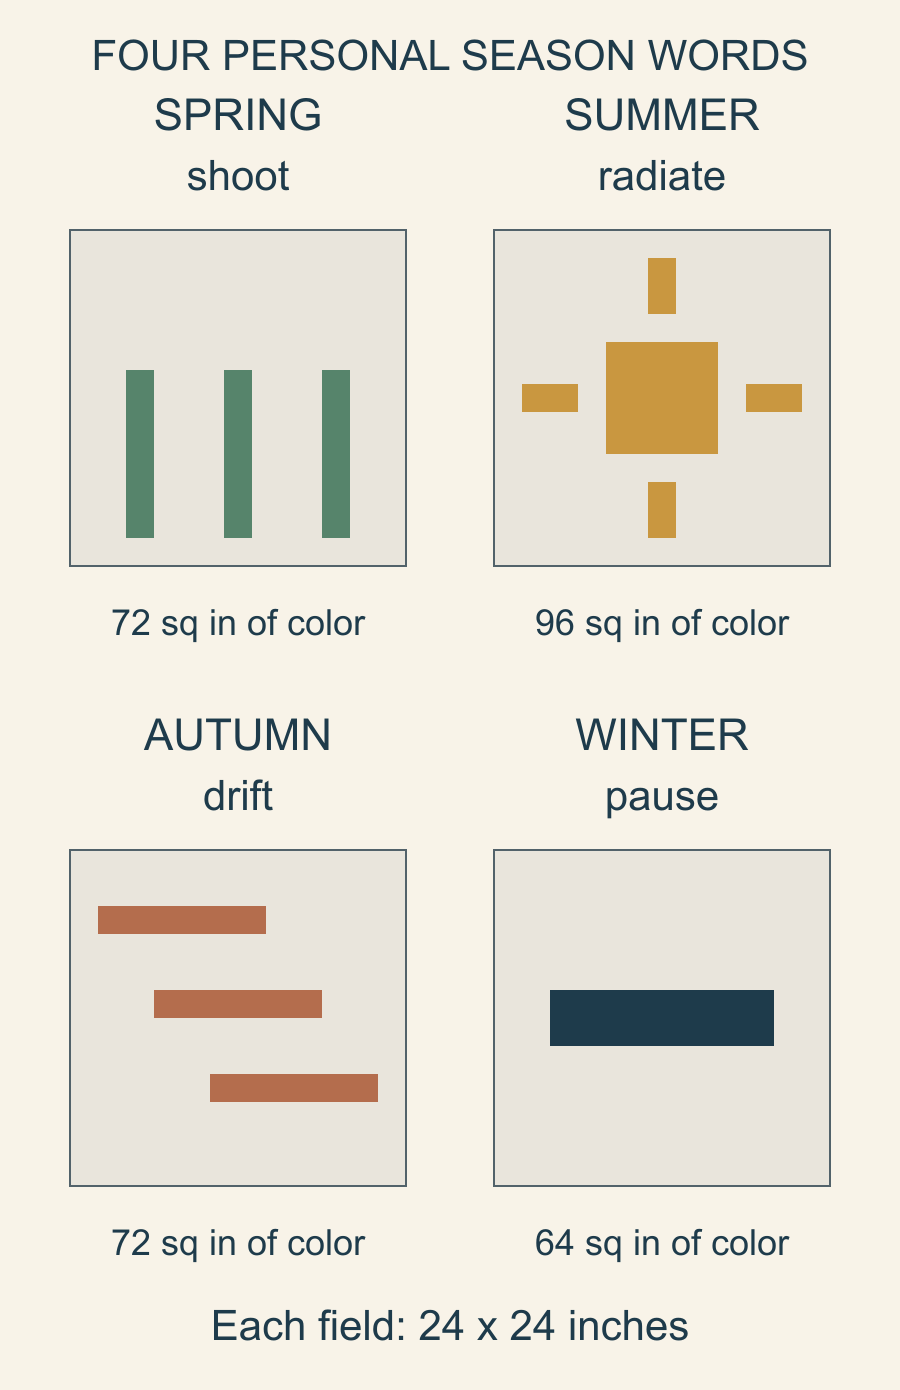
Spring: leave room for three rising shapes
For our spring brief, the word is shoot. Draw three vertical rectangles, each 2 inches wide and 12 inches tall. Place their left edges 4, 11 and 18 inches from the square's left edge. Each begins 10 inches below the top and ends at 22 inches.
The three rectangles cover 3 times 2 times 12 = 72 square inches. The background covers the remaining 504 square inches. Their equal heights and spacing give the study a simple repeated structure, while the space above leaves the upper field open.
Green supports our association, but it isn't the whole idea. Try the same arrangement in an unfamiliar color before changing the geometry. If you still notice the rising shapes, you have something more specific than a green palette.
For your own version, choose the feature you want to change next: uneven heights, closer spacing or one missing stem. Write the choice beside the sketch so a later color change doesn't hide what you were exploring.
Summer: place a center and four separate rays
Our summer word is radiate. Center an 8-inch square in the field, leaving its edges 8 inches from each outer edge. Its area is 64 square inches.
Add four smaller rectangles: a 2-by-4-inch ray above and below the center, and a 4-by-2-inch ray on each side. Each ray covers eight square inches, so all four add 32. The total colored area is 96 square inches, leaving 480 in the background.
Leave a two-inch gap between each ray and the center. The gaps keep the five shapes separate rather than turning them into one large cross. They are part of the arrangement, not leftover spaces to fill automatically.
We chose gold for this drawing. A darker center and lighter rays would ask another question about contrast, so save that as a separate variation if the current arrangement interests you.
Autumn: offset three broad bars
For drift, use three rectangles, each 12 inches wide and 2 inches tall. Place the first at 2 inches from the left and 4 inches from the top. Place the next at 6 and 10 inches, then the last at 10 and 16 inches.
Each bar steps four inches to the right and six inches down. All remain inside the field: the last ends 22 inches from the left edge and 18 inches from the top.
Their total area is 72 square inches, the same as the spring stems. Their direction, proportion and spacing are different. Rust helps our autumn association, while the stepped relationship provides the movement we wanted to study.
Carolyn Gibbs' scrap-quilt examples include Thunderstorm, a theme developed through graded values. That is a useful reminder that a seasonal or weather idea can influence relationships among fabrics without requiring literal pictures.
Winter: give one shape space to pause
Our winter word is pause. Draw one rectangle 16 inches wide and 4 inches tall, beginning 4 inches from the left and 10 inches from the top.
That centers the bar in the square. It covers 64 square inches, with 512 square inches left as background. The broad horizontal shape and large open spaces are the parts of the brief we want to inspect.
Navy is our choice for this study. If winter means high bright light where you live, a pale band on a darker field may connect more closely to your experience. Keep the personal association honest rather than treating our colors as a rule.
Look at the drawing small, then at a size closer to the planned quilt. Decide whether the single band says enough for your aim before adding more shapes.
Choose a comparison that answers your question
If you want to explore direction, start with the spring and autumn studies. Each uses 72 colored square inches inside the same 576-square-inch field: one eighth of the visible area. Coverage stays equal while the orientation, proportions and spacing change. Compare those relationships before adding another color.
If you want to explore open background, compare the summer center and winter bar instead. Their colored areas are 96 and 64 square inches, so both the placement and coverage change. Name those differences in your notes rather than crediting the effect to color alone. Choose the question first, then save one variation that helps you answer it.
Choose fabrics after the shapes have a job
Give each fabric a role: open field, repeated form or accent. Then audition value and print scale at the actual patch size. A busy print can interrupt a quiet band even if its color seems perfect for the season.
Our quilt color combinations offers palette-role ideas when you need a starting pull. Keep the proportion decisions tied to your geometry rather than buying fabric in the drawing's visible-area percentages.
Amy Smart's seasonal project collection offers further credited maker ideas. Follow a designer's actual pattern and permissions if you choose that route. For the studies here, make your own drawings from the personal words you selected.
Carry one brief into the next design decision
Choose one of your sketches and write what you want to keep: "three rising shapes with open space above," for example. Then list what still needs planning, including construction, seams, materials and the quilt's intended use.
If the brief feels too broad, our improv-constraints exercise shows how a small shape, color and size limit can help you begin. Keep the arrangement open enough to respond to the actual fabrics.
Write one seasonal word now, draw three possible arrangements, and choose the one you want to develop. The useful next step is a specific shape decision you can explain, followed by a real material and construction check.
Free patterns to try
Printable PDF patterns with cutting charts and diagrams, free to download.
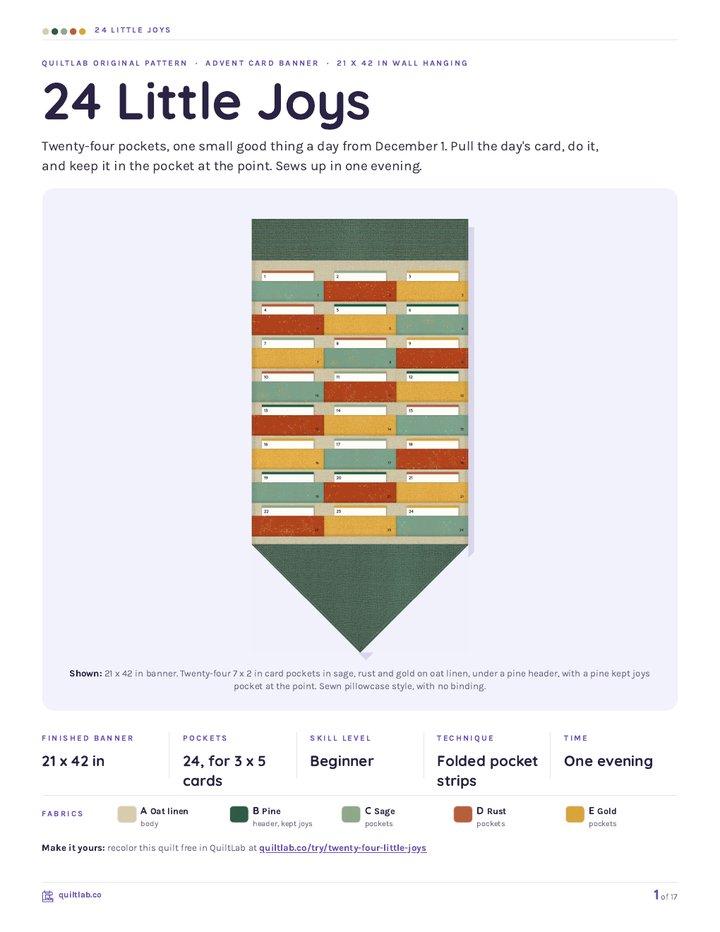
24 Little Joys
Quilt patternBeginner · 21 x 42 in wall hanging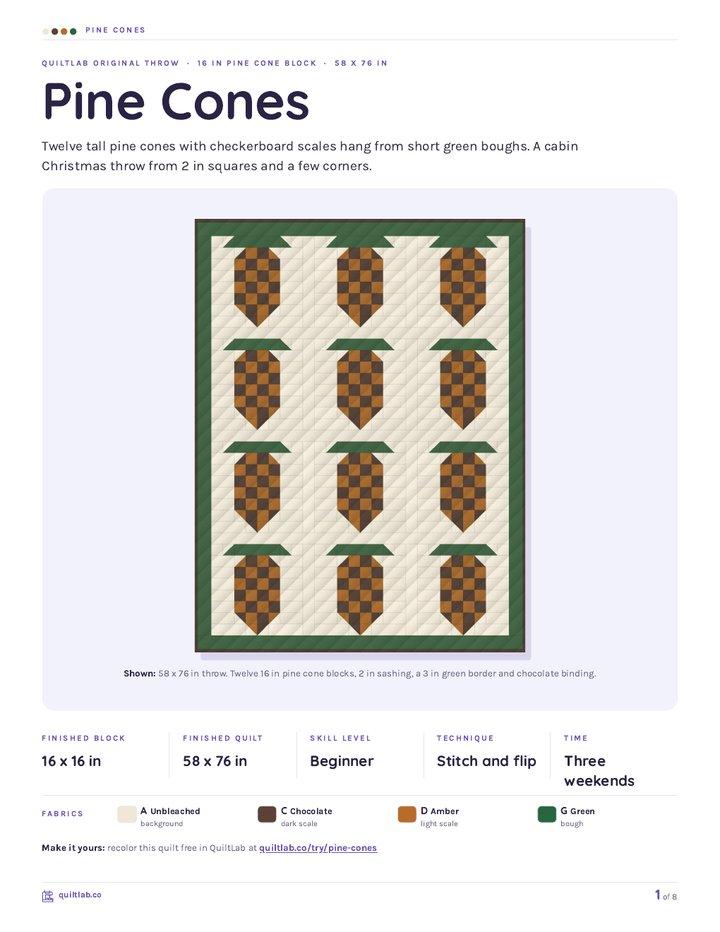
Pine Cones
Quilt patternBeginner · 58 x 76 in throw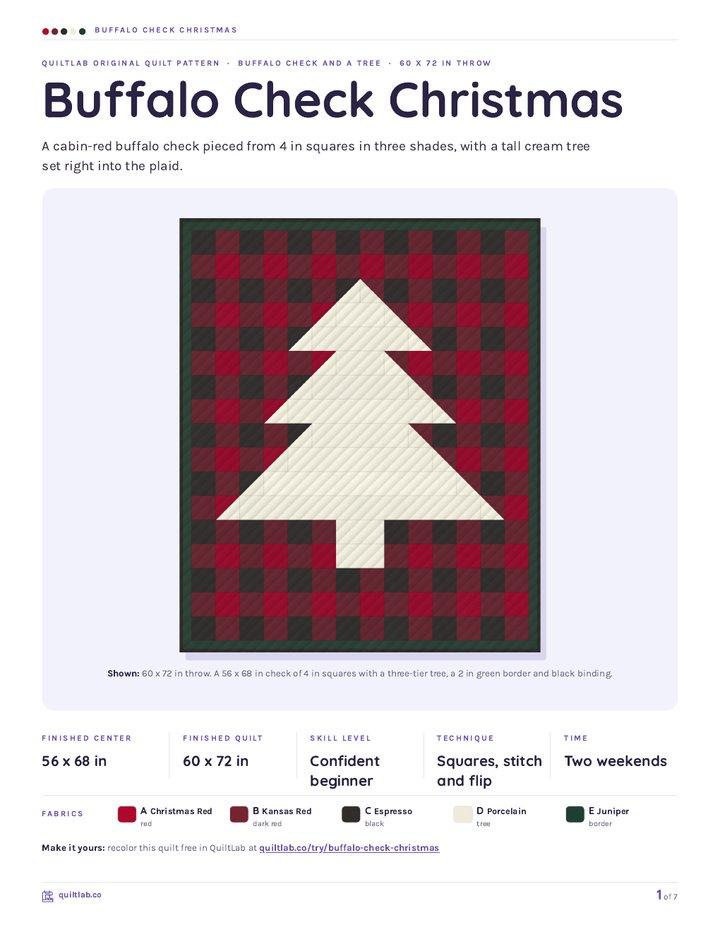
Buffalo Check Christmas
Quilt patternBeginner · 60 x 72 in throw
Plan your next quilt
Lay out blocks and try colors in QuiltLab's grid editor before you cut.
Free forever, no card needed.
Get quilting tips by email
QuiltLab updates, tips and quilting inspiration. Unsubscribe anytime.
Related posts
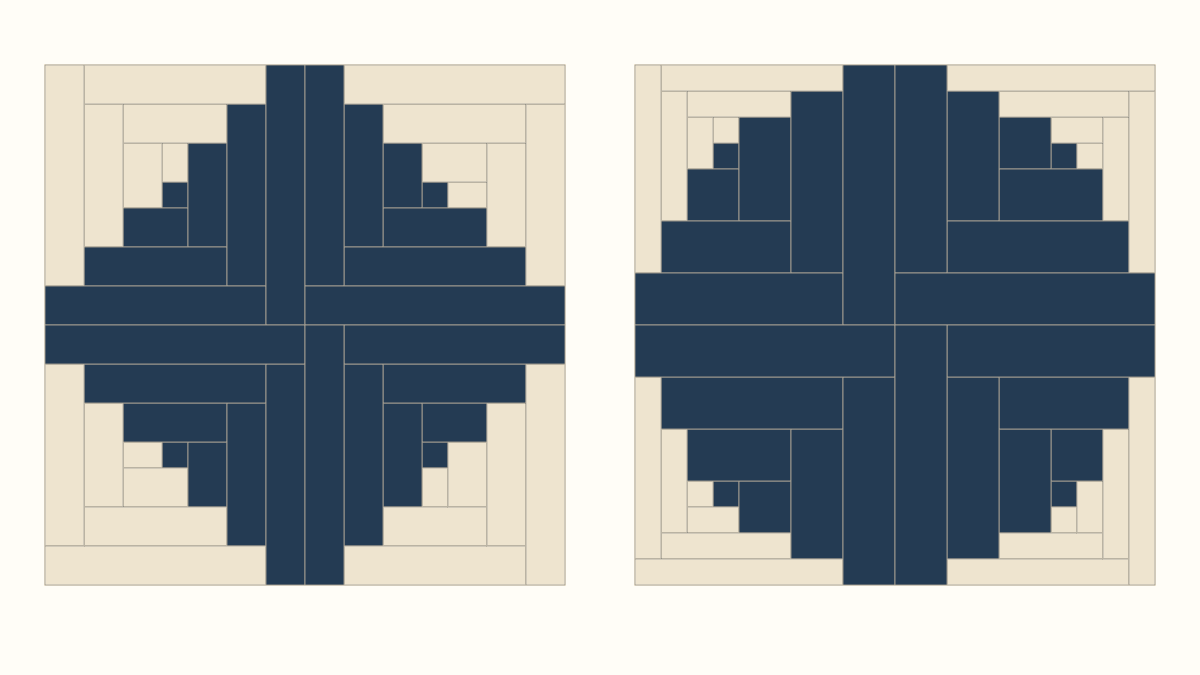
Curved Log Cabin Blocks with Straight Logs
Unequal straight logs make a curved-looking outline. Compare two ten-inch blocks, then turn four together without changing the finished size.
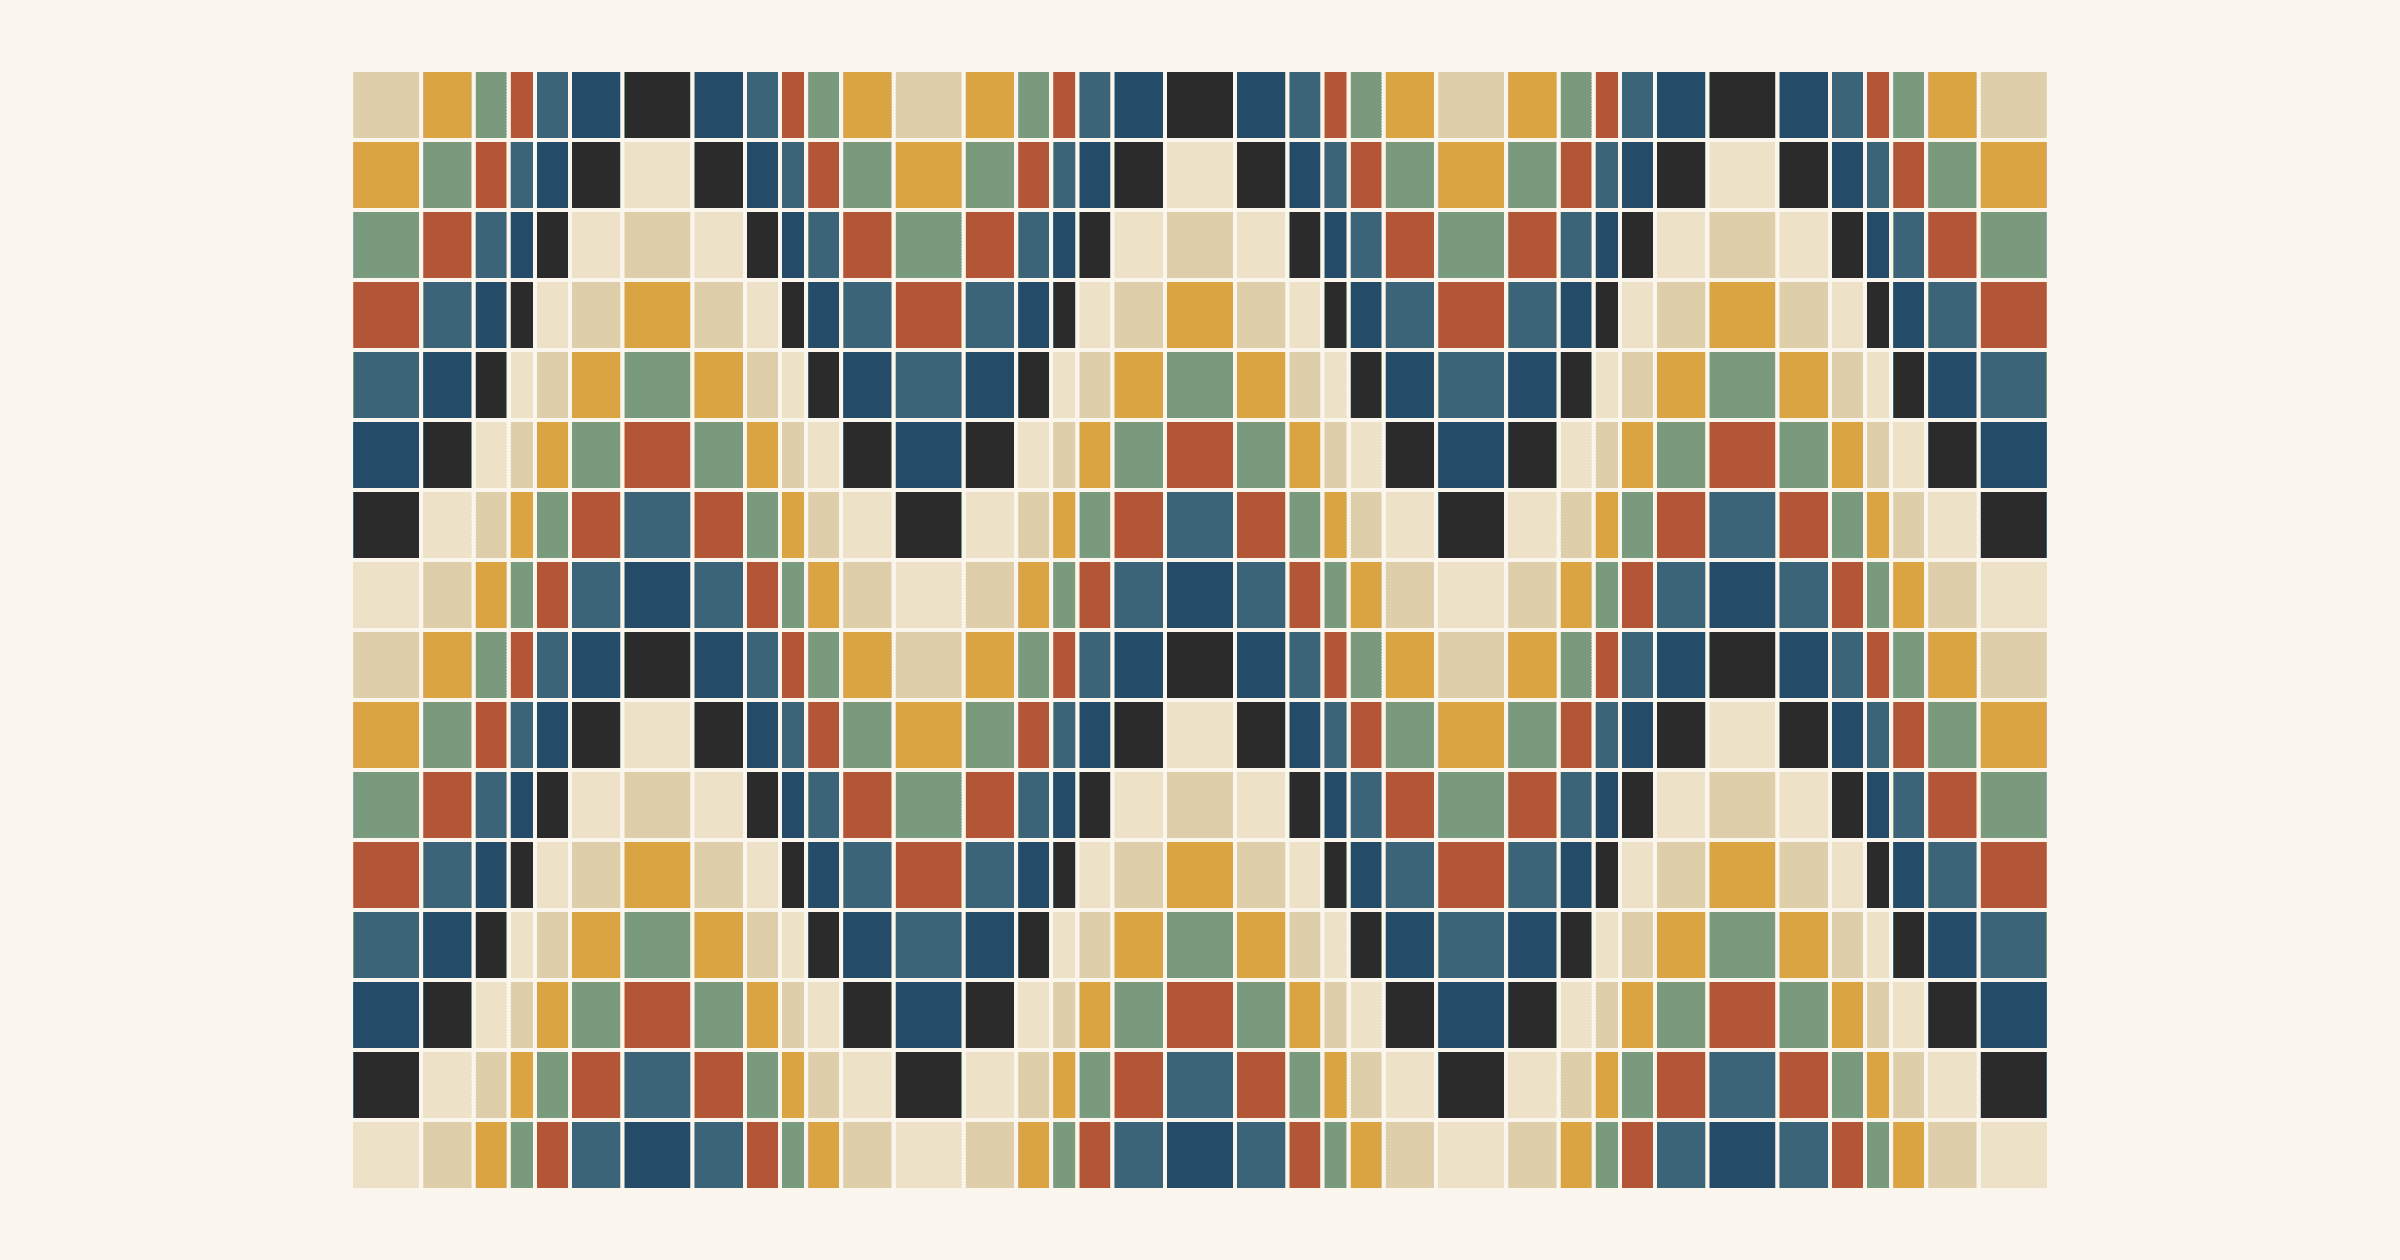
How to Design a Bargello Quilt: Plan the Wave on Paper
A bargello wave is a staircase of stepped columns. Number your strips, write one row per column, and see how column width turns a zigzag into a curve.
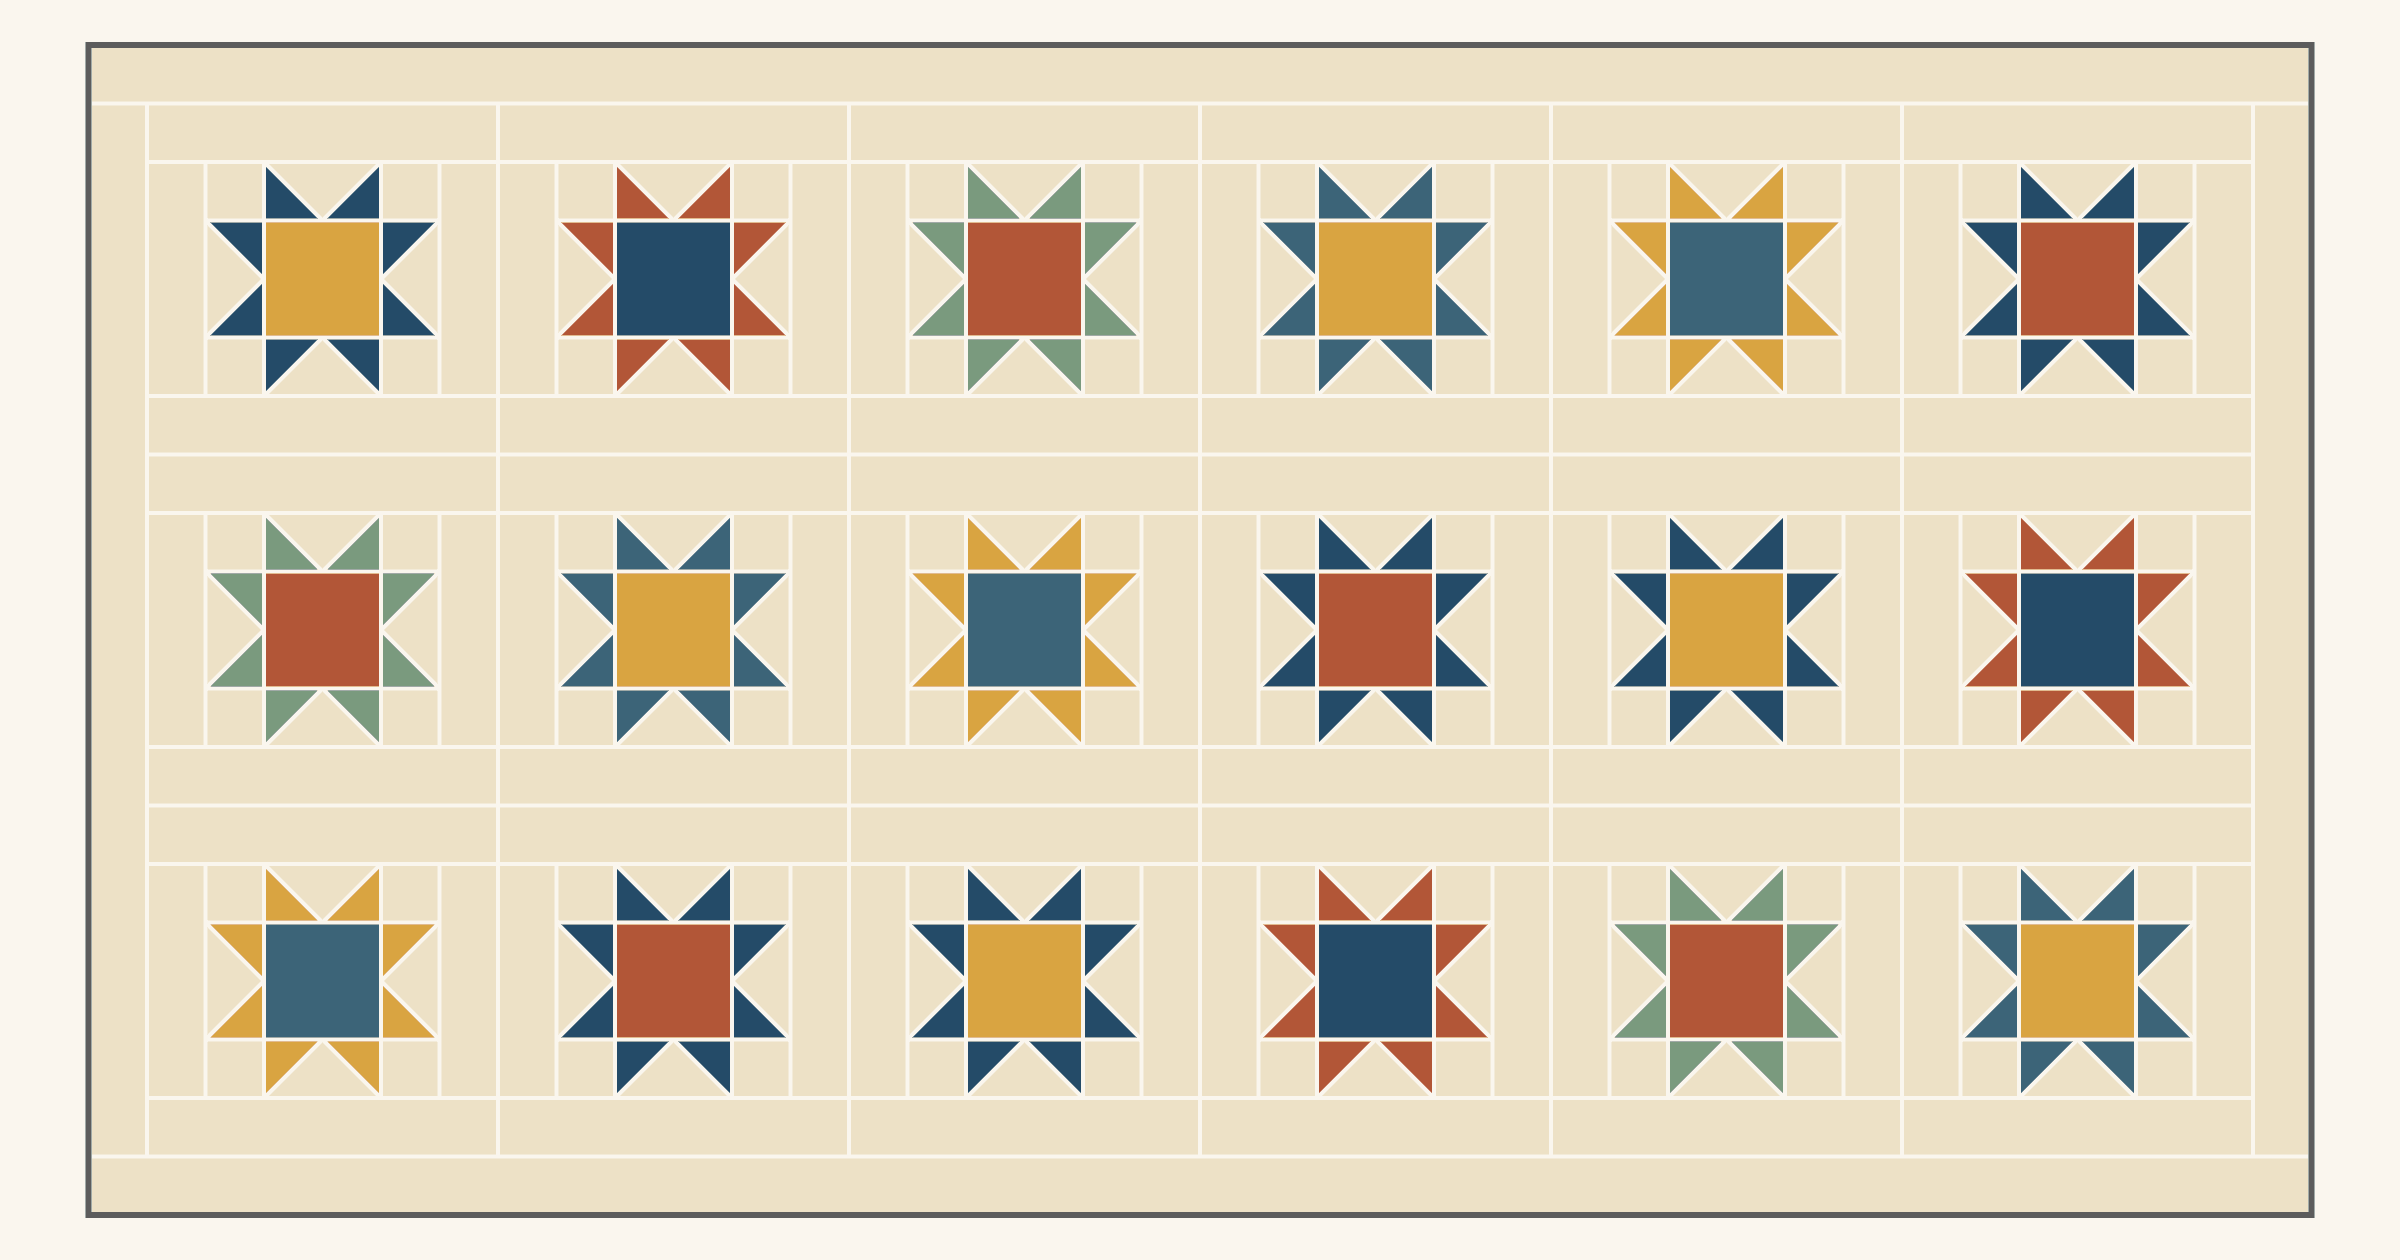
Floating Quilt Blocks: How Much Space Should You Leave?
Leave a gap half the block's width between motifs and the same space at the edge. Twenty 6-inch stars show the frame, border and size math.