


Easy Quilt Blocks for Beginners: A Four-Block Practice Path
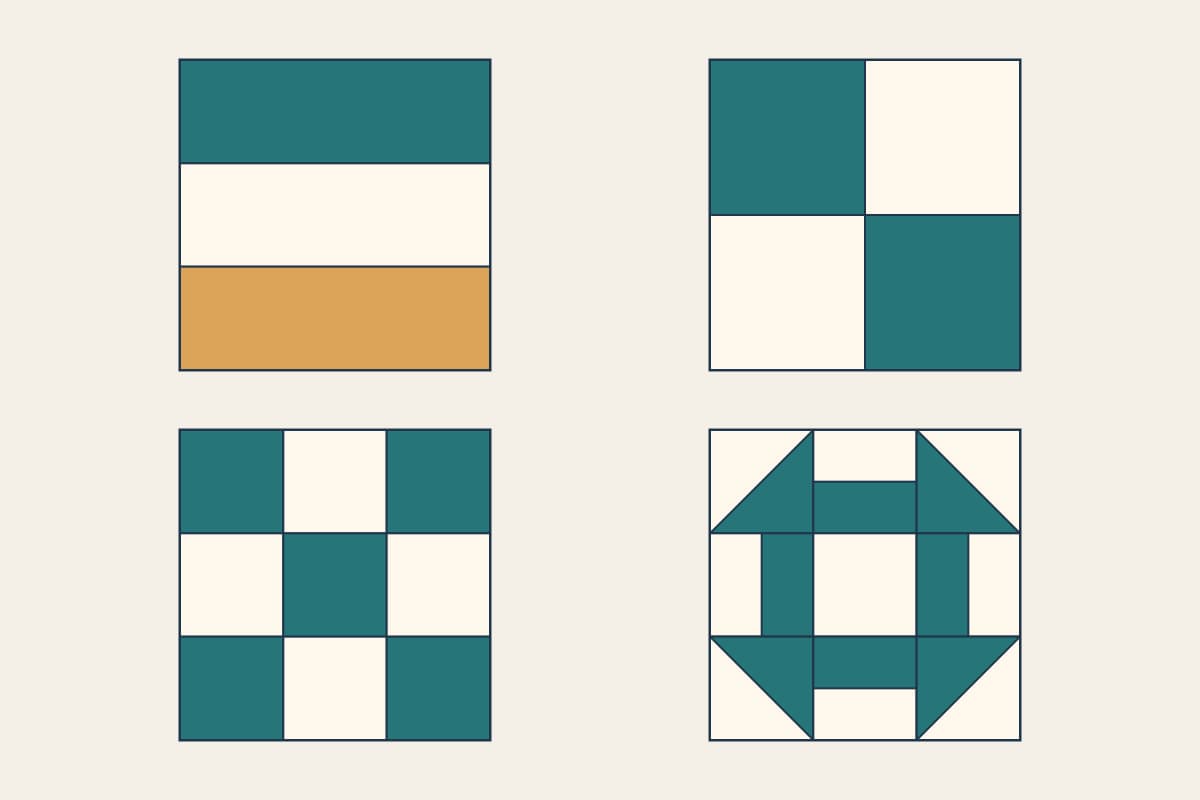
The most useful easy quilt blocks for beginners introduce one new problem at a time. Long straight seams come before matching a center crossing; matching several crossings comes before combining triangle units and bars.
Here is a four-block practice path: Rail Fence, Four Patch, Nine Patch and Churn Dash. We'll compare their operations, check cutting sizes for 12-inch finished blocks, and turn six practice blocks into one measured center. The diagrams and calculations are original planning examples, not sewn samples or a sew-tested quilt pattern.
Choose by the next skill, not just the block's name
A familiar name does not guarantee a simple construction. A Rail Fence can be one three-strip square or several smaller squares joined into a more elaborate block. A tiny Nine Patch has the same seam count as a large one, but less room to handle each patch.
This ranking applies to the versions described below. Its seam counts assume individual pieces joined into rows; strip piecing and batch methods can change the number of machine passes.
| Practice order | Block version | New operation | Main accuracy check |
|---|---|---|---|
| 1 | Single three-rail Rail Fence | Two long straight seams | Parallel strips; correct total width |
| 2 | Four Patch from four squares | Three joins; one interior crossing | Match the central seam |
| 3 | Nine Patch from nine squares | Eight joins; four interior crossings | Match both crossings on each row join |
| 4 | Churn Dash on a 3 x 3 grid | HSTs, two-bar units and row assembly | Correct unit size, orientation and points |
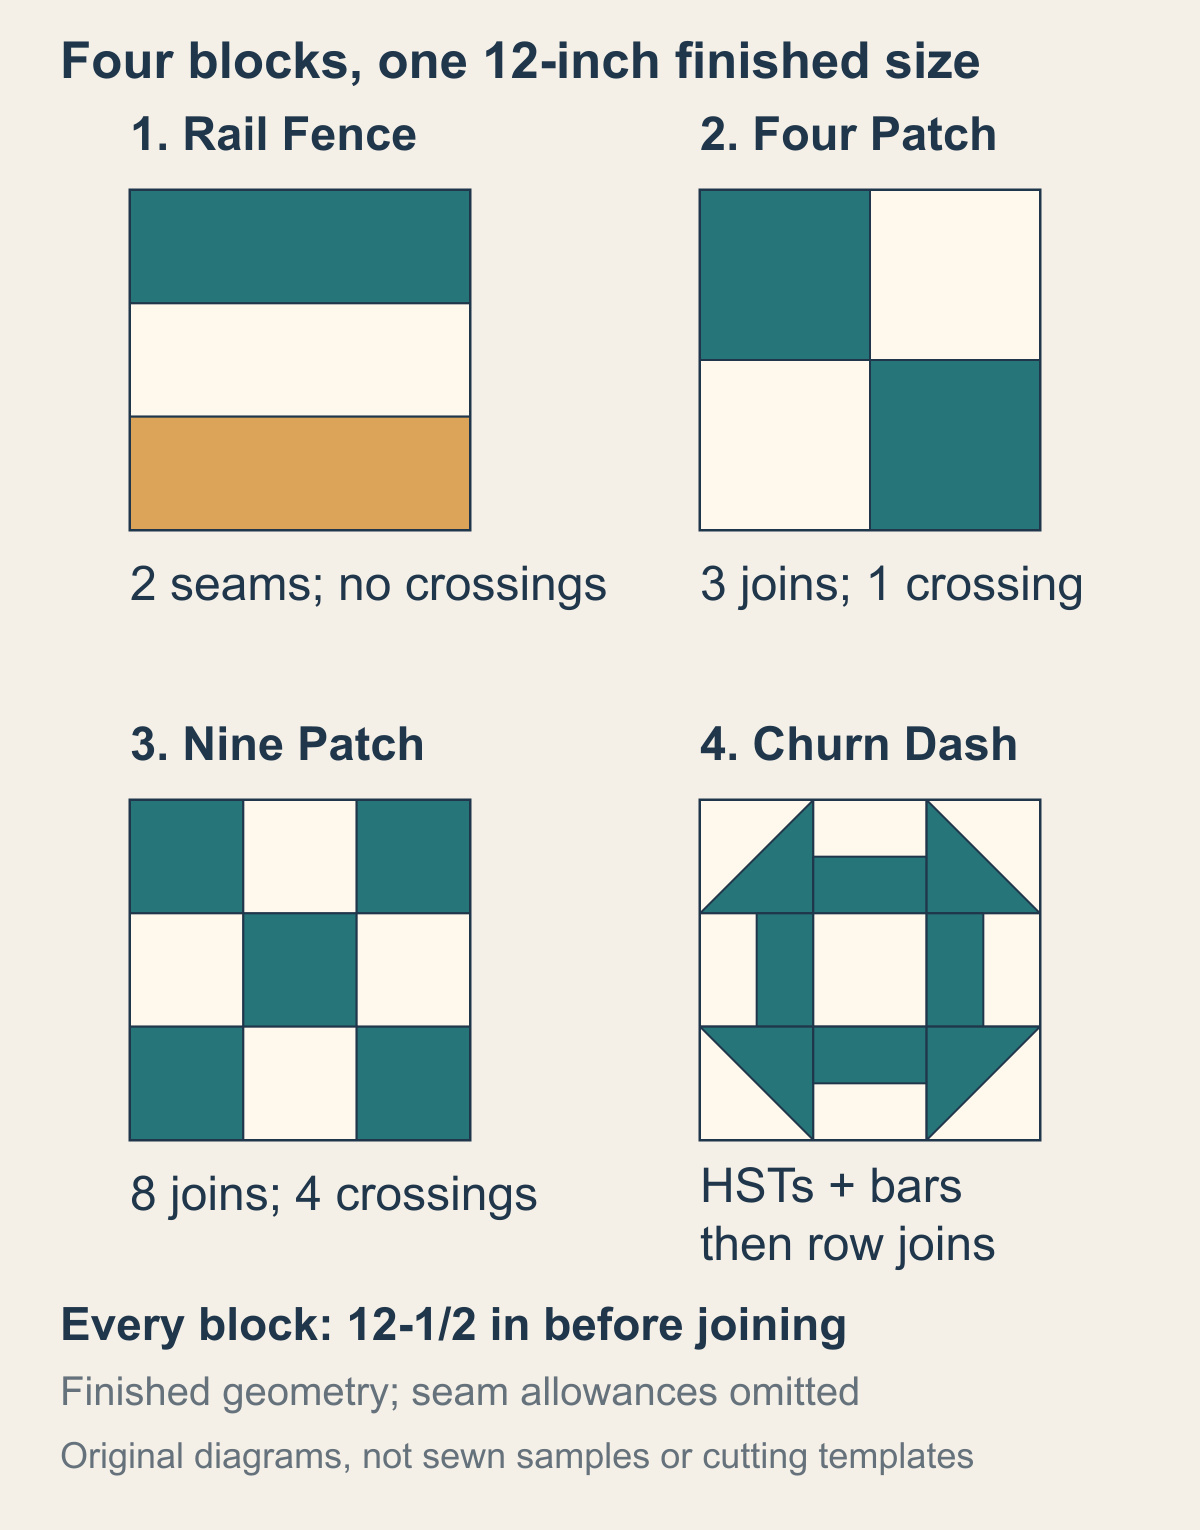
If you've sewn garments but never matched patchwork seams, Four Patch may be the most useful starting point. If keeping a long seam straight is still difficult, begin with Rail Fence. The sequence is a way to choose useful practice, not a rule that everyone must start at the same place.
Use finished and unfinished sizes consistently
All four examples finish at 12 x 12 inches after they join the quilt. Each completed block should measure 12-1/2 x 12-1/2 inches unfinished, including the quarter-inch allowances at its outside edges.
For the square and rectangle patches here, add half an inch to each finished dimension: a quarter inch at both opposing edges. The American Patchwork & Quilting editors' grid lesson explains drawing finished geometry before adding allowances to individual patches. Triangle starting squares need their own method; do not apply the plain-square rule to HST construction.
Here are the independently calculated cuts for one of each of the first three blocks:
| Block | Pieces to cut | Finished patch size | Block before joining |
|---|---|---|---|
| Three-rail Rail Fence | Three rectangles, 4-1/2 x 12-1/2 inches | 4 x 12 inches | 12-1/2 inches square |
| Four Patch | Four squares, 6-1/2 inches | 6 inches square | 12-1/2 inches square |
| Nine Patch | Nine squares, 4-1/2 inches | 4 inches square | 12-1/2 inches square |
These cuts assume consistent quarter-inch seams. Check a small sample with the fabric and thread you intend to use before cutting a large batch.
1. Rail Fence: check the seam before adding crossings
Our Rail Fence is a single square made from three parallel rectangles. It has two seams and no interior seam crossing. Christine Mann's Rail Fence lesson at New Quilters includes this three-rail version and explains how changing the strip count changes the required width.
Choose a light, medium and dark fabric, then lay the three 4-1/2 x 12-1/2-inch rectangles in order. Join them along their long edges. After pressing, check both ends and the middle of the completed unit.
The width check is 3 x 4-1/2 - 2 x 1/2 = 12-1/2 inches. Each joining seam uses a quarter inch from both pieces, removing half an inch from their combined width. The length remains 12-1/2 inches.
If the width changes along the unit, look for wandering seams, bowed strips or stretching during pressing. Measure before trimming: trimming a narrow section square makes it smaller, not more accurate. Make a second block with the same fabric order so you can compare the results.
For recognition and design context, browse the Rail Fence block reference. The simple single-square version here deliberately comes before a four-unit Rail Fence with additional joins.
2. Four Patch: learn one seam intersection
Cut two light and two dark 6-1/2-inch squares. Arrange them in a checkerboard, join two pairs into rows, then join the rows. This gives three joins and one interior seam intersection.
Elaine Huff's Four Patch tutorial at fabric406 shows the basic four-square assembly alongside other methods. Her example uses smaller squares; our cut dimensions are scaled for a 12-inch finished block.
Each two-square row should measure 12-1/2 x 6-1/2 inches: 6-1/2 + 6-1/2 - 1/2 = 12-1/2. When the two rows join, the height follows the same arithmetic.
Pressing each first seam toward the dark square puts the two row allowances in opposite directions. They can nest at the center when you bring the rows together. Check the seam lines themselves, pin that meeting point if useful, and keep both raw outside edges aligned.
Make two blocks before advancing. Record whether both reach 12-1/2 inches square and whether their center crossings meet. One good crossing followed by one shifted crossing gives you a specific skill to repeat. The Four Patch reference shows the block's basic geometry.
3. Nine Patch: repeat the crossing across a row
Cut nine 4-1/2-inch squares: five dark and four light for a checkerboard with dark corners and center. Sew three rows of three squares, then join those rows. Six within-row seams plus two row joins give eight joins, with four interior intersections.
Elaine Huff's Nine Patch lesson explains the row construction and opposite pressing directions that help seams nest. Before joining our rows, each should measure 12-1/2 x 4-1/2 inches.
The width is 3 x 4-1/2 - 2 x 1/2 = 12-1/2 inches. The three assembled rows use the same calculation vertically. Match both seam intersections along each row join, rather than lining up one corner and hoping the rest follows.
A useful diagnostic is a small three-square test: three 2-1/2-inch squares should make a row measuring 6-1/2 inches long after two seams. If it is shorter, check the cut pieces, seam width and pressed allowances before repeating that error across nine patches.
The Nine Patch reference helps identify the pattern. A larger block gives you larger pieces to handle; it does not remove the need for consistent seams.
4. Churn Dash: combine units you can measure first
Churn Dash adds two unit types to a familiar 3 x 3 arrangement: four half-square triangles at the corners and four two-bar units at the edge centers. A plain square fills the center.
Sherri McConnell's 12-inch Churn Dash tutorial at A Quilting Life provides a verified construction using separate rectangles. For that version, prepare:
| Unit | Quantity | Cuts or preparation | Size before block assembly |
|---|---|---|---|
| Center square | One | Cut one 4-1/2-inch square | 4-1/2 inches square |
| Two-bar unit | Four | Pair one background and one contrast rectangle, each 2-1/2 x 4-1/2 inches | 4-1/2 inches square |
| HST | Four | Two background and two contrast 5-inch starting squares; use the two-at-a-time method and trim | 4-1/2 inches square |
A paired bar unit's width is 2-1/2 + 2-1/2 - 1/2 = 4-1/2 inches. When all nine units measure 4-1/2 inches, each three-unit row should measure 12-1/2 inches long. The completed block then reaches the shared 12-1/2-inch unfinished target.
Use our two-at-a-time HST sizing tutorial for the triangle method and trimming checks. Churn Dash's HSTs finish at 4 inches inside this block; their 4-1/2-inch trim size is the measurement needed before assembly.
Lay out all nine units before sewing. In the illustrated version, the dark halves of the corner HSTs face inward and meet the dark bars to form the ring. A photograph of that arrangement is useful when moving units to the machine. Recheck orientation after making the rows, while a correction still requires fewer seams to undo.
Build a six-block practice center
Make two Rail Fences, two Four Patches, one Nine Patch and one Churn Dash. That gives repeated practice on the first two skills before adding the next ones.
Keep a short record for each block: its size before joining, the measurement of an intermediate row, and the next thing to improve. A block that measures correctly but has one shifted seam needs different practice from a block with neat crossings that finishes too small.
Once all six measure 12-1/2 inches square, arrange them in two columns and three rows. With no sashing or border, the planned finished center measures 24 x 36 inches. Before its outside allowances are sewn, the assembled center measures 24-1/2 x 36-1/2 inches: two 12-1/2-inch blocks lose half an inch at their join; three lose an inch across two joins.
Decide the placement with paper sketches or finished-geometry mockups. If you'd like to draw your own digital versions, the Block Editor guide covers drawing and saving, and how to design a quilt block works through measured geometry. Use the cutting notes above separately from those drawings.
The purpose of this small center is to make the progression visible: straighter strips, an accurate crossing, repeated crossings, then consistently sized mixed units. Choose the next block by the skill you need to practice, and repeat the current one when its measurements still vary.
Related posts

How to Set Quilt Blocks on Point: Triangles and a 13-Block Example
Plan an on-point quilt with 13 blocks, check side and corner triangle cuts, and keep straight grain and a quarter-inch allowance at the edges.
How to Choose Background Fabric for a Quilt
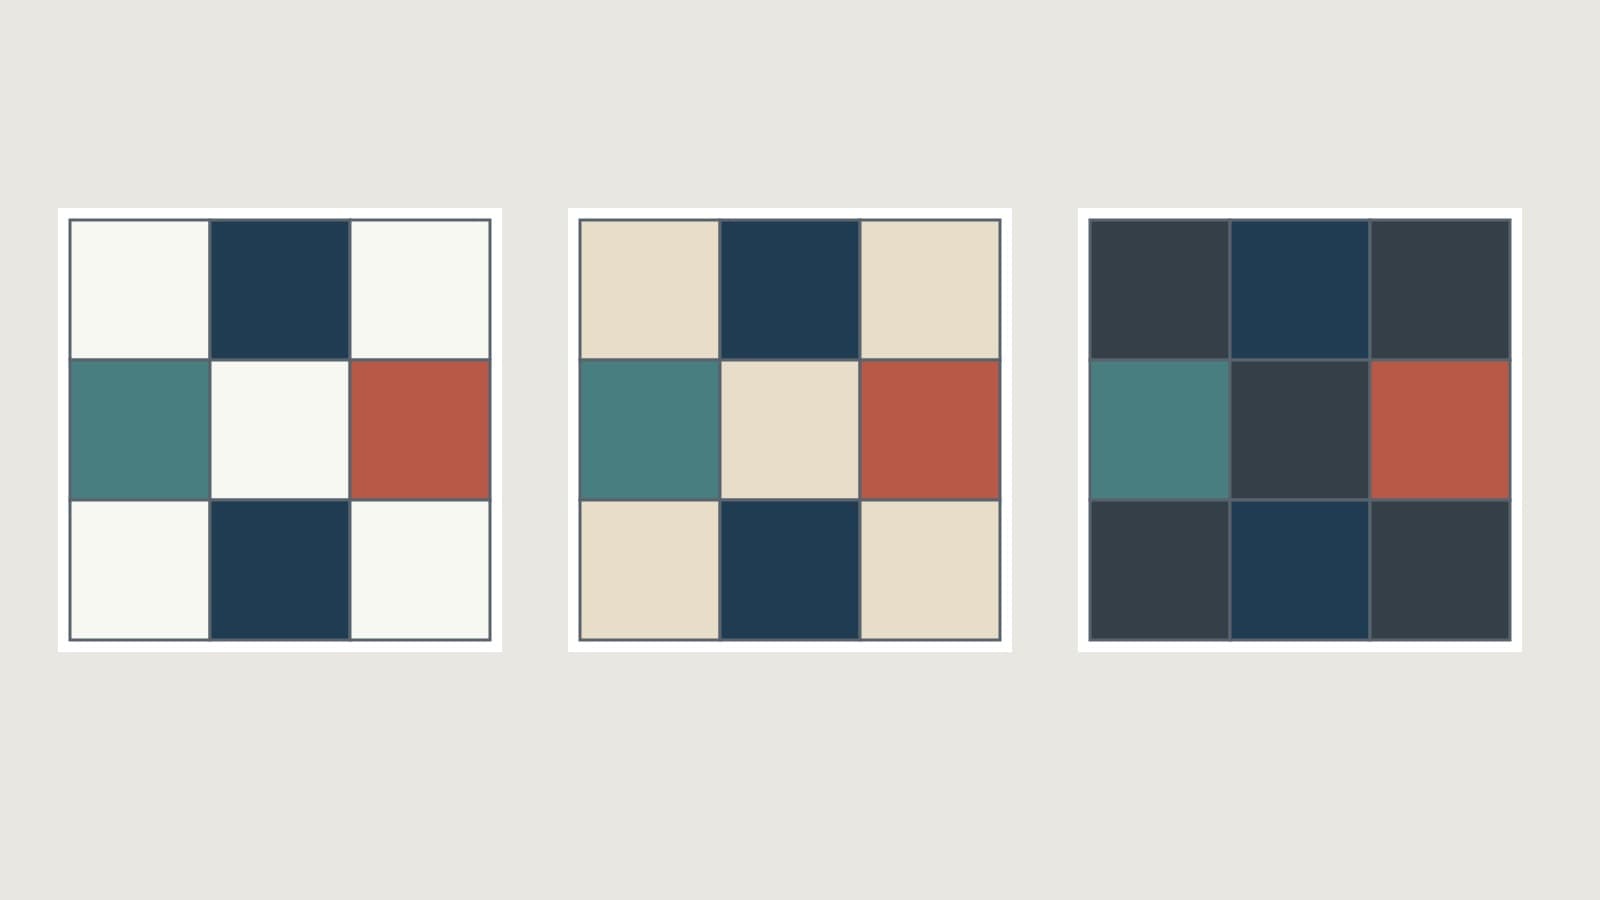
Compare contrast, undertones and print density, then test your background in the right proportion with a checked nine-patch example.
Quilt Color Combinations: 20 Palette Plans
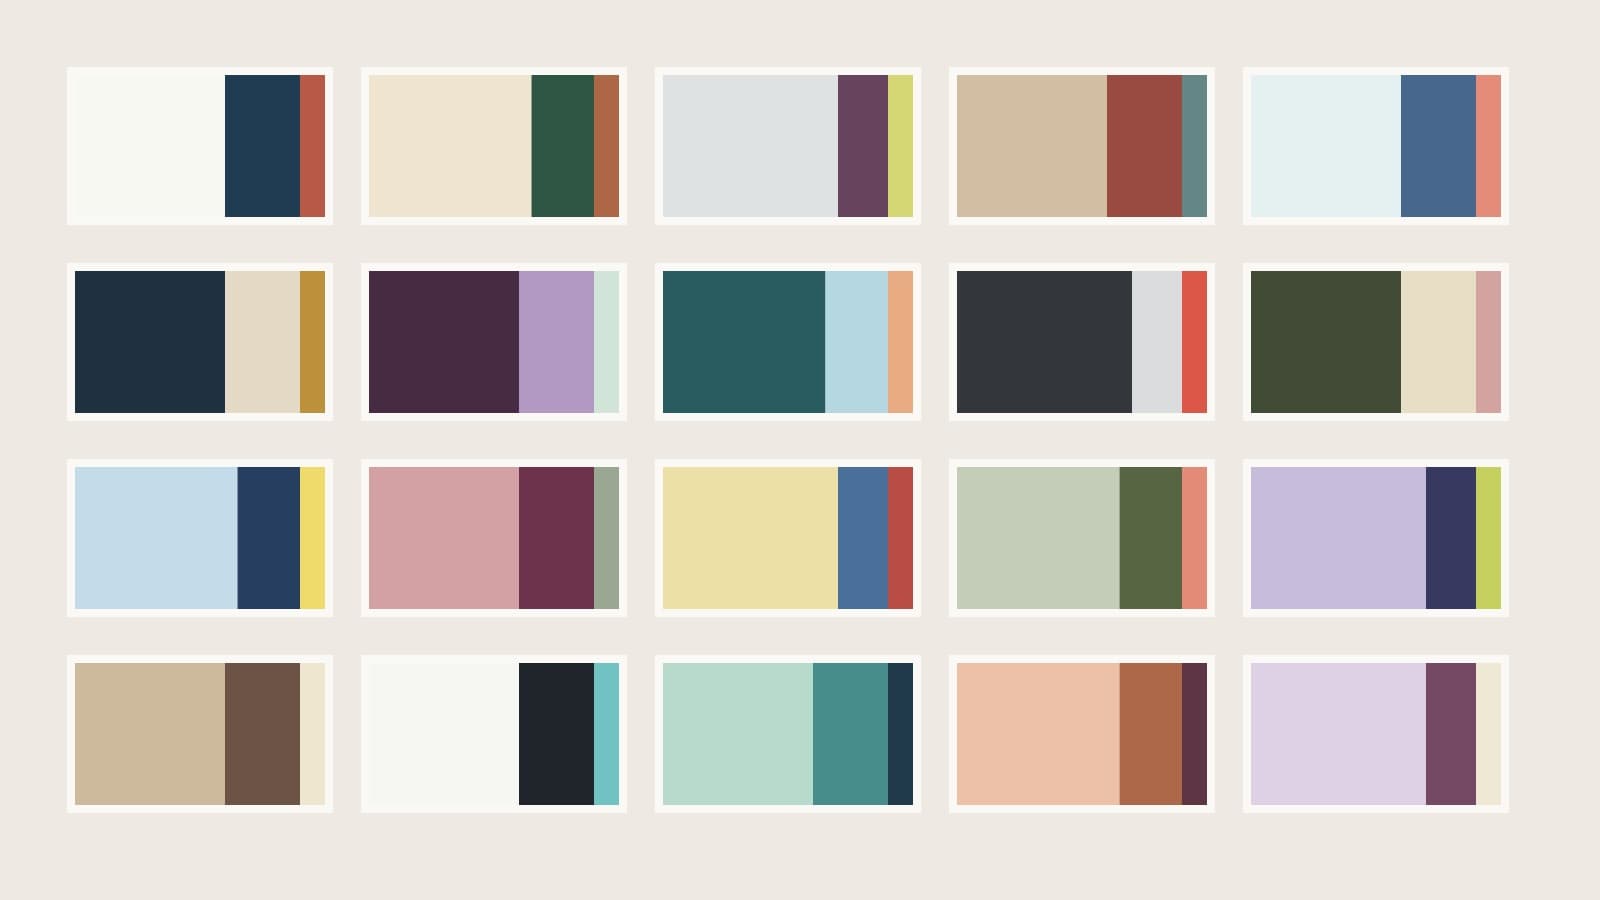
Twenty quilt palettes with background, support and accent roles, checked area proportions and placement notes to help you choose fabrics.